Inspection
INSPECTION
PROCEDURE
1. INSPECT AUTOMATIC LIGHT CONTROL SENSOR
(a) Check the wire harness.
(1) Disconnect the automatic light control sensor (G1).
(2) Measure the voltage according to the value(s) shown in the table below. Standard voltage:
If the specified condition is not met, replace the vehicle wire harness. |
|
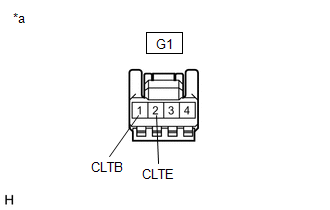
(b) Check the resistance.
(1) Measure the resistance according to the value(s) shown in the table below.
Standard resistance:
Tester Connection | Ignition switch position | Specified Condition |
|---|---|---|
G1-2(CLTE) - Body ground |
Always |
Below 1 Ω |
If the specified condition is not met, replace the vehicle wire harness.
(c) Inspect the automatic light control sensor.
(1) Connect the automatic light control sensor (G1).
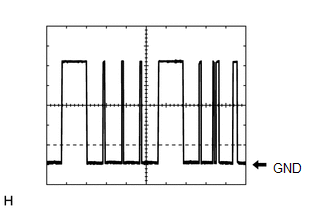
(2) Check the waveform Use the oscilloscope to check the waveform at the terminals. NOTICE: With the connector connected, check from the rear of the connector. Standard:
If the specified condition is not met, replace the light sensor. |
|
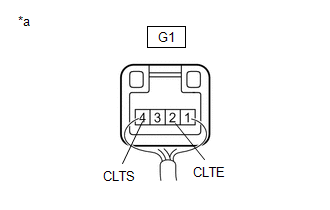
(3) Waveform
The communication waveform changes depending on the ambient brightness. |
 |