Body & Frame
Front Floor
In this manual: Body & Frame
18steps
~108min
4/5difficulty
Done 0 of 18
If the location of the original plug weld holes can not be determined, space the plug weld holes every 1 1/2 inches apart. Some panels may have structural weld thru adhesive. It is required to replace the weld thru adhesive with an additional spot weld between each factory spot weld. 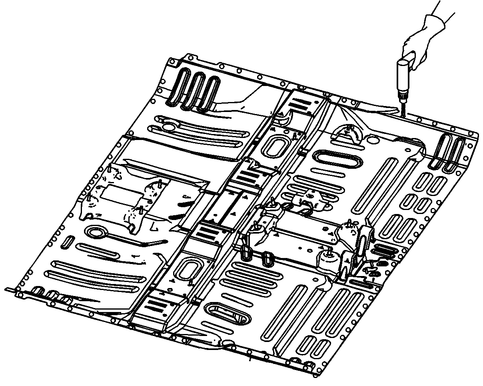
Removal
- Disable SIR system.
- Disconnect battery ground.
- Remove all related panels and components.
- Repair as much damage as possible to factory specifications.
- Remove sealers and corrosion protection materials from repair area.
- Locate and drill out all factory welds. Note number and location of welds for installation of front floor, Fig. 1.
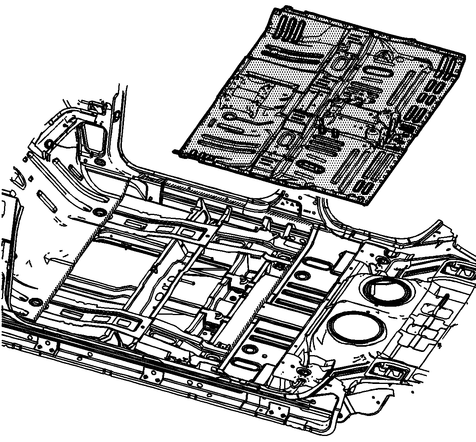
- Remove damaged front floor, Fig. 2.
Installation
- Drill 5/16 inch holes for plug weld as required on service component, in locations noted from original assembly.
- Prepare all mating surfaces as required.
- Apply 3M® Weld Thru Coating P/N 05916, or equivalent, to all mating surfaces.
- Position new component to vehicle using three dimensional measuring equipment and clamp into place.
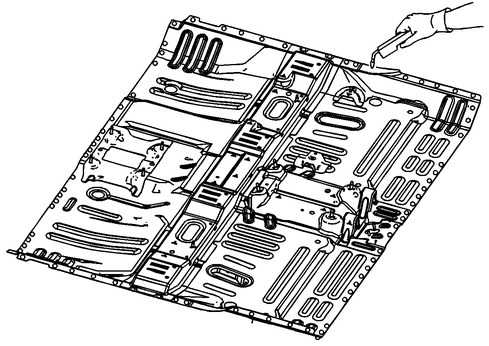
- Plug weld accordingly, Fig. 3.
- Clean and prepare all welded surfaces.
- Apply sealers and corrosion protection materials to repair area, as required.
- Refinish repaired area.
- Install all related panels and components.
- Connect battery ground.
- Enable SIR system.
Fig. 1 Front floor weld locations
Fig. 2 Front floor removal
Fig. 3 Front floor plug weld locations
Test yourself
A quick Chevrolet Captiva quiz: every answer comes with an explanation and a link to the manual page.
Was this page helpful?