Steering & Suspension
Stabilizer Bar R&R
In this manual: Steering & Suspension
13steps
~78min
3/5difficulty
Done 0 of 13
Front
- Remove engine splash shield.
- Separate steering linkage outer tie rod on lefthand side at steering knuckle, Fig. 1.
- Separate front stabilizer shaft link at front stabilizer shaft, Fig. 1.
- Remove front stabilizer shaft insulator at front stabilizer shaft, Fig. 1.
- Remove front stabilizer shaft through lefthand wheel opening, Fig. 1.
- Reverse procedure to install.
Rear
In following service procedure, it is not required to remove rear suspension support. Lower support enough to remove stabilizer bar.Hold ball shaft secure with a 90° bend style TORX® bit, when removing nut.
|

Fig. 1
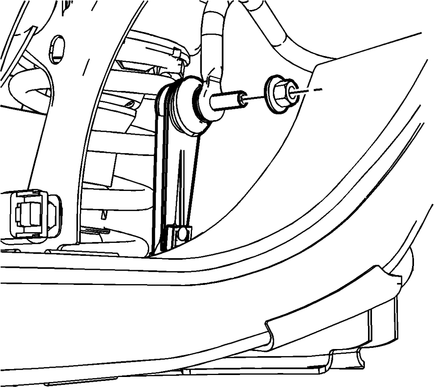
Fig. 2
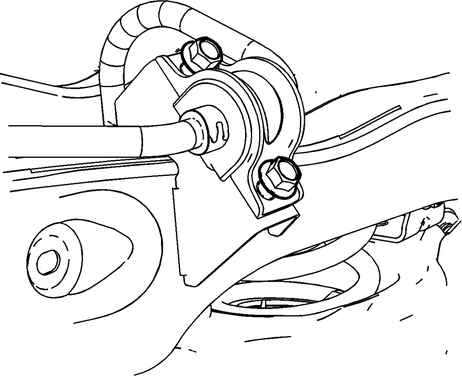
Fig. 3
Test yourself
A quick Chevrolet Captiva quiz: every answer comes with an explanation and a link to the manual page.
Was this page helpful?