Clutch Slave Cylinder
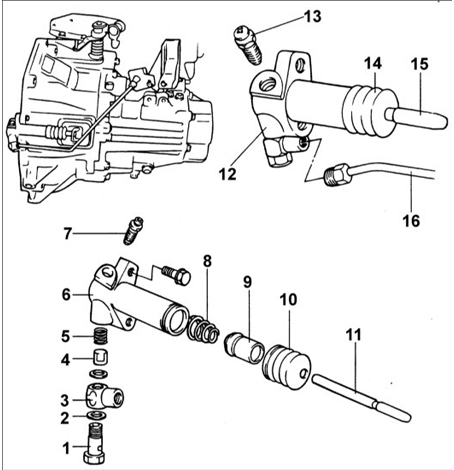
Clutch Slave Cylinder
1 – Union Bolt;
2 – Gasket;
3 – Connector;
4 – Valve Plate;
5 – Spring;
6 – Clutch Slave Cylinder;
7 – Bleeder Plug;
8 – Return Spring;
9 – Piston;
10 – Boot;
11 – Push Rod;
12 – Clutch Slave Cylinder Body;
13 – Bleeder Plug;
14 – Boot;
15 – Push Rod;
16 – Hydraulic Tube.
Removal
PROCEDURE
1. Disconnect the clutch hydraulic tube.
2. Remove the clutch slave cylinder mounting bolts.
Inspection
PROCEDURE
1. Clean the removed parts in solvent and blow all parts and passages with compressed air.
2. Check the clutch slave cylinder and boots for damage.
Disassembly
PROCEDURE
1. Remove the tube, valve plate, spring, push rod and boot.
2. Remove dirt from the opening for the hydraulic tube connection.
3. Remove the piston and the seal ring (cup seal) by applying compressed air through the hydraulic tube connection opening.
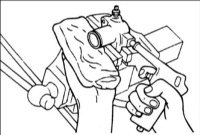
Cover the cylinder opening with clean rag to catch the piston pushed out by compressed air.
Inspection
PROCEDURE
1. Check the clutch master cylinder for damage.
2. Check the boots for damage.
3. Measure the inside diameter of the clutch master cylinder. If the clearance between the piston and cylinder exceeds the specified value, replace the master cylinder and/or piston assembly.
Clearance: 0.15 mm
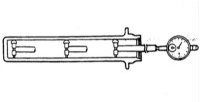
Measure the inside diameter of the clutch master cylinder at three positions (bottom, center and top) in two perpendicular directions.
Assembly
PROCEDURE
1. Before assembly, apply clutch fluid to the piston and cylinder bore, then install the piston assembly.
Fluid: DOT 3 brake fluid
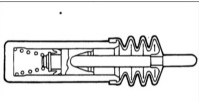
2. Install the valve plate, push rod and boot.
Installation
PROCEDURE
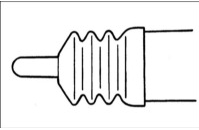
1. Before installation, apply grease to the bushing, clevis pin, washer and clevis pin with head and cotter pin hole.
Grease: MOLYWHITE TA No.2
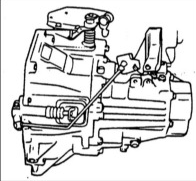
2. Install the clutch release cylinder and connect the hydraulic tube to it.
Test yourself
A quick Hyundai Accent quiz: every answer comes with an explanation and a link to the manual page.