All-Wheel Drive (AWD) System
Front Axle Flange Repair Procedures
In this manual: All-Wheel Drive (AWD) System
12steps
~72min
3/5difficulty
Done 0 of 12
Removal
|

- Remove the transfer case from the vehicle. (Refer to All Wheel Drive (AWD) System - "Transfer Case Assembly")
- Loosen the filler plug (A) and drain the oil.

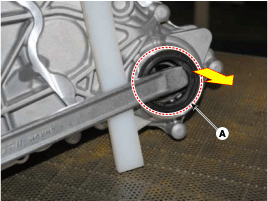
- Install the slide hammer to the flange (A).
- Pull out the flange (A).

- Remove the radial oil seal (A).
Installation
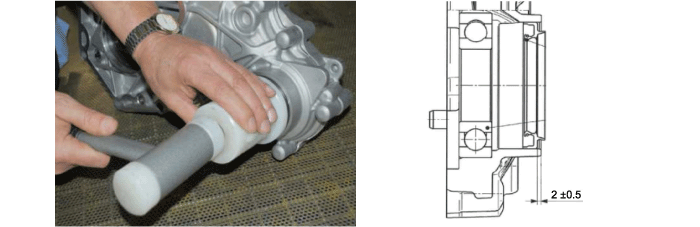
- Install the radial oil seal on the installation tool.
- Tap the plastic ring against the transfer case housing.
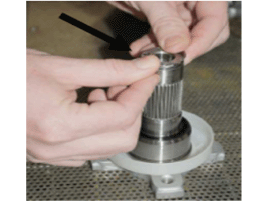
- Place the snap ring into the flange groove.
- Insert the new flange (A) into the transfer case by lightly tapping with a plastic hammer.

- Fill with oil up to the lower edge of the filler plug hole (of the installed transfer case). Tighten the plug to 60 N·m.
Oil type: Shell TF0870

- Replace the gasket before reinstalling the filler plug.
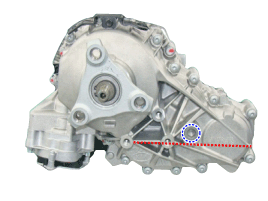
- Replace the gasket before reinstalling the filler plug.
- Install the transfer case on the vehicle. (Refer to All Wheel Drive (AWD) System - "Transfer Case Assembly")
- After installation, start the engine, then check for leaks from the transfer case.
Test yourself
A quick Hyundai Genesis DH quiz: every answer comes with an explanation and a link to the manual page.
Was this page helpful?