All-Wheel Drive (AWD) System
Rear Axle Flange Repair Procedures
In this manual: All-Wheel Drive (AWD) System
16steps
~96min
4/5difficulty
Done 0 of 16
Removal
|
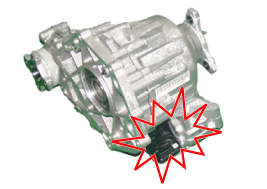
- Remove the transfer case from the vehicle. (Refer to All Wheel Drive (AWD) System - "Transfer Case Assembly")
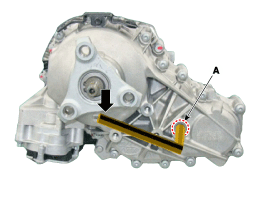
- Loosen the filler plug (A) and drain the oil.
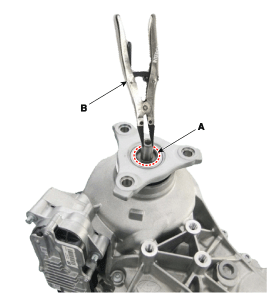
- Use snap ring pliers (B) to open and remove the snap ring (A).
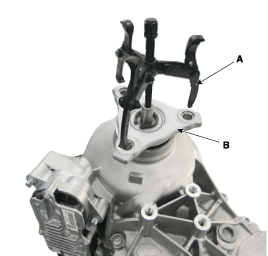
- Install the puller (A) into the rear axle flange (B).
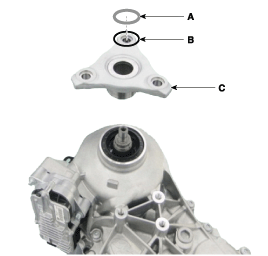
- Remove the flange (C) using the puller, including the gasket (A) and O-ring (B).
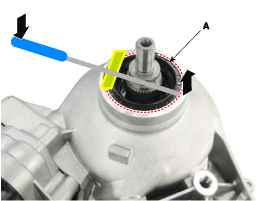
- Remove the radial oil seal (A) using a flat-tip screwdriver.
Installation
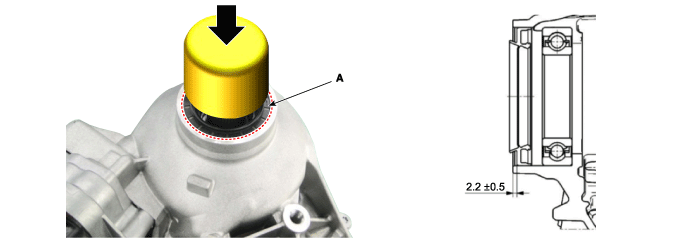
- Press in the new radial oil seal (A).
- Measure and select the appropriate shim as follows.
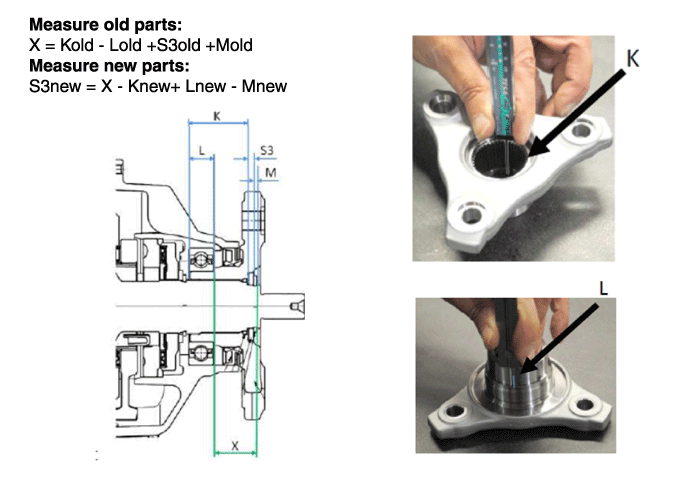
Shim kit (available as assembly only)
2.9 mm M0003830-21 3.5 mm M0003830-15 3.0 mm M0003830-20 3.7 mm M0003830-13 3.1 mm M0003830-19 3.8 mm M0003830-12 3.2 mm M0003830-18 3.9 mm M0003830-11 3.3 mm M0003830-17 4.0 mm M0003830-10 3.4 mm M0003830-16 4.1 mm M0003830 - Retain the main shaft (do not retain the housing).
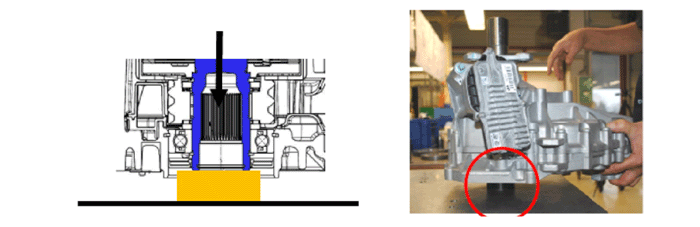
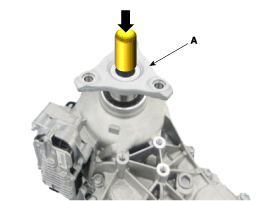
- Press in the new flange (A).
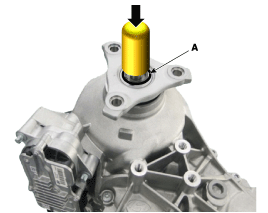
- Press in the O-ring (A).
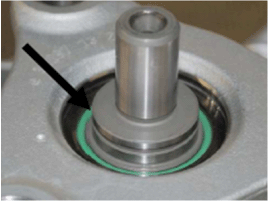
- Check that the O-ring is correctly seated inside the groove.
- Insert the new adjusting shim (A) (Procedure 2). The snap ring groove must be fully visible.
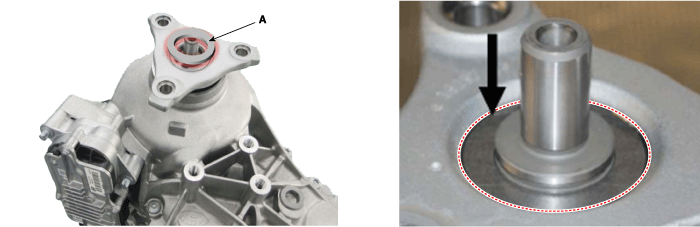
- Assemble the snap ring (A).
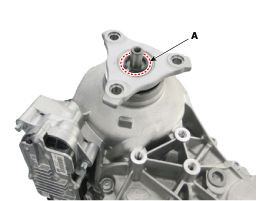
- Fill with oil up to the lower edge of the filler plug hole (of the installed transfer case). Tighten the plug to 60 N·m.
Oil type: Shell TF0870

- Replace the gasket before reinstalling the filler plug.
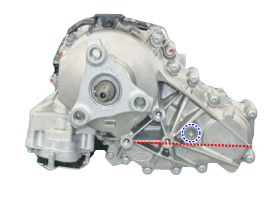
- Replace the gasket before reinstalling the filler plug.
- Install the transfer case on the vehicle. (Refer to All Wheel Drive (AWD) System - "Transfer Case Assembly")
- After installation, start the engine, then check for leaks from the transfer case.
Test yourself
A quick Hyundai Genesis DH quiz: every answer comes with an explanation and a link to the manual page.
Was this page helpful?