Timing Chain Guide Assembly
Components and Component Location
Components
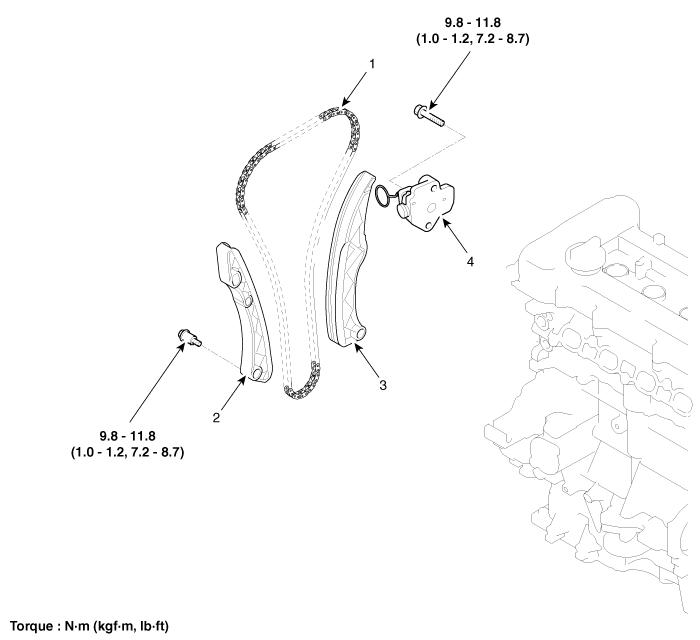
| 1. Timing chain 2. Timing chain guide |
3. Timing chain lever 4. Timing chain automatic tensioner |
Repair Procedures
Removal
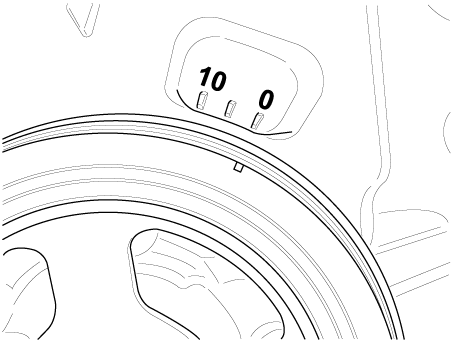
Turn the crankshaft pulley clockwise and align its groove with the timing mark on the timing chain cover.
Remove the timing chain cover.
(See Valve Timing - "Timing Chain Cover")
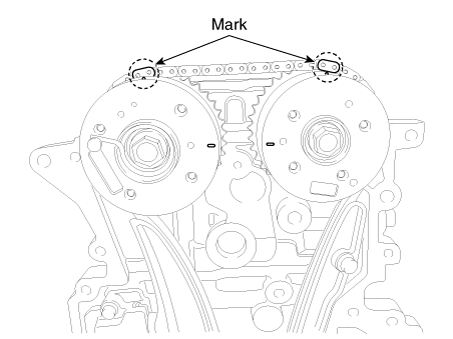
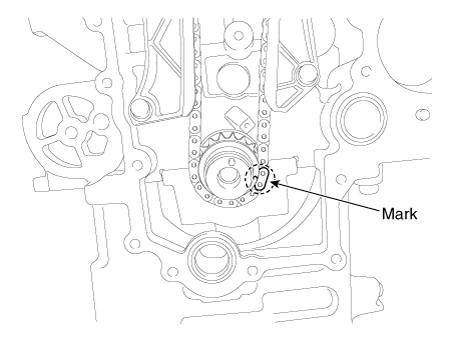
Align the CVVT sprocket alignment marks with the upper surface of the cylinder head so that cylinder No. 1 is at TDC.
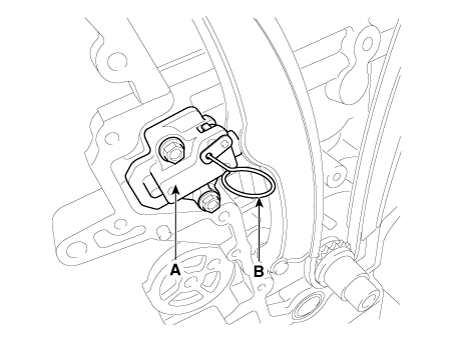
Remove the timing chain automatic tensioner (A).
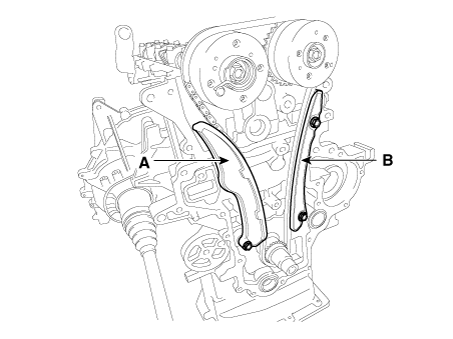
Remove the timing chain tensioner arm (A) and the chain guide (B).
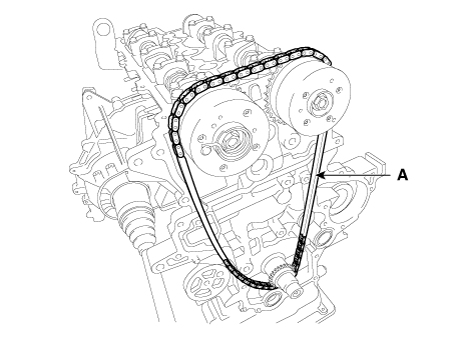
Remove the timing chain (A).
Inspection
Sprockets, hydraulic tensioner, chain guide, tensioner lever, timing chain
Inspect the CVVT sprocket and the crankshaft sprocket teeth for abnormal wear, cracks or damage. Replace if necessary.
Check the contact surface of the chain tensioner lever and guide for abnormal wear, cracks, or damage.
Replace if necessary.
Inspect the hydraulic tensioner for plunger movement and ratchet operation. Replace if necessary.
Check the timing chain for elongation, excessive wear, or damage. Replace if necessary.
Installation
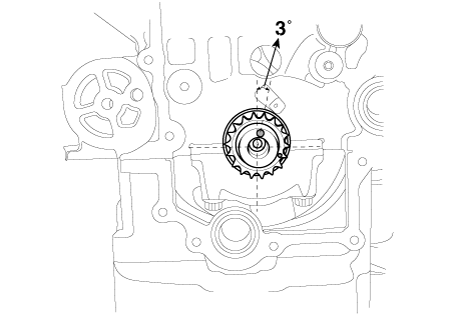
The crankshaft positioning pin should be positioned at an angle of 3° to the vertical centerline.
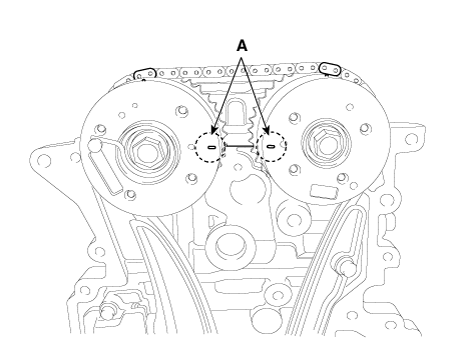
Align the TDC marks (A) of the CVVT sprockets with the upper surface of the cylinder head so that the No. 1 cylinder is at TDC.
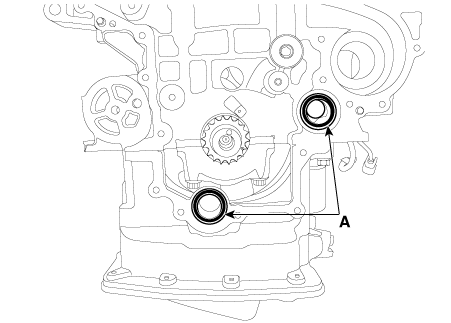
Install new O-rings (A).
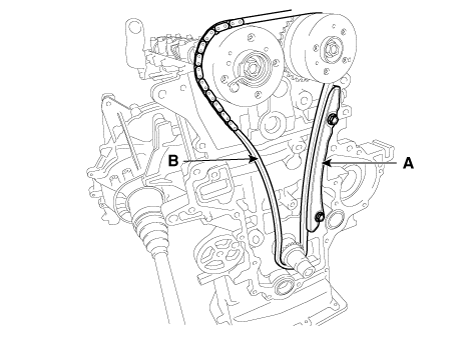
Install the timing chain guide (A) and the timing chain (B).
Tightening Torque: 9.8–11.8 N·m
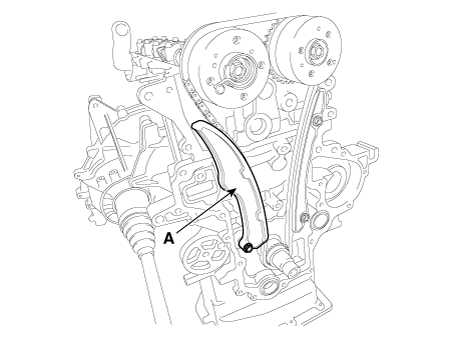
Install the timing chain tensioner arm (A).
Tightening Torque: 9.8–11.8 N·m
Install the timing chain automatic tensioner (A) and remove the pin (B).
Tightening Torque: 9.8–11.8 N·m
Install the timing chain cover.
(See Valve Timing - "Timing Chain Cover")
Test yourself
A quick Kia Forte BD quiz: every answer comes with an explanation and a link to the manual page.