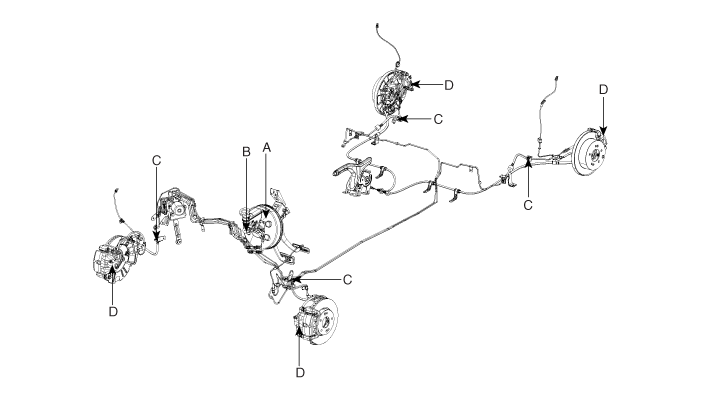
Check the brake operation by applying the brakes during a road test. If the brakes do not operate properly, inspect the brake booster. Replace the brake booster assembly if it does not operate properly or if there are signs of leakage.
Piston Cup and Pressure Cup Inspection (B)
Check the brake operation by depressing the brake pedal. Look for damage or signs of brake fluid leakage. Replace the master cylinder as an assembly if the pedal does not operate properly or if there is damage or signs of brake fluid leakage.
Check the difference in brake pedal stroke between quick and slow braking. Replace the master cylinder if there is a difference in pedal stroke.
Brake Hoses (C)
Look for damage or signs of brake fluid leakage. Replace the brake hose with a new one if it is damaged or leaking.
Caliper Piston Seal and Piston Boots (D)
Check the brake operation by depressing the brake pedal. Look for damage or signs of brake fluid leakage. If the pedal does not operate properly, the brakes drag, or there is damage or signs of brake fluid leakage, disassemble and inspect the brake caliper. Replace the dust boots and seals with new ones whenever the brake caliper is disassembled.
Brake Bleeding
Make sure the brake fluid in the reservoir is at the MAX (upper) line.
Have someone slowly depress the brake pedal several times, then apply pressure.
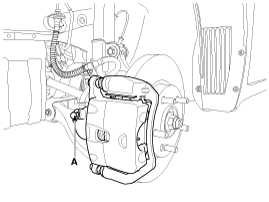
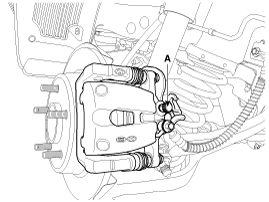
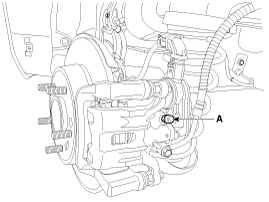
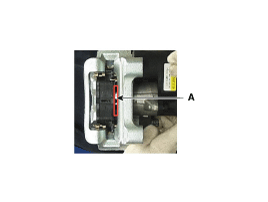
Loosen the bleeder screw for the right rear brake (A) to allow air to escape from the system. Then tighten the bleeder screw securely. Front Disc BrakeRear Disc Brake [without EPB]Rear Disc Brake [with EPB]
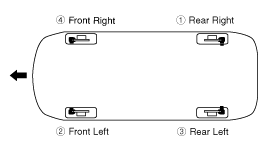
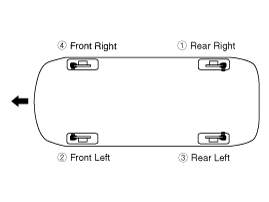
Repeat the procedure for each wheel in the sequence shown below until no more air bubbles appear in the fluid.
Fill the master cylinder reservoir to the MAX (upper) level mark.
Loosely install the caliper on the vehicle, then bleed the air several times in the same way as performed on a conventional caliper. (For both LH/RH)
Remove the caliper from the vehicle, then depress the brake pedal to extend the piston (A). (Make sure the pads and piston are in contact. You may insert a block about 5 mm thick between the pads.)
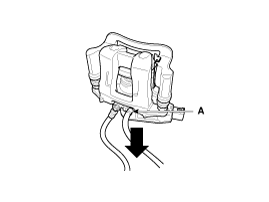
Position the caliper so that the bleeder screw (A) faces downward, then depress the brake pedal to release brake fluid. (2 - 3 times)
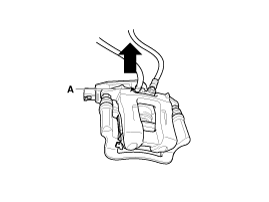
Position the caliper so that the bleeder screw (A) faces upward, as shown in the illustration.
Open the bleeder screw from this position and depress the brake pedal to release more fluid and air. (More than 5 times)
Push the piston back and install the caliper on the vehicle. Then repeat steps 2 - 5 for the caliper on the opposite side. Then install both calipers on the vehicle.
Depress the brake pedal several times firmly, then loosen the bleeder screw to release high-pressure fluid. Then quickly tighten the bleeder screw. (Approximately 3 times) Complete the procedure. (For both LH/RH)
Remove the reservoir cap and fill the reservoir with brake fluid.
Connect a clear plastic tube to the wheel cylinder bleeder screw and insert the other end of the tube into a clear plastic bottle half-filled with brake fluid.
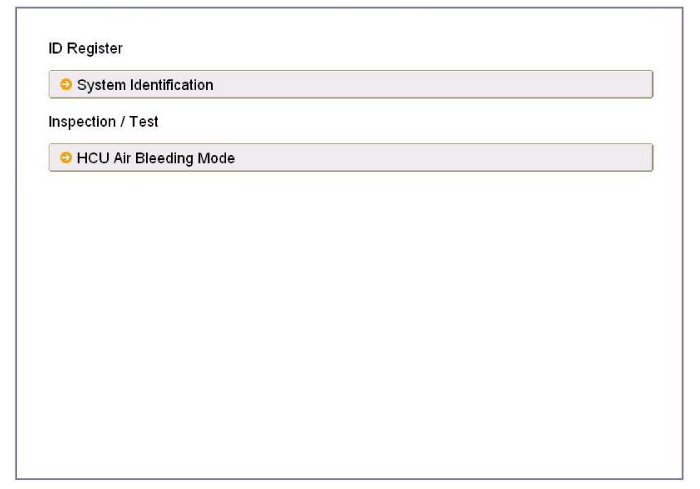
Connect the GDS to the data link connector located under the instrument panel.
Select and follow the instructions on the GDS screen.
Select the vehicle model name.
Select the Anti-lock Brake System.
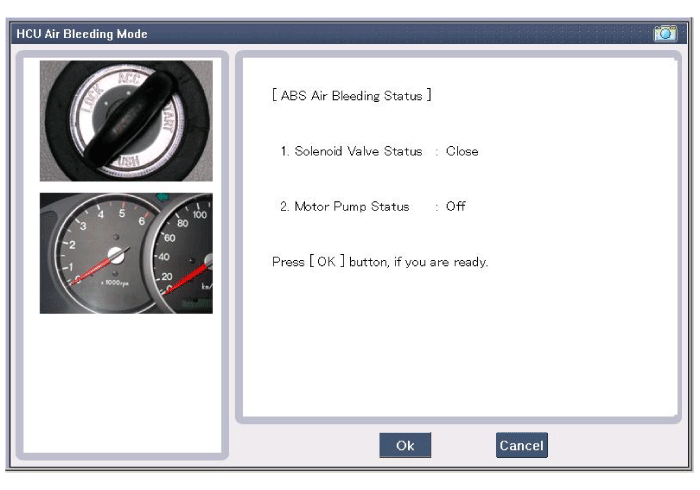
Select the HCU air bleeding mode.
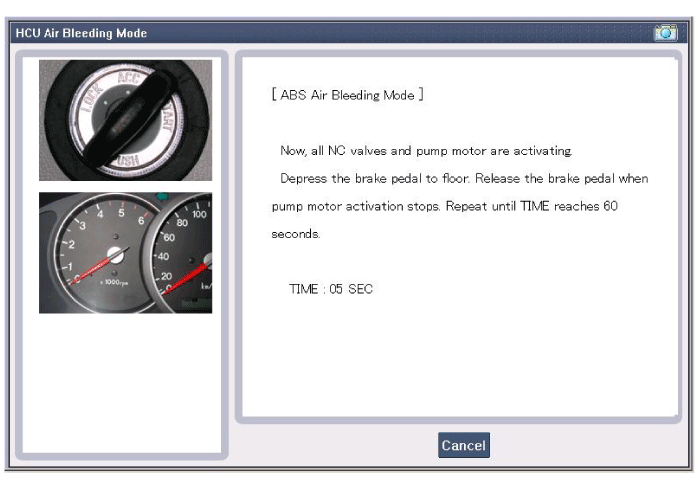
Press "OK" to operate the motor pump and solenoid valve.
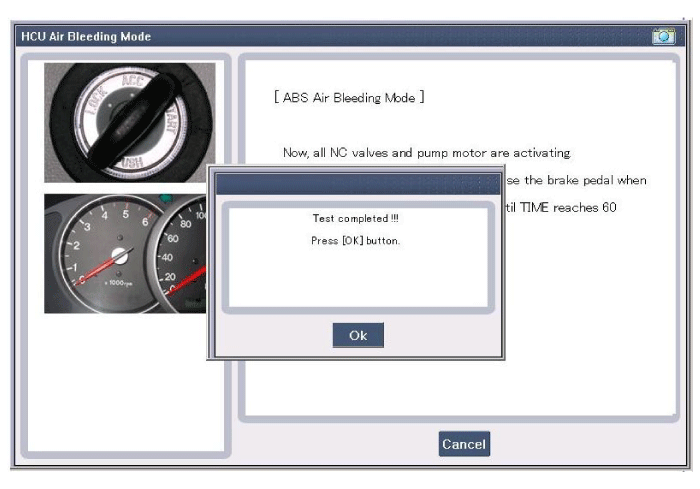
Wait 60 seconds before performing the air bleeding operation. (Otherwise, the engine may be damaged.)
Perform air bleeding.
Depress the brake pedal several times, then loosen the bleeder screw until fluid flows out without bubbles. Then close the bleeder screw (A). Front Disc BrakeRear Disc Brake [without EPB]Rear Disc Brake [with EPB]
Repeat step 5 until there are no bubbles in the fluid for each wheel.
Follow this procedure when bleeding air initially after installing a new EPB caliper. Brake System Bleeding This procedure must be performed to ensure proper air bleeding and filling of the ESC unit, brake lines, and master cylinder with brake fluid.
?
Test yourself
A quick Kia Cee'd quiz: every answer comes with an explanation and a link to the manual page.