Fan
Components and Component Location
Components
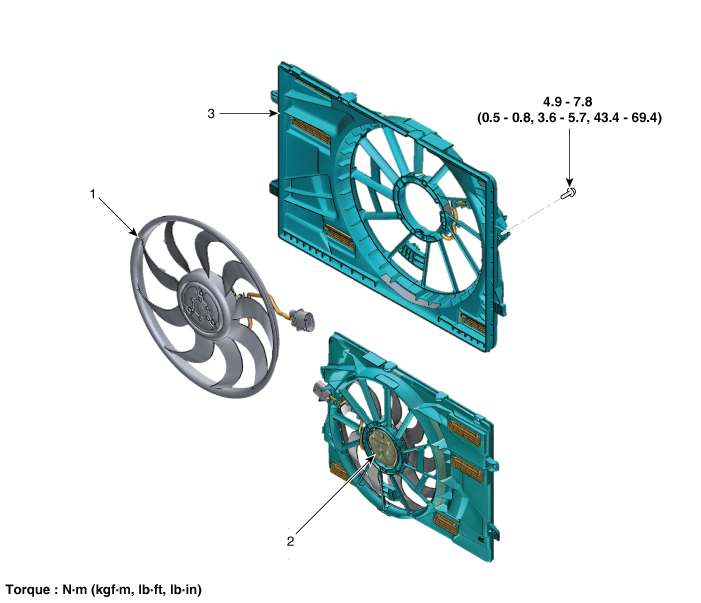
| 1. Cooling fan 2. Cooling fan motor |
3. Cooling fan shroud |
Specifications
Specifications
| Item | Specification |
| Fan Type | PULLER |
| Blower Speed Control | Resistor |
| Air flow rate (m³/h) | 1950 - 8% min. |
| Fan Speed (rpm) | 1650 ± 8% |
| Current (A) | 11.7 +10% max. |
Circuit Diagrams
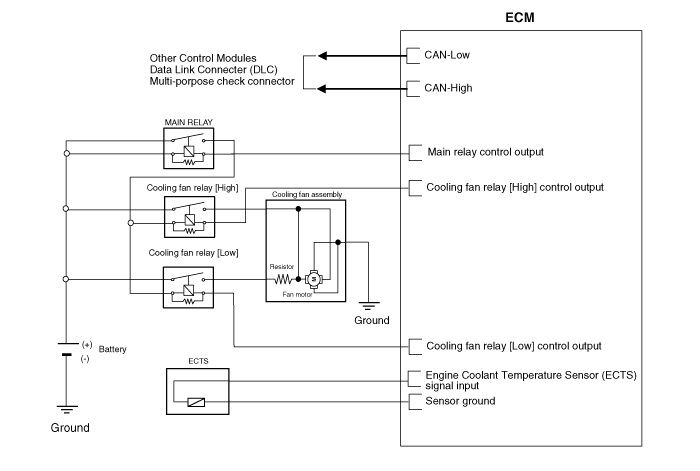
Wiring Diagram
Repair Procedures
Removal and Installation
Cooling Fan Assembly
Disconnect the negative battery cable.
Remove the air duct.
(See Intake and Exhaust System - Air Cleaner)
Disconnect the wire harness connector (A).

Separate the deaeration hose (A) from the cooling fan.
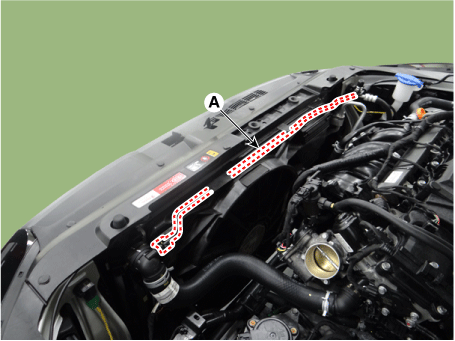
Remove the cooling fan assembly (A) from the radiator.
Tightening torque:
4.9–7.8 N·m (0.5–0.8 kgf·m, 3.6–5.8 ft-lbf, 43.4–69.4 in-lbf)

Install in the reverse order of removal.
Disassembly
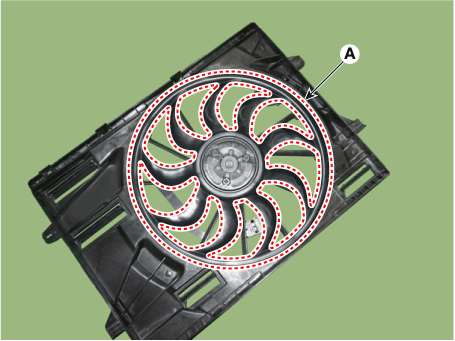
Remove the cooling fan and cooling fan motor (A) from the cooling fan shroud.
Tightening torque:
4.5–5.0 N·m (0.45–0.5 kgf·m, 3.3–3.6 ft-lbf, 39.1–43.4 in-lbf)
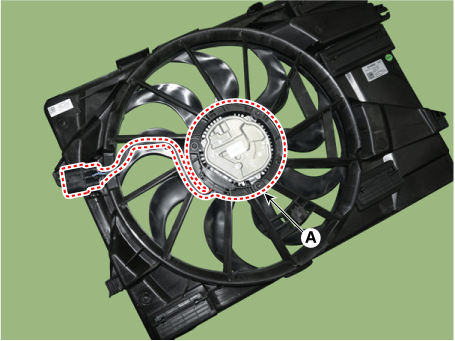
Installation is in the reverse order of removal.
Inspection
Turn the ignition off and connect the KDS to the data link connector.
With the shift lever in P (Park) and the ignition on (power button LED lit red), select the "Force Drive" function.
Forcibly operate the cooling fan motor.
[Fan Motor Low Speed]
Run the "Fan Motor Low Speed" force drive function.
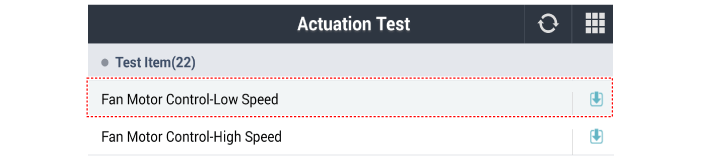
Force drive by pressing the start button.
Visually check the operation of the cooling fan.
Stop the force drive by pressing the stop button.
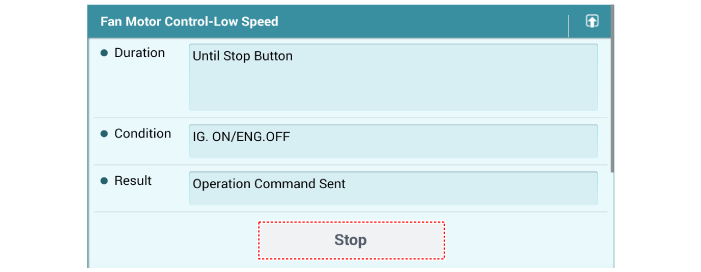
[Fan Motor High Speed]
Run the "Fan Motor High Speed" force drive function.
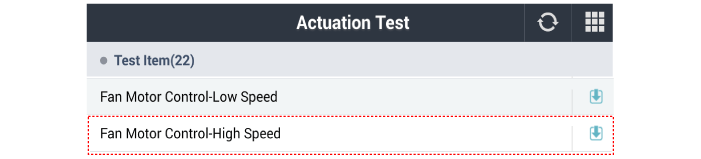
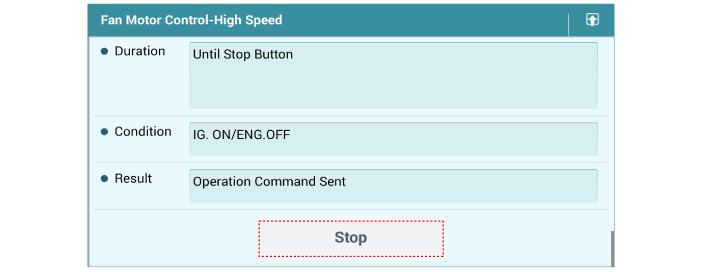
Force drive by pressing the start button.
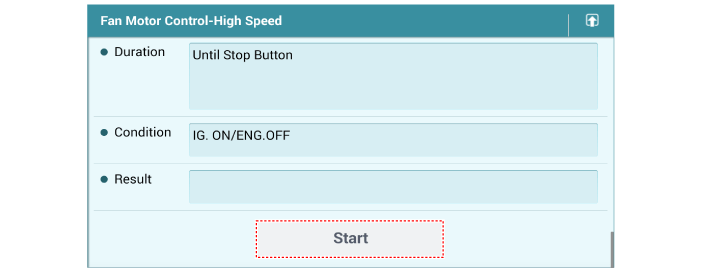
Visually check the operation of the cooling fan.
Stop the force drive by pressing the stop button.
Test yourself
A quick Kia Optima DL3 quiz: every answer comes with an explanation and a link to the manual page.