Engine Mounting
Components and Component Location
Components
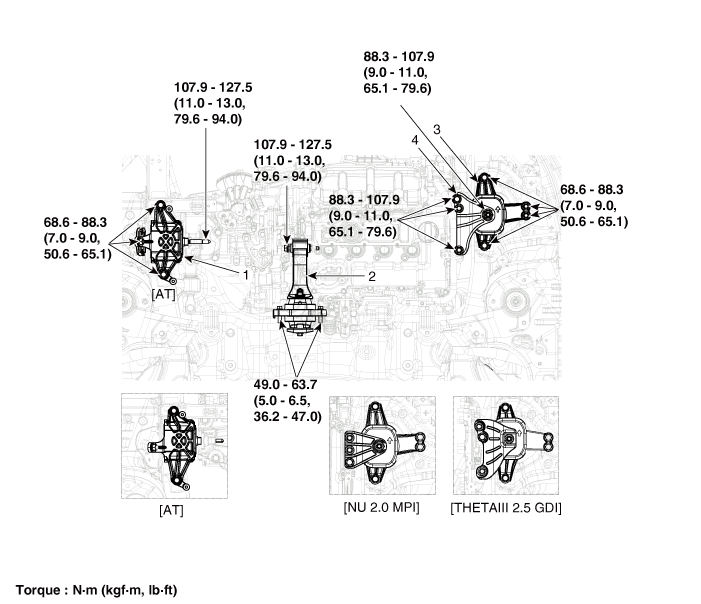
| 1. Transaxle Mounting Bracket 2. Roller Rod Bracket |
3. Engine Mounting Bracket 4. Engine Mounting Support Bracket |
Repair Procedures
Removal and Installation
Engine Mounting Bracket
Remove the engine room cover.
(See Engine and Transaxle Assembly - Under Hood)
Place a jack under the edge of the oil pan to support the engine.
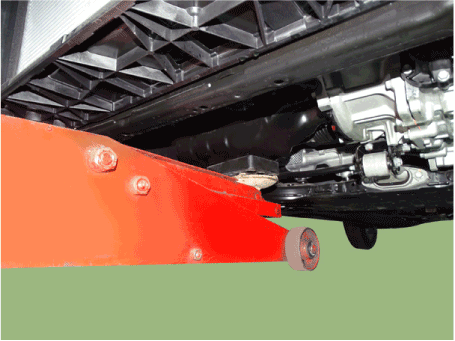
Remove the engine mount support bracket (A).
Tightening torque: 88.3–107.9 N·m (9.0–11.0 kgf·m, 65.1–79.6 ft-lbf)
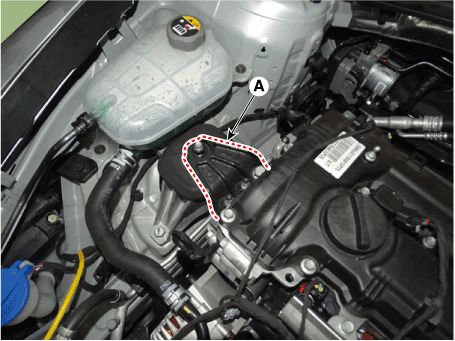
Remove the engine mounting bracket (A).
Tightening torque: 68.6–88.2 N·m (7.0–9.0 kgf·m, 50.6–65.0 ft-lbf)
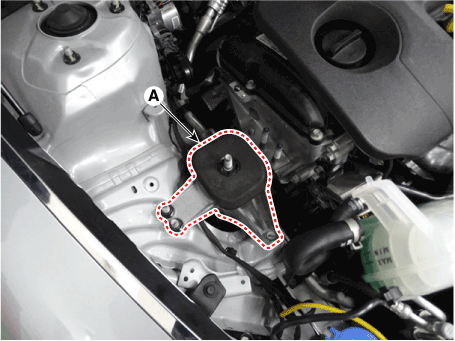
Install in the reverse order of removal.
Transaxle Mounting Bracket
Disconnect the negative battery cable.
Remove the engine room cover.
(See Engine and Transaxle Assembly - Under Hood)
Remove the air cleaner assembly.
(See Intake and Exhaust System - Air Cleaner)
Remove the engine control module (ECM).
(Refer to Engine/Fuel System - "Engine Control Module (ECM)").
Remove the battery and battery tray.
(Refer to Engine Electrical System - Battery)
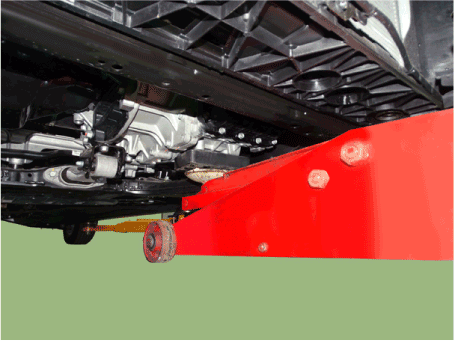
Place a jack under the transaxle to support it.
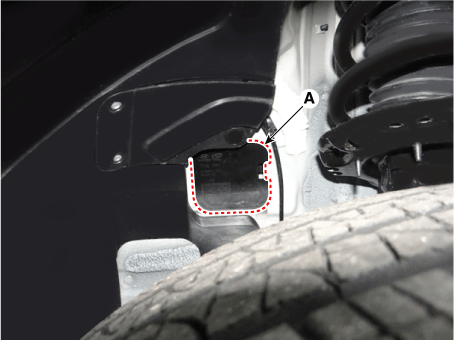
Remove the transaxle mounting side panel seal (A).
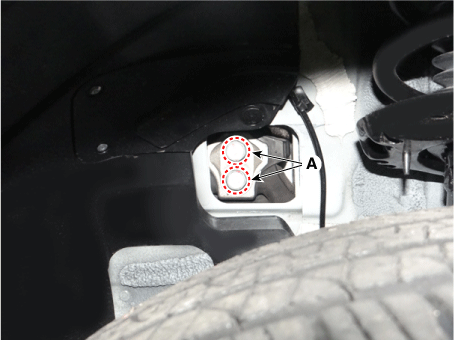
Remove the bolt (A) from the transaxle support bracket.
Tightening torque: 107.8–127.4 N·m (11.0–13.0 kgf·m, 79.5–94.0 ft-lbf)
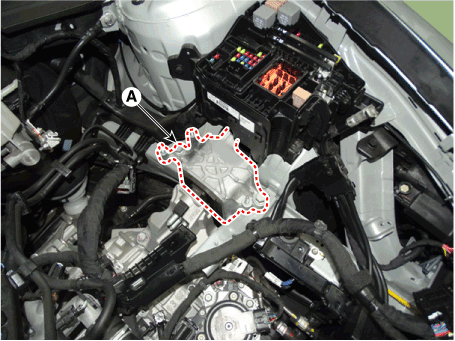
Remove the transaxle mounting bracket (A).
Tightening torque: 68.6–88.2 N·m (7.0–9.0 kgf·m, 50.6–65.0 ft-lbf)
Install in the reverse order of removal.
Roll Rod Bracket
Remove the engine room cover.
(See Engine and Transaxle Assembly - Under Hood)
Remove the idler arm bracket (A).
Tightening Torque
Bolt (B):
107.9–127.5 N·m (11.0–13.0 kgf·m, 79.6–94.0 ft-lbf)
Bolts (C):
49.0–63.7 N·m (5.0–6.5 kgf·m, 36.2–47.0 ft-lbf)
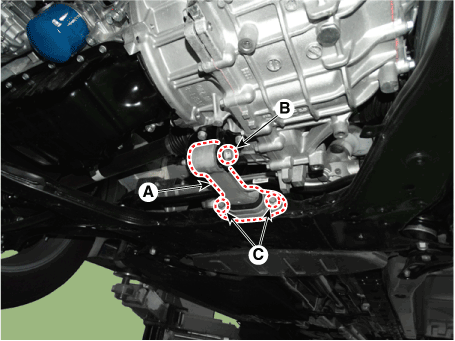
Remove the roller rod support bracket (A).
Tightening torque: 49.0–68.6 N·m (5.0–7.0 kgf·m, 36.2–50.6 ft-lbf)
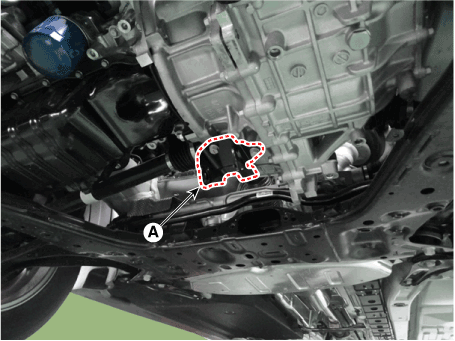
Install in the reverse order of removal.
Test yourself
A quick Kia Optima DL3 quiz: every answer comes with an explanation and a link to the manual page.