Front Brake Disc
Components and Component Location
Components
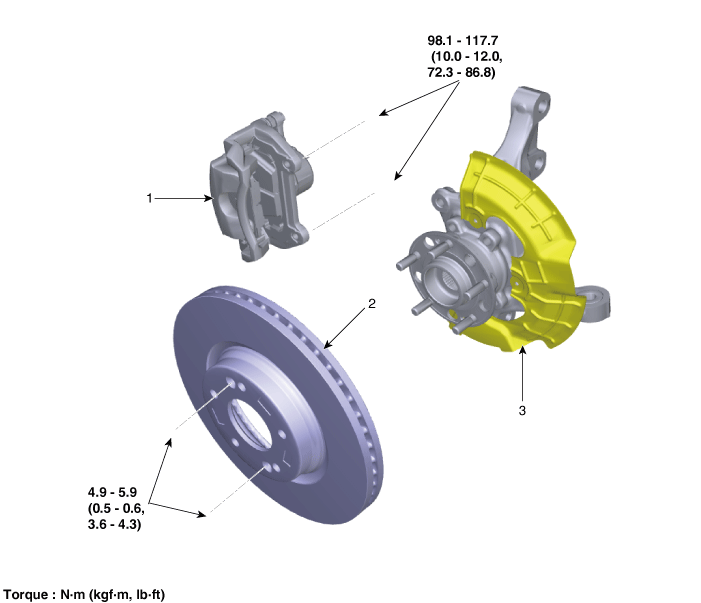
| 1. Front Brake Caliper 2. Front Brake Disc |
3. Front Axle |
Repair Procedures
Removal
Disconnect the negative (-) battery cable.
Remove the front wheel and tire.
(See Suspension System — Wheel)
Loosen the guide pin bolt, then rotate the caliper body (A) upward.
Tightening torque: 21.6–31 N·m
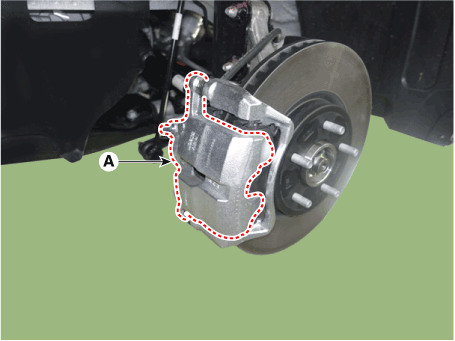
Remove the brake pad (A).
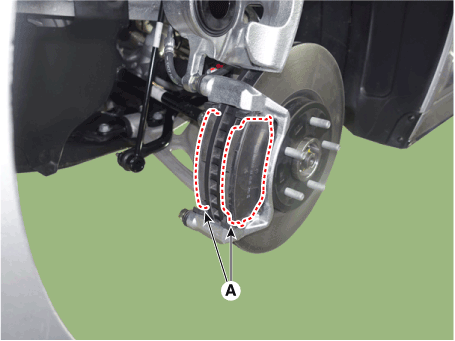
Remove the pad retainer (A).
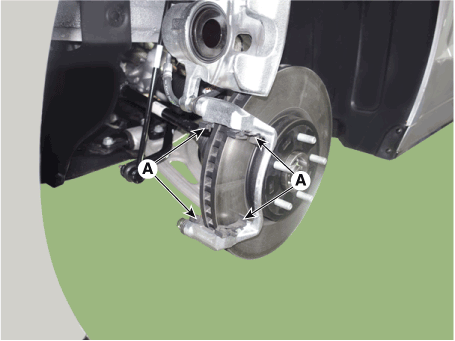
Remove the caliper support (A) by loosening the caliper mounting bolts.
Tightening torque: 98.1–118 N·m
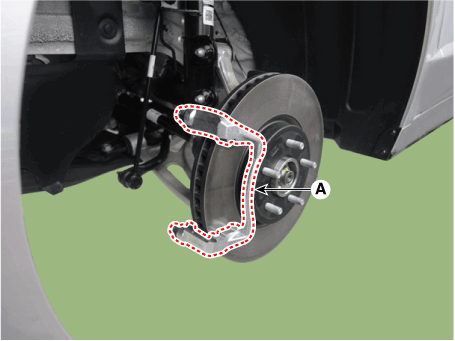
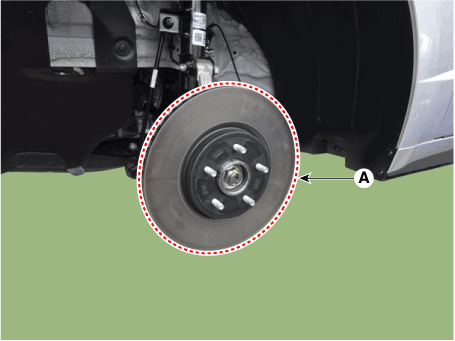
Remove the front brake disc (A) by loosening the screws.
Tightening torque: 4.9–5.8 N·m
Inspection
Inspect Front Brake Disc Thickness
Inspect the brake disc for damage and cracks.
Remove all rust and contaminants from the surface and measure the disc thickness at no fewer than 8 points at equal distances (5 mm) from the outer edge of the brake disc.
Front brake disc thickness
- 16 inch Standard: 25 mm (0.98 in.)
- 16 inch Service Limit: 23 mm (0.90 in.)
- 17 inch Standard: 30 mm (1.18 in.)
- 17 inch Service Limit: 28 mm (1.10 in.)
- Deviation: Less than 0.005 mm (0.0002 in.)
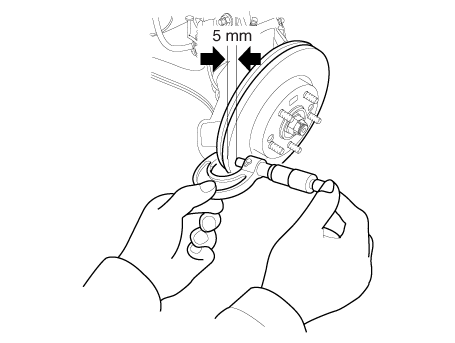
If wear exceeds the service limit, replace the discs and pads as a set, left and right of the vehicle.
Inspect Front Brake Disc Runout
Position the dial indicator approximately 5 mm (0.20 in.) from the outer edge of the brake disc and measure the disc runout.
Brake disc runout Limit: 0.040 mm (0.0016 in.) or less (new)
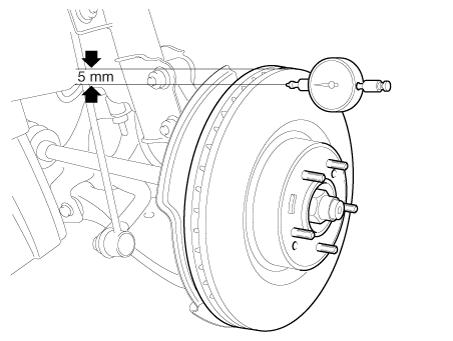
If brake disc runout exceeds the limit, replace the disc, then measure the runout again.
If the runout is not more than the limit, install the brake disc by rotating it 180°, then check the brake disc runout again.
Installation
Install in the reverse order of removal.
Use SST (09581-11000) when installing the brake caliper assembly.
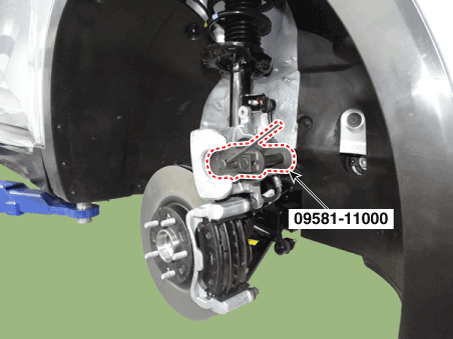
After installation, bleed the brake system.
(Refer to Brake System - "Brake Bleeding Procedures")
Check for brake fluid leakage and pedal condition.
Test yourself
A quick Kia Optima DL3 quiz: every answer comes with an explanation and a link to the manual page.