Engine Mechanical System
Cylinder head cover
In this manual: Engine Mechanical System
21steps
~126min
4/5difficulty
Done 0 of 21
Components and Component Location
Components
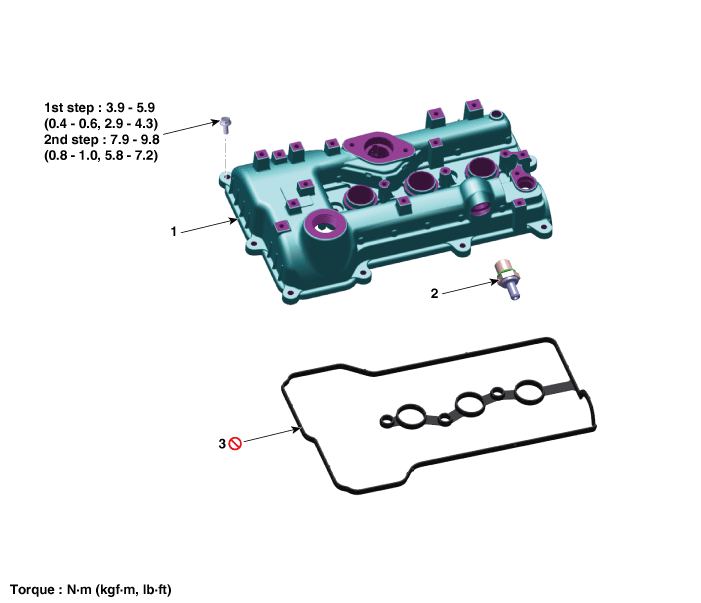
| 1. Oil Filler Cap 2. Cylinder Head Cover |
3. Cylinder Head Cover Gasket |
Repair Procedures
Removal
- Disconnect the negative battery cable.
- Remove the air cleaner assembly. (Refer to Air Intake and Exhaust System - "Air Cleaner").
- Drain the engine coolant. (Refer to Cooling System - "Engine Coolant")
- Disconnect the wiring connectors and wiring harness clips, and remove the wiring protector around the intake manifold and cylinder head cover.
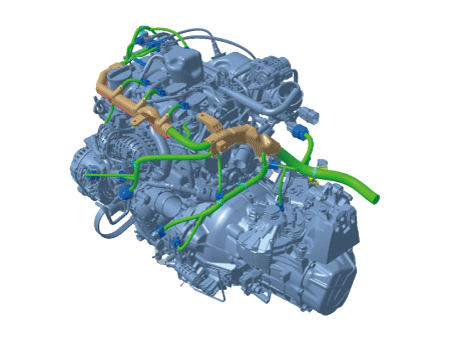
- Disconnect the fuel hose (A).

- Remove the heated oxygen sensor (HO2S). (Refer to Engine Control System / Fuel System - "Heated Oxygen Sensor (HO2S)").
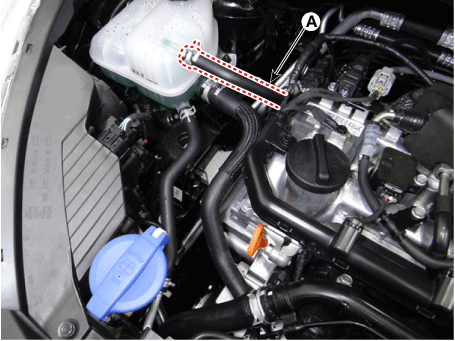
- Disconnect the coolant hose (A).
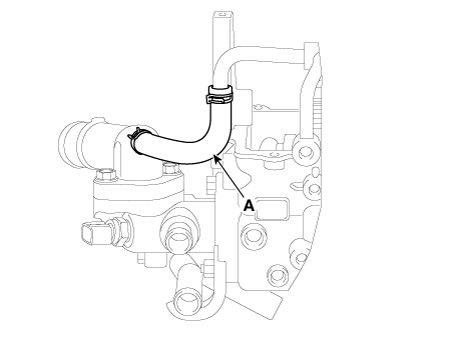
- Disconnect the turbocharger water drain hose (A).
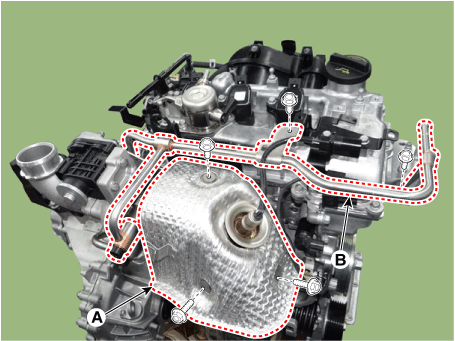
- Remove the heat shield (A) of the turbo manifold module.
Tightening Torque: 9.8–11.8 N·m
- Remove the turbocharger water pipe (B). Tightening Torque: Water pipe mounting bolt: 9.8 - 11.8 N·m Banjo bolt: 26.5 - 32 N·m
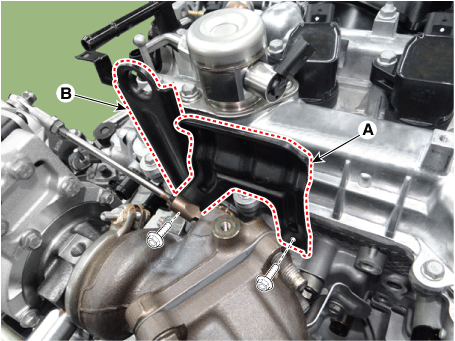
- Remove the heat shield (A) and the engine mount bracket (B).
Tightening torque: 18.6 – 24 N·m
- Remove the high pressure fuel pump. (Refer to Engine Control/Fuel System - "High Pressure Fuel Pump")
- Remove the ignition coil. (Refer to Engine Electrical System - "Ignition Coil")
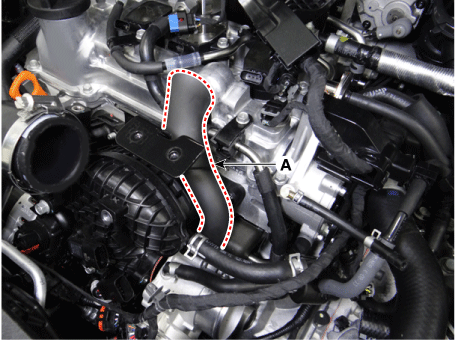
- Disconnect the positive crankcase ventilation (PCV) hose (A).
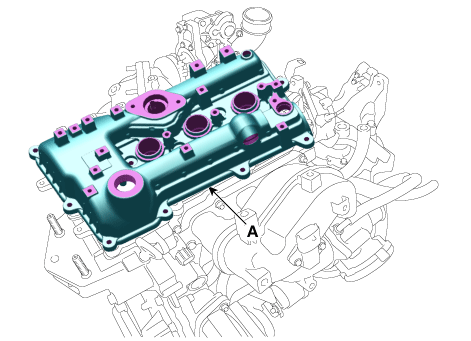
- Remove the cylinder head cover (A) with the gasket.
Installation
- Install a new cylinder head cover gasket (A).
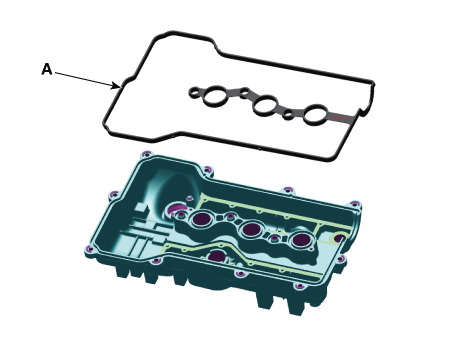
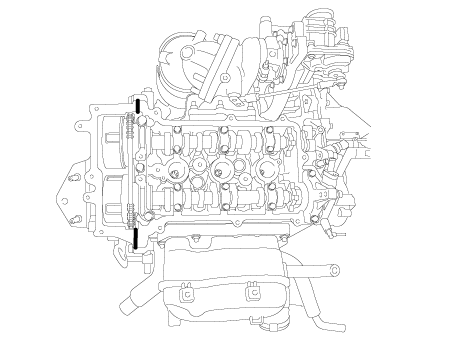
- Apply hardening sealant to the upper part between the timing chain cover and the oil pump assembly. The cylinder head assembly and cylinder head cover must be removed before assembly.
- Assemble within 5 minutes after applying the sealant.
Bead width: 2.0–3.0 mm (0.08–0.12 in.)
- Install the cylinder head cover (A).
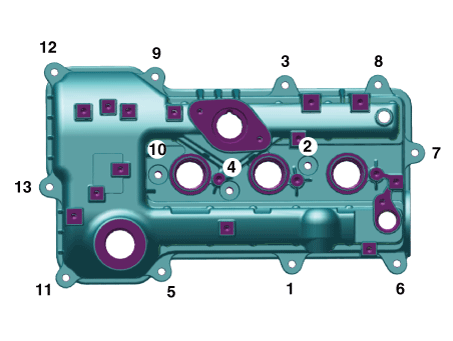
- Install the cylinder head cover bolts using the following two-step method. Tightening Torque: Step 1: 3.9 - 5.9 N·m Step 2: 7.8 - 9.8 N·m
- Install the remaining parts in the reverse order of removal.
Test yourself
A quick Kia Picanto JA quiz: every answer comes with an explanation and a link to the manual page.
Was this page helpful?