Front lower arm
Repair Procedures
Removal
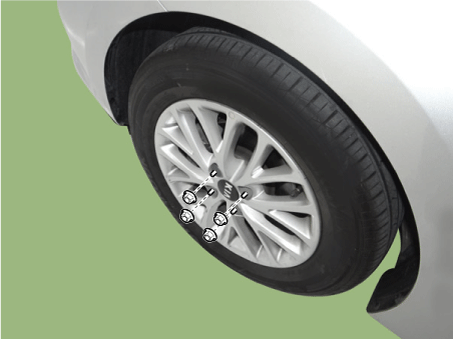
Remove the wheel nuts, front wheel and tire from the front hub.
Tightening torque: 107.9–128 N·m
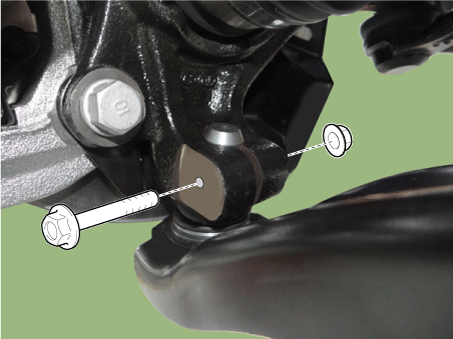
Remove the lower arm bolt and nut (A).
Tightening torque: 58.8–71 N·m
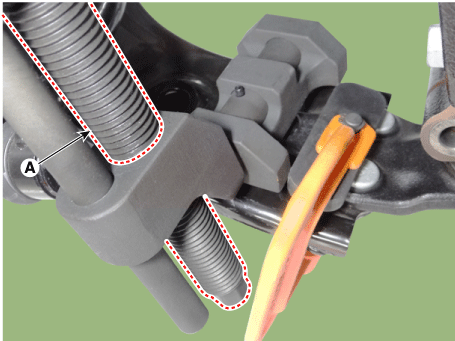
Remove the front lower arm from the front steering knuckle using SST (0K545-A9100).
After removing the bolts from the front steering knuckle, install and tighten the body bolt (A).
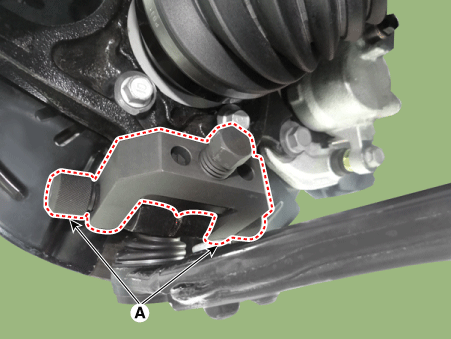
Insert the auxiliary body (B) between the front knuckle and the auxiliary body bolt.
Tighten the auxiliary body bolt (C) to increase the clearance of the front joint.
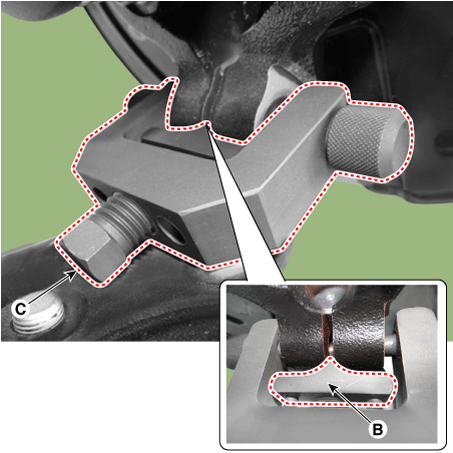
Install the safety wire (A).
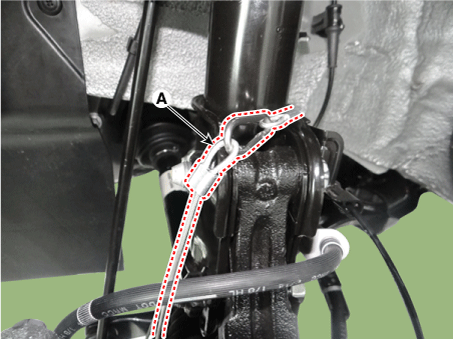
Install the main body (A) between the front strut and the lower arm.
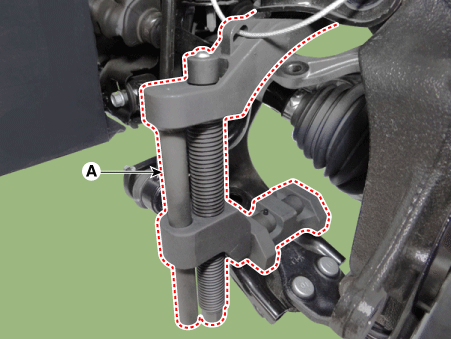
To prevent the main body from separating, install the locking clamp (A) next to the main body.
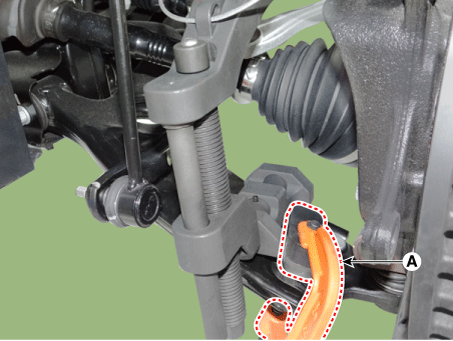
After installing the body (A), turn the handle (B) clockwise to secure it to the lower arm with the clamp.
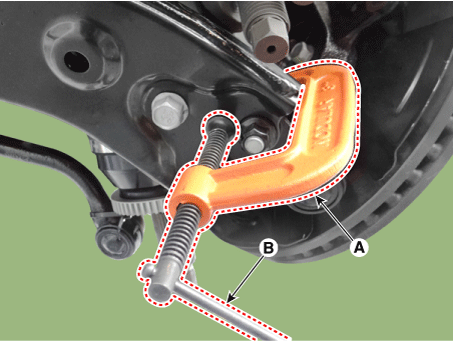
Slowly tighten the main body bolt (A) and separate the lower arm from the front joint.
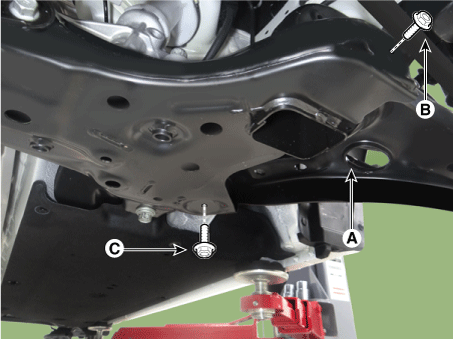
Remove the lower arm (A) from the sub frame.
Tightening torque:
B: 117,7–137 N·m
C: 156,9–176 N·m
Install in the reverse order of removal.
Check the wheel alignment.
(See Tires/Wheels - "Wheel Alignment")
Ball Joint of Lower Arm
Remove the front lower arm.
(Refer to Suspension System - Front Lower Arm).
Remove the snap ring (A) from the lower arm ball joint.
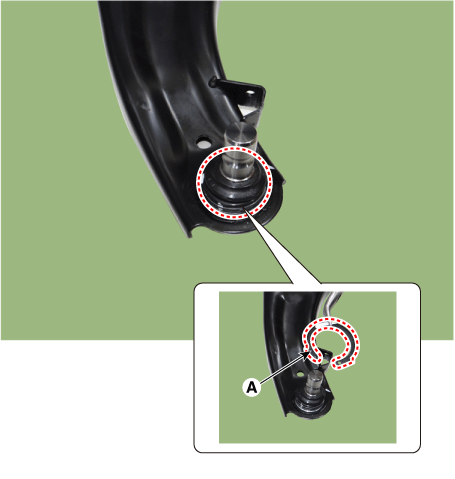
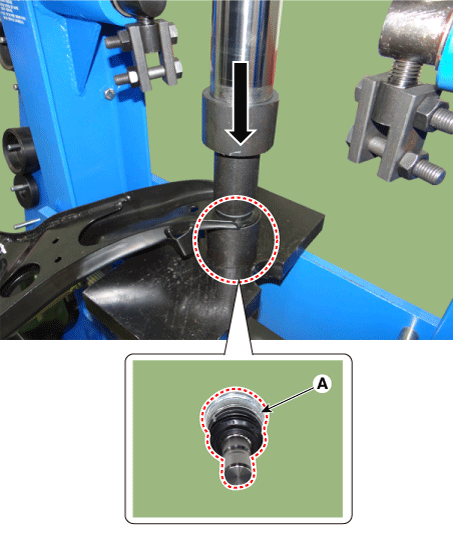
Using a press, remove the ball joint (A) from the lower arm.
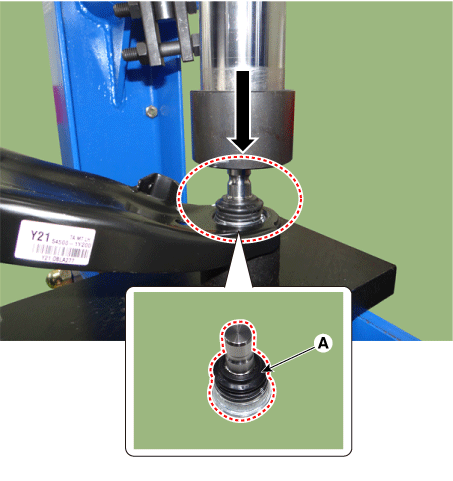
Using a press, install a new ball joint.
Inspection
Inspect the bushing for wear and damage.
Inspect the lower arm for bending or cracks.
Inspect the lower arm for deformation.
Check all bolts and nuts.
Test yourself
A quick Kia Rio YB quiz: every answer comes with an explanation and a link to the manual page.