Using compressed air can cause dirt and other particles to fly out, causing injury to the eyes. Wear protective eyes whenever using compressed air.
Caution
Clean the transaxle exterior throughout with a steam cleaner or cleaning solvents before removal.
If any old sealant gets into the transaxle during installation of the oil pan, trouble may occur in the transaxle case and oil pan. Clean with cleaning fluids.
1. Disconnect the negative battery cable.
2. Drain the ATF into a separate suitable container. (See AUTOMATIC TRANSAXLE FLUID (ATF) REPLACEMENT.)
3. Remove the under cover.
4. Remove the front tires and splash shield.
5. Remove the crossmember. (See FRONT CROSSMEMBER REMOVAL/INSTALLATION.)
6. Remove the oil pan.
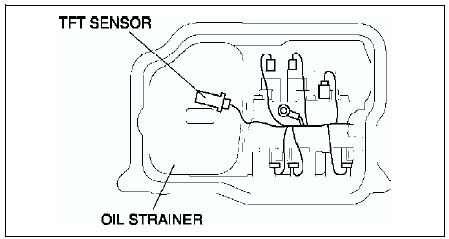
7. Disconnect the transaxle connectors and transaxle fluid temperature (TFT) sensor connector.
8. Remove the oil strainer.
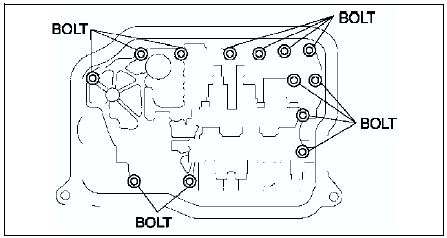
9. Remove the control valve body installation bolts A as shown, then remove the control valve body component as shown.
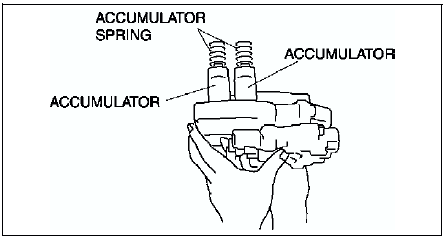
10. Remove the accumulators and accumulator springs.
?
Test yourself
A quick Mazda 6 quiz: every answer comes with an explanation and a link to the manual page.