In this manual: Body Exterior, Doors, Roof & Vehicle Security
~4min read
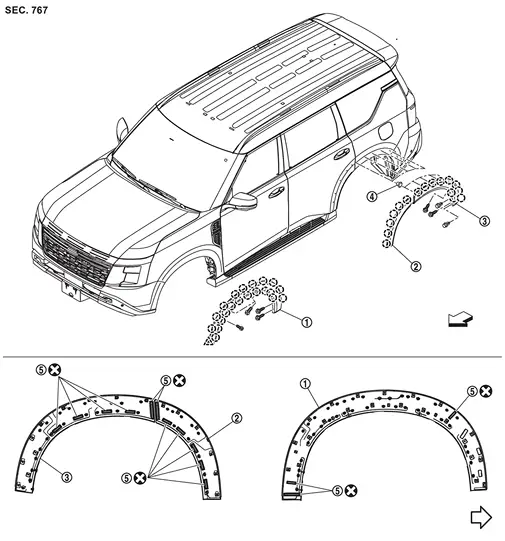
Exploded View
Front fillet molding
Rear fillet molding front
Rear fillet molding rear
Grommet
Double-sided tape
[t: 1.2 mm (0.047 in)]
: Clip
: Pawl
: vehicle front
: Always replace after every disassembly.
Front Fillet Molding
Removal and Installation
REMOVAL
Remove front fillet molding fixing screws .
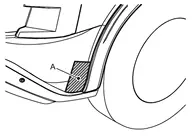
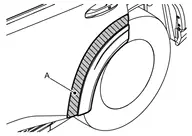
Apply protective tape (A) on the part to protect it from damage.
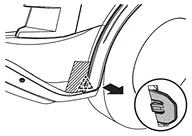
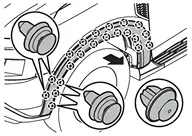
Disengage front fillet molding fixing pawl indicated by arrows as shown in the figure.
: Pawl
Disengage fixing clips, and then remove front fillet molding indicated by arrows as shown in the figure.
: Clip
INSTALLATION
Note the following items, and then install in the reverse order of removal.
Rear Fillet Molding Front
Removal and Installation
REMOVAL
Apply protective tape (A) on the part to protect it from damage.
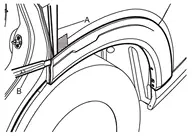
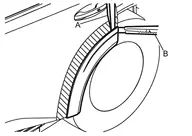
Insert a remover tool (A) between rear fillet molding front and rear door panel, cut double-sided tape using a cutter (B) while lifting rear fillet molding front.
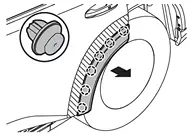
Disengage fixing clips, and then remove rear fillet molding front indicated by arrows as shown in the figure.
: Clip
INSTALLATION
Note the following items, and then install in the reverse order of removal.
Rear Fillet Molding Rear
Removal and Installation
REMOVAL
Remove rear fillet molding rear fixing clips and screws .
Apply protective tape (A) on the part to protect it from damage.
Insert a remover tool (A) between rear fillet molding rear and rear fender panel, and then cut double-sided tape using a cutter (B) while lifting rear fillet molding rear.
Disengage fixing clips, and then remove rear fillet molding rear indicated by arrows as shown in the figure.
: Clip
INSTALLATION
Note the following items, and then install in the reverse order of removal.


 .

 .