Installation
INSTALLATION
PRECAUTION / NOTICE / HINT
HINT:
- Repeat the same procedure for the right side and the left side.
- The following procedure applies to the left side.
PROCEDURE
1. INSTALL BACK DOOR STAY LOWER BRACKET
(a) Clean the threaded part of the vehicle body using a residue-free solvent.
(b) Apply adhesive to the threads of the 2 bolts.
Adhesive:
Adhesive 1324, Three Bond 1324 Toyota genuine or equivalent
(c) Install the 2 bolts and the back door stay lower bracket.
Torque:
7.5 N·m {76 kgf·cm, 66 in·lbf}
2. INSTALL BACK DOOR STAY UPPER BRACKET
(a) Clean the threaded part of the vehicle body using a residue-free solvent.
(b) Apply adhesive to the threads of the 2 bolts.
Adhesive:
Adhesive 1324, Three Bond 1324 Toyota genuine or equivalent
(c) Install the back door stay upper bracket with the 2 bolts.
Torque:
7.5 N·m {76 kgf·cm, 66 in·lbf}
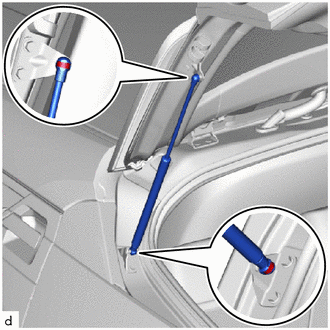
3. INSTALL BACK DOOR STAY ASSEMBLY
CAUTION:
- Do not perform the work if the back door is not properly supported.
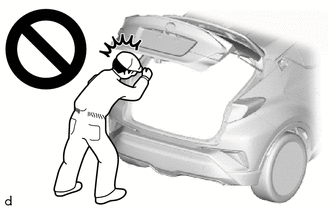
- The back door may fall and cause serious injury.
NOTICE:
- If possible, avoid touching the piston rod to prevent foreign matter from adhering to it. Be sure to hold the cylinder during maintenance.
- Do not handle the piston rod with cotton gloves or similar materials. Fibers may adhere to the rod and cause gas leakage.
- Do not apply any horizontal load to the back door stay to prevent deforming the piston rod.
(a) When reusing the back door stay assembly:
(1) Install the 2 retaining rings to the back door stay assembly.
(b) Install the back door stay assembly. NOTICE:
|
 |