Rear No.2 Seat
COMPONENTS
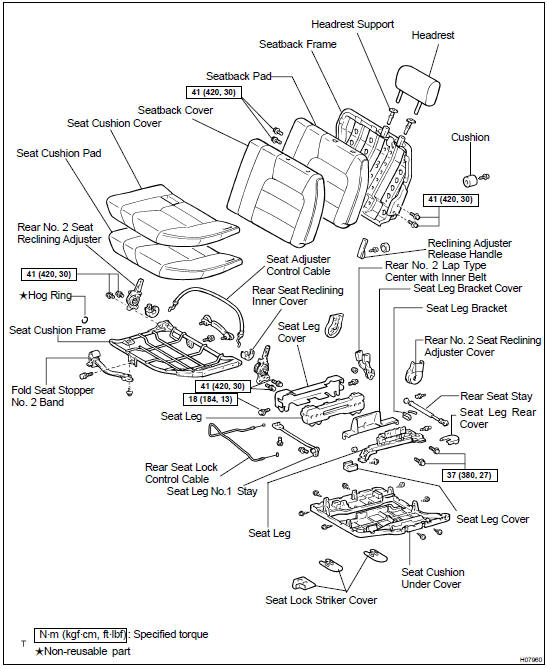
DISASSEMBLY
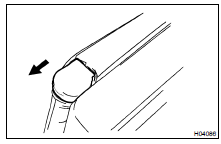
1. REMOVE RECLINING ADJUSTER RELEASE HANDLE

(a) Using a screwdriver, remove the cover.
HINT: Tape the screwdriver tip before use.
(b) Remove the screw and reclining adjuster release handle
2. REMOVE REAR NO. 2 SEAT RECLINING ADJUSTER COVERS
Remove the No. 2 rear seat reclining covers.
3. REMOVE SEATBACK ASSEMBLY
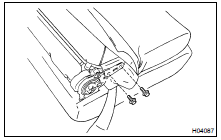
(b) Remove the 4 bolts and seatback assembly.
Torque: 41 N·m
4. REMOVE HEADREST
Remove the headrest.
5. REMOVE SEATBACK COVER
(a) Remove the headrest supports. (b) Remove the cushion. (c) Remove the seatback cover with pad from the seatback frame.(d) Remove the seatback cover from the seatback pad.
6. REMOVE REAR NO. 2 LAP TYPE CENTER WITH INNER BELT
Remove the nut and rear No. 2 lap type center with inner belt.
7. REMOVE REAR SEAT LOCK CONTROL CABLE
8. REMOVE REAR SEAT STAY
Remove the 2 bolts and rear seat stay.
9. REMOVE ADJUSTER
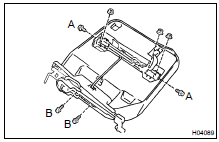
(b) Remove the 4 bolts.
Torque:
A bolt: 18 N·m B bolt: 37 N·m
(e) Remove the 2 screws and seat leg No. 1 stay.
10. REMOVE SEAT LEG BRACKET
11. REMOVE SEAT LEG REAR COVER
12. REMOVE SEAT LEG COVER
13. REMOVE SEAT CUSHION UNDER COVER
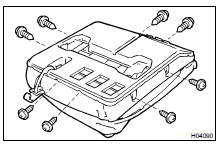
(b) Using a screwdriver, disengage the hooks.
HINT: Tape the screwdriver tip before use.
(c) Remove the 8 screws.(d) Remove the seat cushion under cover.
14. REMOVE SEAT ADJUSTER CONTROL CABLE
15. REMOVE SEAT RECLINING INNER COVERS
16. REMOVE REAR NO. 2 SEAT RECLINING ADJUSTERS
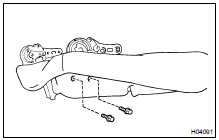
(a) Remove the 4 bolts.
Torque: 41 N·m
(b) Remove the rear No. 2 seat reclining adjusters.
17. REMOVE SEAT CUSHION COVER
(a) Remove hog rings and seat cushion frame.
HINT: At the time of reassembly, please refer to the following item.
When installing hog rings, take care to prevent wrinkles as little as possible.
(b) Remove the seat cushion cover from the seat cushion pad.
18. REMOVE HOLD SEAT STOPPER NO. 2 BAND
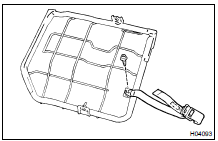
(b) Remove the hold seat stopper No. 2 band.
REASSEMBLY
Reassembly is in the reverse order of disassembly
Test yourself
A quick Toyota Land Cruiser quiz: every answer comes with an explanation and a link to the manual page.