Suspension
Rear shock absorber
In this manual: Suspension
19steps
~114min
4/5difficulty
Done 0 of 19
Components
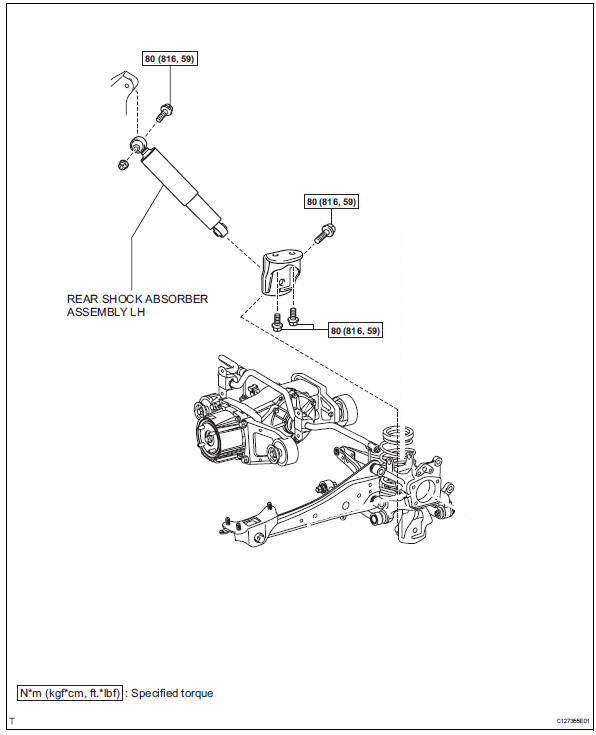
Removal Hint
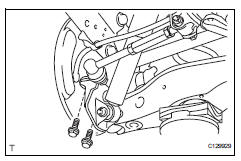
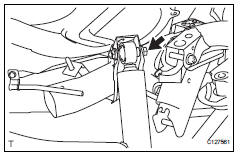
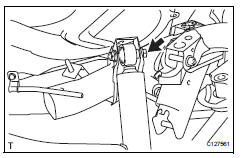
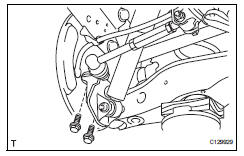
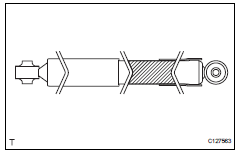
Removal Hint
- Use the same procedures for the rh side and lh side.
- The procedures listed below are for the lh side.
- Remove rear wheel
- Remove rear shock absorber assembly lh
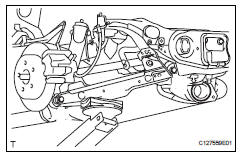
- Support the no. 2 Suspension arm lh with a jack.
Place a wooden or rubber block between the jack and arm.
- Remove the bolt and 2 nuts from the suspension member and axle carrier.
- Remove the 2 bolts and disconnect the shock absorber with the bracket.
- Remove the nut and bolt from the shock absorber upper side.
- Remove the shock absorber from the vehicle.
- Remove the nut and bolt from the bracket.
While fixing the nut in place, loosen and remove the bolt.
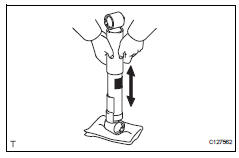
Inspection- Inspect rear shock absorber assembly lh
- Compress and extend the shock absorber rod, and check that there is no abnormal resistance or unusual sound during operation.
- Use the same procedures for the rh side and lh side.
- The procedures listed below are for the lh side.
- Temporarily install rear shock absorber assembly lh
- Temporarily install the bracket to the shock absorber with the bolt and nut.
Fix the nut in place and temporarily install the bolt.
- Temporarily install the shock absorber upper side to the suspension member with the bolt and nut.
Fix the nut in place and temporarily install the bolt.
- Install the shock absorber with the 2 bolts to the axle carrier.
- Temporarily install the suspension arm with the bolt and 2 nuts to the suspension member and axle carrier.
- Temporarily install rear upper control arm assembly lh (see page sp-40)
- Install rear wheel torque: 103 n*m (1,050 kgf*cm, 76 ft.*Lbf)
- Stabilize suspension
- Lower the vehicle.
- Press down on the vehicle several times to stabilize the suspension.
- Tighten rear shock absorber assembly lh
- Fix the nut in place and tighten the bolt.
- Inspect and adjust rear wheel alignment
- Inspect and adjust the rear wheel alignment (see page sp-7).
- Dispose of rear shock absorber assembly lh
- Fully extend the shock absorber rod, and clamp it in a vise at an angle.
- Using a drill, make a hole near the center of the cylinder in the hatched area shown in the illustration to discharge the gas inside.
- Wear protective glasses.
- Cover the area being cut.
The gas is colorless, odorless and harmless
Test yourself
A quick Toyota RAV4 quiz: every answer comes with an explanation and a link to the manual page.
Was this page helpful?