Suspension
Rear no. 1 Suspension arm
In this manual: Suspension
11steps
~71min
4/5difficulty
1special tools
Done 0 of 11
Components
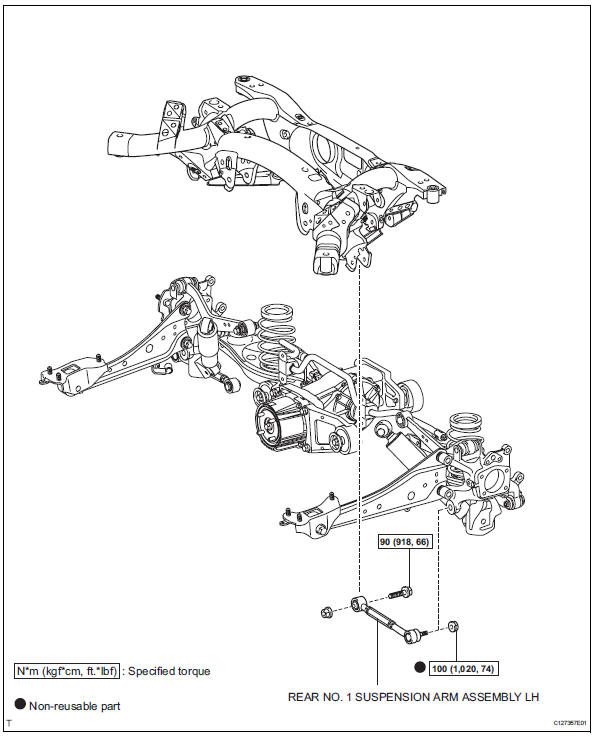
Removal Hint:
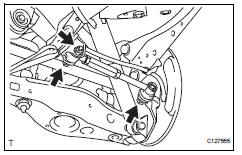
Removal Hint:
- Use the same procedures for the rh side and lh side.
- The procedures listed below are for the lh side.
- Remove rear wheel
- Remove rear no. 1 Suspension arm assembly lh
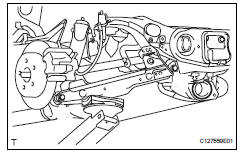
- Support the no. 2 Suspension arm lh.
- Remove the bolt and 2 nuts from the suspension member and axle carrier.
While fixing the nut in place, loosen and remove the bolt from the suspension member side.
- Using sst, disconnect the suspension arm from the axle carrier.
Do not damage the dust cover.
Inspection- Inspect rear no. 1 Suspension arm assembly lh
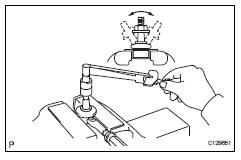
- As shown in the illustration, move the ball joint stud back and forth 5 times before installing the nut.
- Using a torque wrench, turn the nut continuously at a rate of 2 to 4 seconds per turn and take the torque reading on the fifth turn.
- Check for any cracks and grease leaks on the ball joint dust cover.
- Use the same procedures for the rh side and lh side.
- The procedures listed below are for the lh side.
- Temporarily tighten rear no. 1 Suspension arm assembly lh
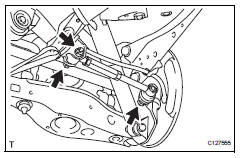
- Temporarily install the suspension arm with the bolt and 2 nuts to the suspension member and axle carrier.
- Install rear wheel
- Install the wheel.
- Tighten rear no. 1 Suspension arm assembly lh
- Install the nut and 2 bolts.
For the nut on the rear suspension member side, do not tighten the nut.
- Inspect and adjust rear wheel alignment
- Inspect and adjust the rear wheel alignment (see page sp-7).
Test yourself
A quick Toyota RAV4 quiz: every answer comes with an explanation and a link to the manual page.
Was this page helpful?