Brake system (hybrid)

Removing and installing brake master cylinder, LHD vehicles

~2min read

Special tools and workshop equipment required

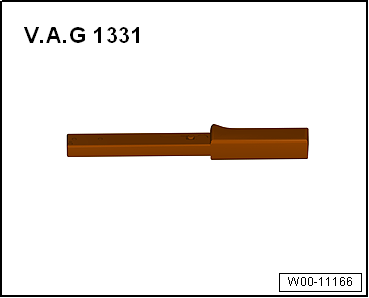
Torque wrench -V.A.G 1331-

Removing and installing brake master cylinder, LHD vehicles

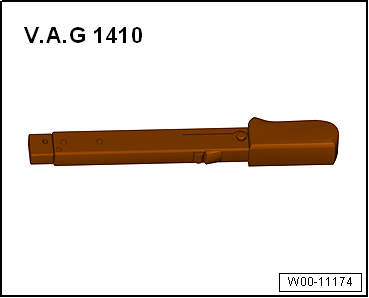
Torque wrench -V.A.G 1410-

Tool inserts (11 mm) -V.A.G 1331/2-

Removing and installing brake master cylinder, LHD vehicles

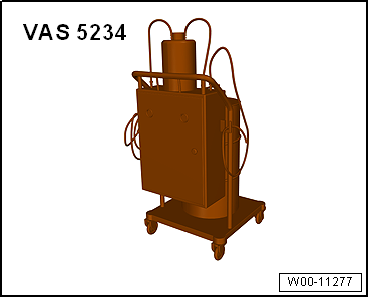
Brake filling and bleeding equipment -VAS 5234-

Removing and installing brake master cylinder, LHD vehicles

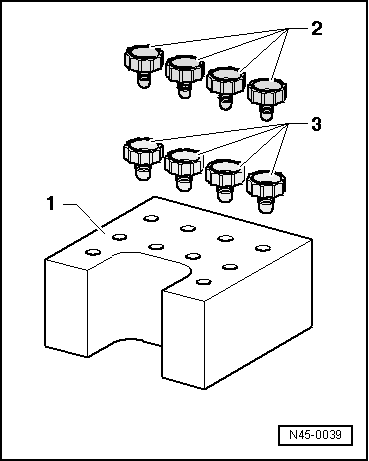
Sealing plug repair kit -1H0 698 311 A-

Removing:

  • Observe safety precautions when working in the area of high-voltage components → Chapter.
  • Observe the risk classification of the high-voltage system → Electric drive; Rep. gr.00.
Removing and installing brake master cylinder, LHD vehicles

Danger to life due to high voltage

The high-voltage system is under high voltage. If high-voltage components are damaged, there is a risk of severe or fatal injury due to electric shock.
  • Carry out visual inspection of high-voltage components and cables.
  • Never use cutting or forming tools, or any others with sharp edges.
  • Never use heat sources such as welding, soldering, thermal bonding or hot air.
  • Disconnect battery → Electrical system; Rep. gr.27.
  • Remove power and control electronics for electric drive -JX1- → Electrical system; Rep. gr.93.
  • Remove bracket for power and control electronics for electric drive -JX1- → Electrical system; Rep. gr.93.
  • Place sufficient lint-free cloths in area of engine, subframe and gearbox.
  • Draw off as much brake fluid as possible from brake fluid reservoir using brake filling and bleeding equipment -VAS 5234-.
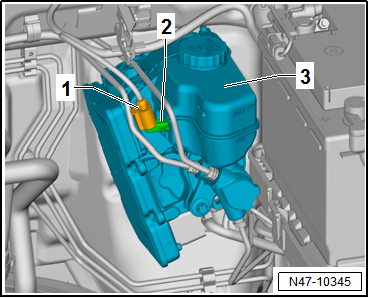
  • Release and pull off connector -1- for brake fluid level warning contact -F34--2- on brake fluid reservoir -3-.
Removing and installing brake master cylinder, LHD vehicles
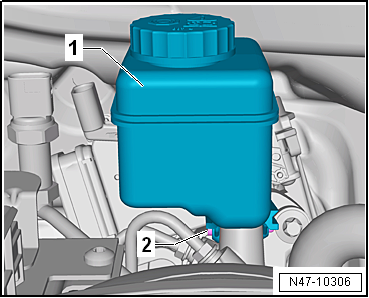
  • Unscrew bolt -2- and carefully pull off brake fluid reservoir -1- upwards.
Removing and installing brake master cylinder, LHD vehicles
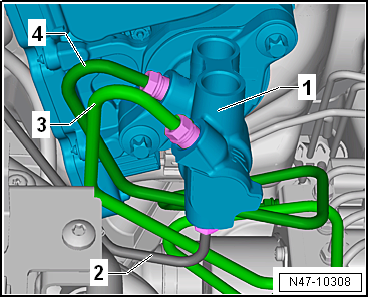
  • Mark position of brake lines -2 to 4- on brake master cylinder -1-.
  • Unscrew brake lines -2 to 4- from brake master cylinder -1-.
  • Seal threaded holes immediately using sealing plugs -1H0 698 311 A-.
  • Fit dust caps from the bleeder valves onto brake line.
Removing and installing brake master cylinder, LHD vehicles
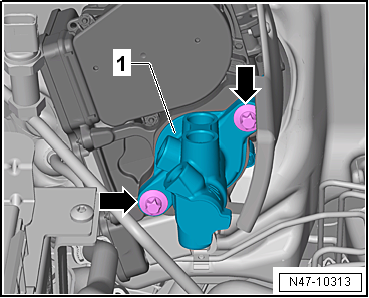
  • Remove bolts -arrows-.
  • Carefully take brake master cylinder -1- out of brake servo.

Installing:

Install in reverse order. Note the following points:

  • Thoroughly clean threaded hole for bolts → Item.
  • When assembling brake master cylinder with brake servo, make sure push rod is properly positioned in brake master cylinder.
  • When assembling brake master cylinder with brake servo, make sure seal → Item is seated correctly.
  • Fit sealing plugs onto brake fluid reservoir → Item.
  • Moisten sealing plugs → Item with brake fluid before pressing brake fluid reservoir into brake master cylinder.
  • Bleed brake system → Chapter.
  • Subsequently bleeding the brake system → Chapter.
  • Perform basic setting for electromechanical brake servo → Vehicle diagnostic tester.

Specified torques

→ Chapter „Assembly overview - brake servo/brake master cylinder, LHD vehicles“

→ Chapter „Assembly overview – Brake system pressure accumulator -VX70-“

→ Electrical system; Rep. gr.93

→ Electrical system; Rep. gr.27.

Removing and installing brake master cylinder, LHD vehicles

Test yourself

A quick Volkswagen Golf quiz: every answer comes with an explanation and a link to the manual page.