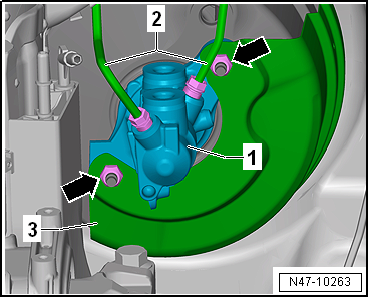
Removing and installing brake master cylinder, RHD vehicles
In this manual: Brake system
~4min read
Note If there are problems with the brake servo, first check the brake servo vacuum system → Chapter.
Special tools and workshop equipment required
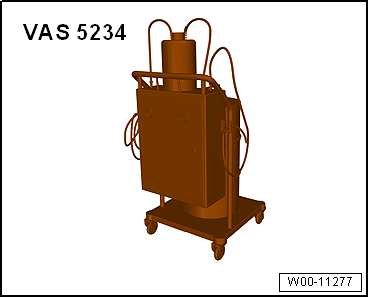
Brake filling and bleeding equipment -VAS 5234-
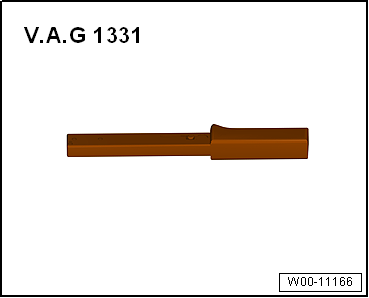
Torque wrench -V.A.G 1331-
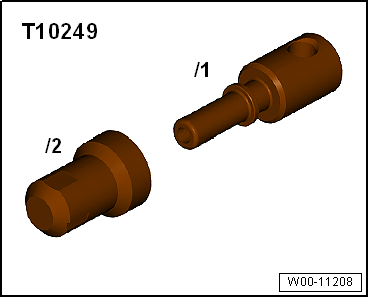
Sealing tool -T10249-
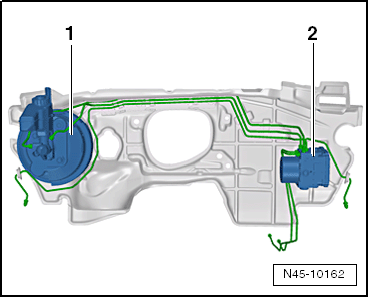
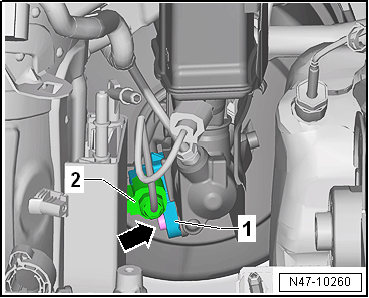
Fitting location of brake master cylinder in RHD vehicles:
1 -
Brake servo and brake master cylinder
2 -
ABS hydraulic unit -N55- and ABS control unit -J104-
Removing
If vehicle has a coded radio, note radio code or, if necessary, request it.
Vehicle with diesel engine:
Remove engine cover panel → Rep. gr.10.
The fuel system is pressurised.Risk of injury due to fuel which may spurt out.Wear eye pretection.Wear protective gloves.Release pressure: place clean cloth around connection, and carefully open connection.
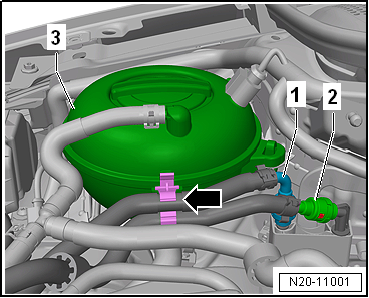
Release and pull off fuel supply lines -1- and -2-.
Separate plug-in connectors → Rep. gr.20.
Unclip fuel lines -1- and -2- from retainer -arrow- on coolant reservoir -3-.
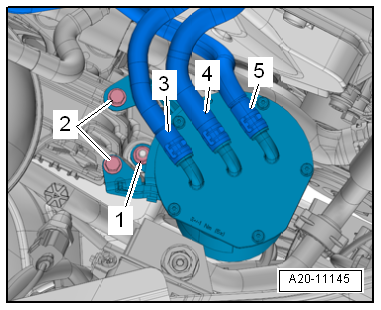
Remove securing bolts -2-.
Unscrew nut -1-.
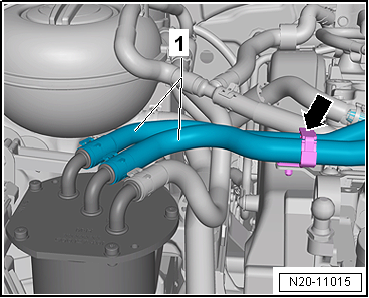
Open retainer -arrow- and unclip fuel lines -1-.
Then lay fuel filter to one side.
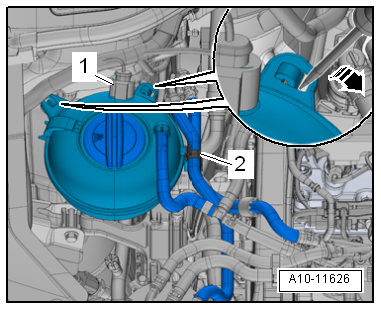
Release electrical connector -1- and pull off.
Release catches using a screwdriver -arrow-.
Place coolant expansion tank onto engine.
Remove upper toothed belt guard → Rep. gr.15.
Vehicles with manual gearbox:
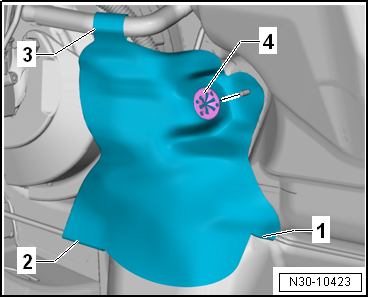
If present, remove heat shield.
To do so, remove clamping washer -4- from plenum chamber bulkhead.
Open snaps -1- to -3- on heat shield.
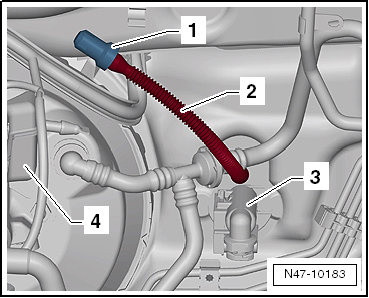
Pull return hose -2- for clutch sender cylinder -3- off brake fluid reservoir -4-.
Seal return hose -2- for clutch master cylinder -3- with sealing tool -T10249--1- or hose clips to 25 mm -3094-.
Raise and tie return hose -2- in place.
Vehicles with air conditioning:
Evacuate refrigerant circuit → Heating, air conditioning; Rep. gr.00.
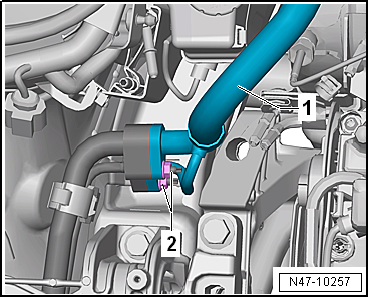
Unscrew nuts -2- on refrigerant line -1-.
Remove refrigerant line -1-.
Continuation for all models:
Note The illustration shows installation position of ABS hydraulic unit -N55- and ABS control unit -J104- on a LHD vehicle.
Place sufficient lint-free cloths in area of engine.
Draw off as much brake fluid as possible from brake fluid reservoir using brake filling and bleeding equipment -VAS 5234-.
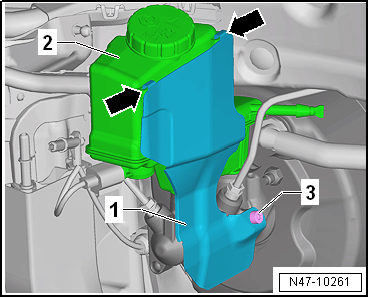
Remove heat shield -1- if present.
To do this, unscrew bolt -3-.
Pull heat shield -1- upwards out of retainers -arrows- on brake fluid reservoir -2-.
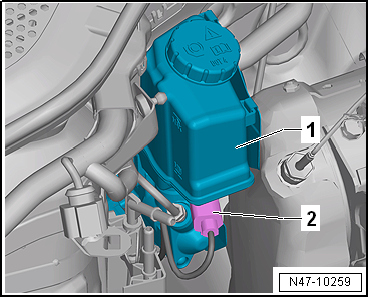
Release connector -1- and pull off brake light switch -F--2-.
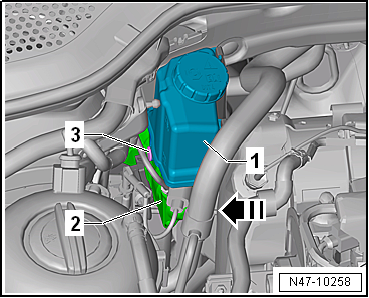
Release electrical connector -2- for brake fluid level warning contact -F34- and pull it off brake fluid reservoir -1-.
Pull out spreader rivet -3- in -direction of arrow-.
 Note If there are problems with the brake servo, first check the brake servo vacuum system → Chapter.