Brake system

Removing and installing brake master cylinder, LHD vehicles

~2min read

Special tools and workshop equipment required

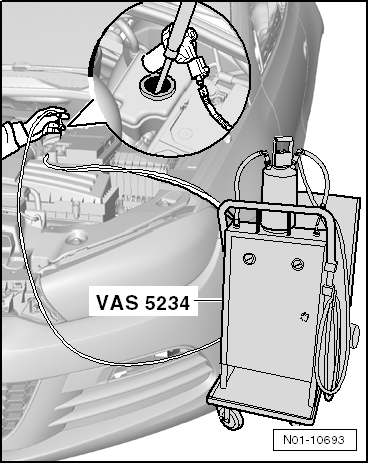
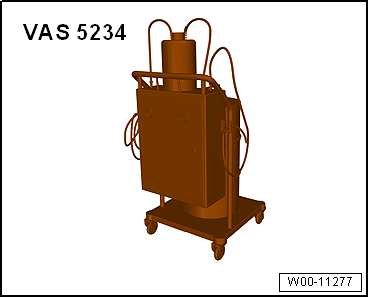
Brake filling and bleeding equipment -VAS 5234-

Removing and installing brake master cylinder, LHD vehicles

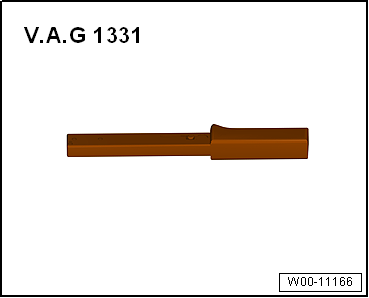
Torque wrench -V.A.G 1331-

Removing and installing brake master cylinder, LHD vehicles

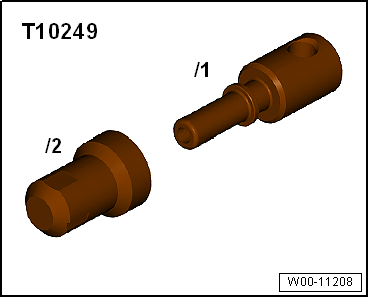
Sealing tool -T10249-

Removing

  • If vehicle has a coded radio, note radio code or, if necessary, request it.
  • Disconnect battery → Electrical system; Rep. gr.27
  • Remove battery → Electrical system; Rep. gr.27.
Removing and installing brake master cylinder, LHD vehicles

Vehicles with diesel engine:

  • Remove engine cover panel.
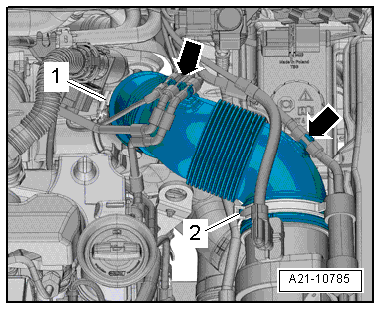
  • Loosen hose clip -1- and remove air intake hose and air filter housing → Rep. gr.23.
Removing and installing brake master cylinder, LHD vehicles

On »R« vehicles:

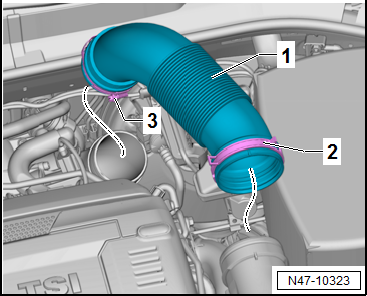
  • Loosen hose clips -2- and -3-.
  • Remove air intake hose -1- and air filter housing → Rep. gr.24.
Removing and installing brake master cylinder, LHD vehicles

Continuation for all models:

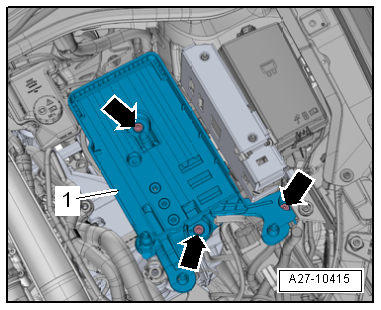
  • Remove battery tray → Electrical system; Rep. gr.27.
  • Place sufficient lint-free cloths in area of engine and gearbox.
Removing and installing brake master cylinder, LHD vehicles
  • Draw off as much brake fluid as possible from brake fluid reservoir using brake filling and bleeding equipment -VAS 5234-.
Removing and installing brake master cylinder, LHD vehicles

Vehicles with manual gearbox:

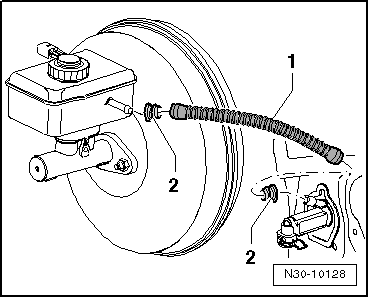
  • Pull off supply hose -1- for clutch master cylinder, seal it using sealing tool -T10249- and tie it up, or clamp off supply hose -1- for clutch master cylinder using commercially available tool, e.g. Hazet 4590, and pull it off.
Removing and installing brake master cylinder, LHD vehicles

Continuation for all models:

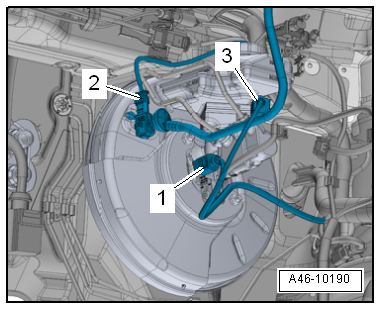
  • Disconnect connector from brake fluid level warning contact -F34--3-, from vacuum sender -G608--2- (if fitted) and from brake light switch -F--1-.
Removing and installing brake master cylinder, LHD vehicles
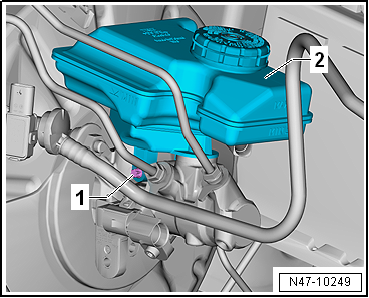
  • Unscrew Torx bolt -1- and pull brake fluid reservoir -2- out of sealing plugs.
Removing and installing brake master cylinder, LHD vehicles
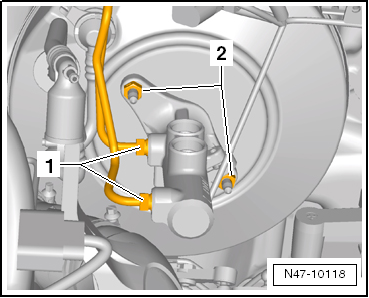
  • Unscrew brake lines -1- from brake master cylinder, and seal brake lines with plugs from repair kit with part no. 1H0 698 311 A.
  • Unscrew nuts -2- from brake master cylinder.
  • Remove heat shield (if installed).
  • Carefully take brake master cylinder out of brake servo.
  • Unscrew brake light switch -F- from brake master cylinder.

Installing

Install in reverse order of removal, observing the following:

  • When assembling brake master cylinder with brake servo, make sure plunger rod is properly positioned in brake master cylinder.

Seals must be located in supply hose for clutch master cylinder.
  • Bleed brake system → Chapter.

Specified torques

→ Chapter „Assembly overview - brake servo/brake master cylinder, LHD vehicles“

Removing and installing brake master cylinder, LHD vehicles

Test yourself

A quick Volkswagen Golf quiz: every answer comes with an explanation and a link to the manual page.