Removing and installing brake servo, RHD vehicles with diesel engine
In this manual: Brake system
~6min read
Note If there are problems with the brake servo, first check the brake servo vacuum system → Chapter.
Special tools and workshop equipment required
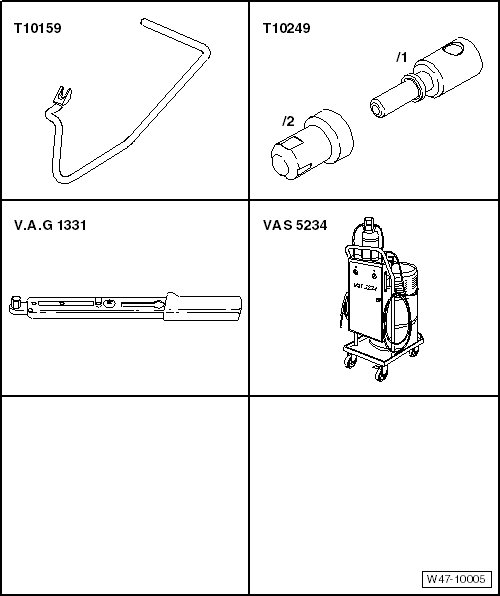
Release tool -T10159 A-
Sealing tool -T10249-
Torque wrench -V.A.G 1331-
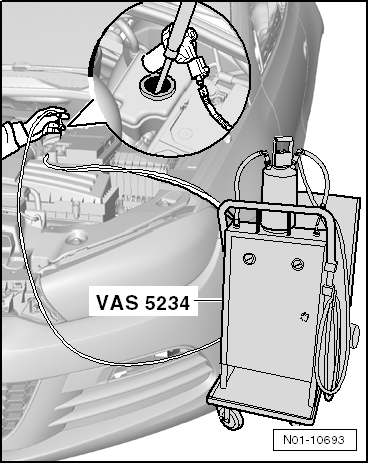
Brake filling and bleeding equipment -VAS 5234-
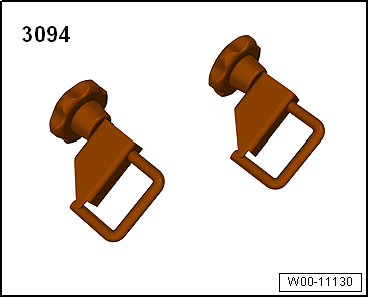
Hose clamps, up to 25 mm -3094-
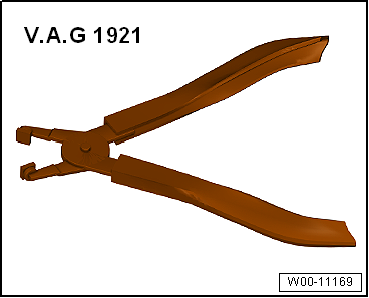
Hose clip pliers -V.A.G 1921-
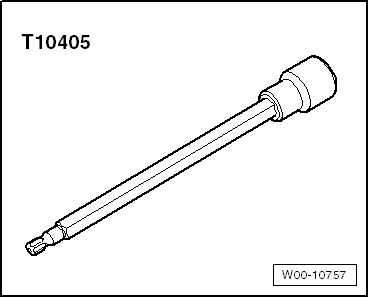
Torx screwdriver bit T30 -T10405-
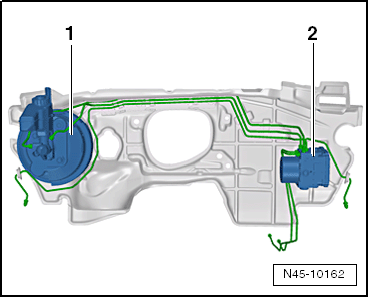
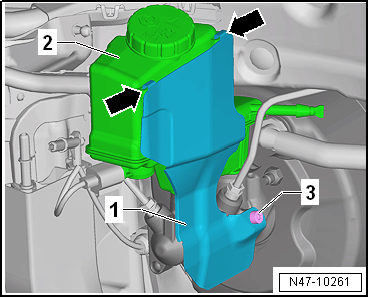
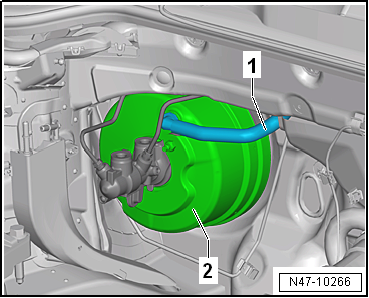
Fitting location of brake servo in RHD vehicles:
1 -
Brake servo and brake master cylinder
2 -
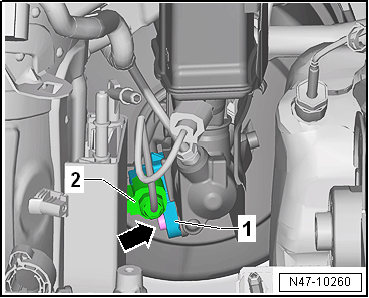
ABS hydraulic unit -N55- and ABS control unit -J104-
Removing
If vehicle has a coded radio, note radio code or, if necessary, request it.
Remove engine cover panel → Rep. gr.10.
The fuel system is pressurised.Risk of injury due to fuel which may spurt out.Wear eye pretection.Wear protective gloves.Release pressure: place clean cloth around connection, and carefully open connection.
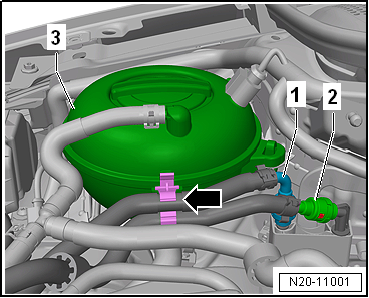
Pull off fuel supply lines -1- and -2-.
Separate plug-in connectors → Rep. gr.20.
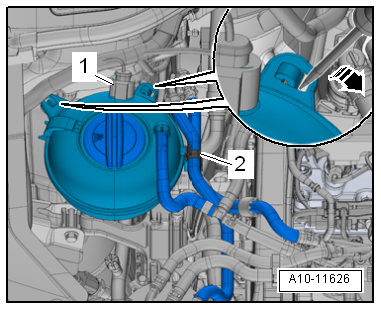
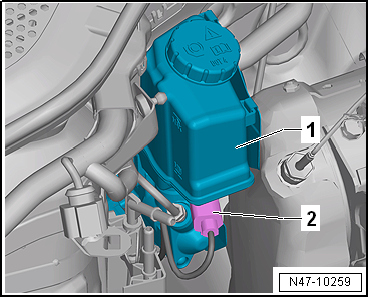
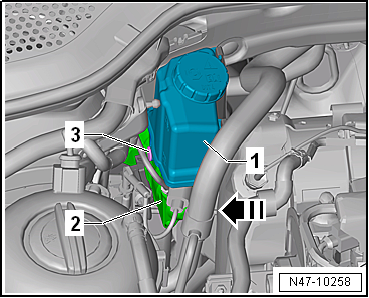
Unclip fuel lines -1- and -2- from retainer -arrow- on coolant reservoir -3-.
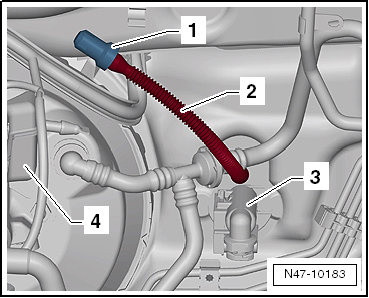
Dissipate vacuum in brake servo by depressing brake pedal several times.
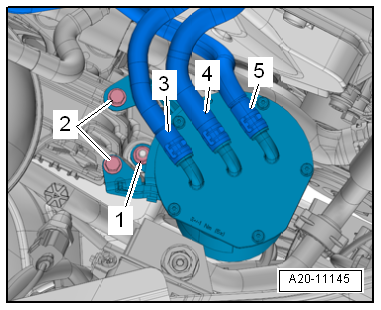
Pull vacuum line -4- out of brake servo -1-.
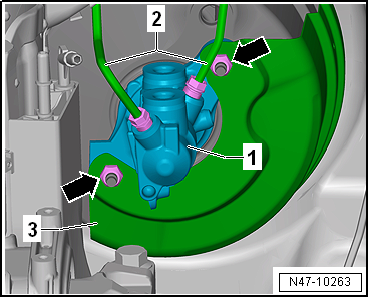
Unbolt brake lines -2- from brake master cylinder -1-.
Detach brake lines from brake master cylinder and seal brake lines with plugs from repair kit Part No. 1H0 698 311 A.
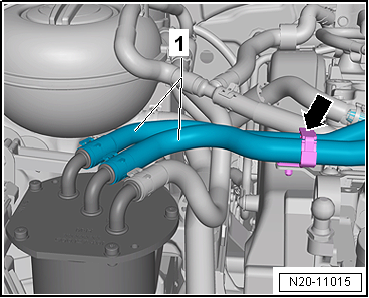
Remove nuts -arrows-.
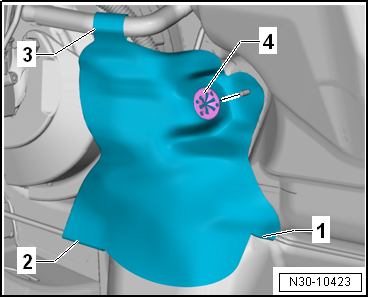
Remove heat shield -3-.
Carefully remove brake master cylinder from brake servo.
Remove dash panel end cover on driver side → General body repairs, interior; Rep. gr.70.
Remove footwell cover on driver side → General body repairs, interior; Rep. gr.68
Remove storage compartment on driver side → General body repairs, interior; Rep. gr.68
Remove dash panel cover on driver side → General body repairs, interior; Rep. gr.68.
Remove knee airbag → General body repairs, interior; Rep. gr.69.
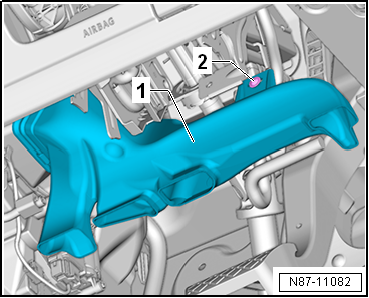
Remove footwell vent -1- on driver side → Heating, air conditioning system; Rep. gr.87.
To do this, unscrew bolt -2- and remove footwell vent on driver side -1-.
Unbolt crash bar for brake pedal and lay it to one side → General body repairs, interior; Rep. gr.70.
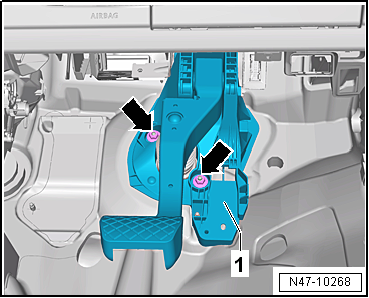
Separate brake pedal from brake servo → Chapter.
Remove nuts -arrows- from mounting bracket.
Remove brake servo downwards.
Installing
Install in reverse order of removal, observing the following:
Note The brake servo only has the additional bonded joint at the seal when originally assembled at the factory. The adhesive bond between the plenum chamber bulkhead and the brake servo does not have to be renewed.
Remove all adhesive residues from the plenum chamber bulkhead and (if applicable) from the brake servo. Use adhesive strip remover -VAS 6349- and a drill, cordless screwdriver or grinder for this purpose.
Operate adhesive strip remover -VAS 6349- at low speed, working against direction of rotation.
Carefully insert brake servo and tighten nuts.
When assembling brake master cylinder with brake servo, make sure push rod is properly positioned in brake master cylinder.
When joining brake master cylinder to brake servo, make sure seal → Item is properly seated.
Ensure that seals → Item are correctly seated in brake master cylinder.
Moisten sealing plugs → Item with brake fluid before pressing brake fluid reservoir into brake master cylinder.
Connect brake pedal to brake servo → Chapter.
Fill coolant → Rep. gr.19.
Bleed brake system → Chapter.
Vehicles with manual gearbox:
Bleed clutch mechanism → Rep. gr.30.
Vehicles with air conditioning:
Charge refrigerant circuit → Heating, air conditioning; Rep. gr.00.
 Note If there are problems with the brake servo, first check the brake servo vacuum system → Chapter.