Refrigerant Circuit
System Overview - Refrigerant Circuit
The following information applies to left-hand drive vehicles. It applies accordingly to right-hand drive vehicles.
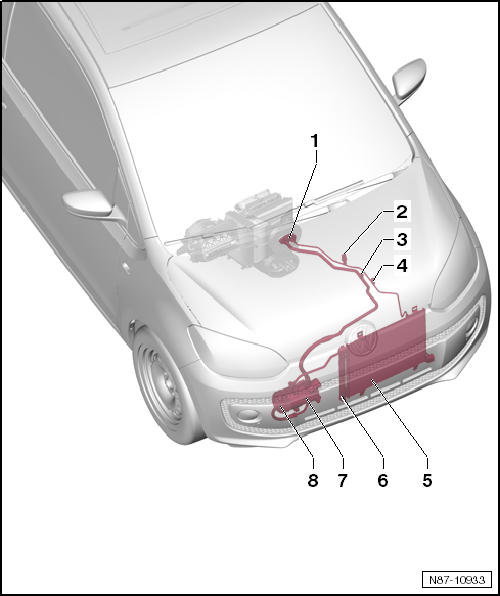
- Expansion Valve
- Removing and installing.
- High-Pressure Sensor -G65-
- Removing and installing.
- Suction and Filling Valve, Low-Pressure Side
- Removing and installing.
- Suction and Filling Valve, High-Pressure Side
- Removing and installing.
- Condenser
- Remove and install.
- Receiver-Drier Cartridge
- Removing and installing.
- A/C compressor
- Removing and installing.
- Magnetic Clutch for Air Conditioning Compressor -N25-
- Removing and installing.
Removing and Installing High-Pressure Sensor -G65-
Required Special Tools, Test and Measuring Equipment and Auxiliary Items
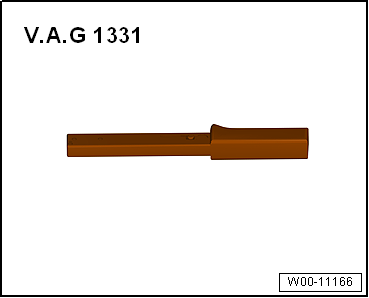
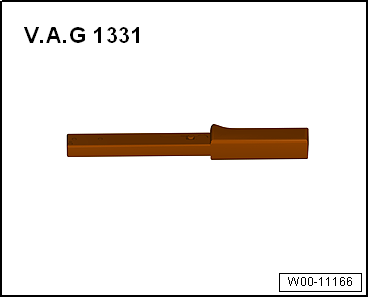
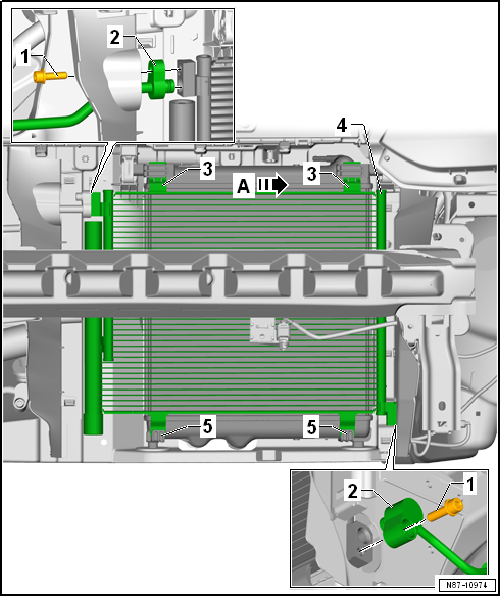
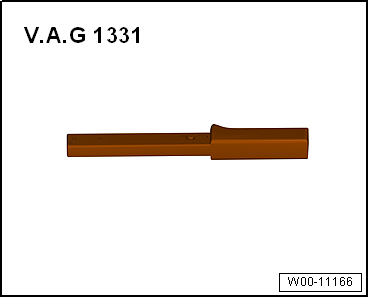
- Torque Wrench -V.A.G 1331-
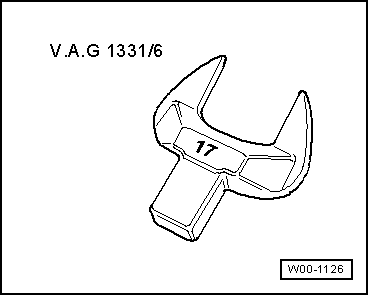
- Insert Tool SW 17 -V.A.G 1331/6-
Removing
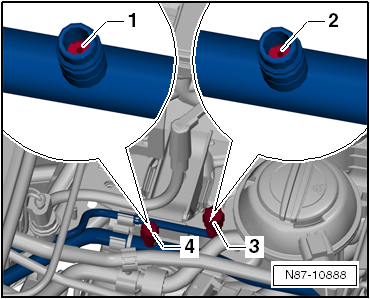
- Disconnect connector -2-.
Risk of frostbite from refrigerant escaping under pressure. Frostbite of skin and other body parts possible. Wear protective gloves. Wear safety goggles. If refrigerant escapes from the refrigerant line for longer than 1 s when loosening the high-pressure sensor, tighten the high-pressure sensor and replace the defective check valve. Extract refrigerant and open refrigerant circuit immediately. If more than 10 min have passed since extraction and the refrigerant circuit has not been opened, extract refrigerant again. Post-evaporation has built up pressure in the refrigerant circuit.
- Unscrew high-pressure sensor -G65--1-.
Installing

Note
- Replace O-ring.
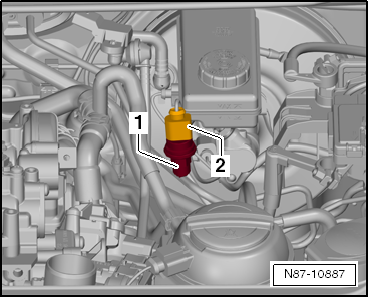
- Screw on high-pressure sensor -G65--1- (8 +- 1 N·m).
- Connect connector -2-.
Removing and Installing Expansion Valve
The expansion valve atomizes incoming refrigerant. It regulates the flow rate so that the refrigerant only becomes gaseous at the evaporator outlet, depending on heat transfer.
Required Special Tools, Test and Measuring Equipment and Auxiliary Items
- Torque Wrench -V.A.G 1331-
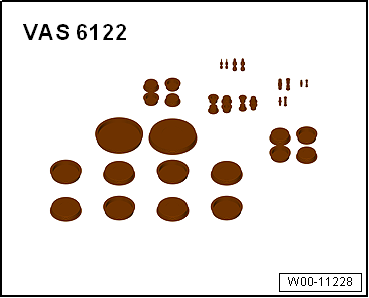
- Plug Set for Engine -VAS 6122-
- Air Conditioning Service Station
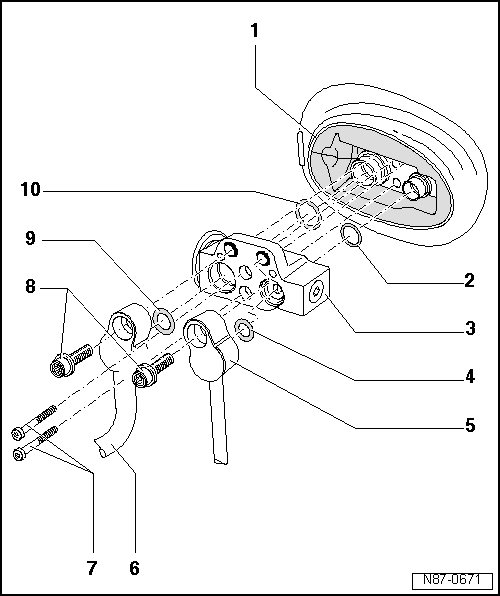
- Seal between evaporator housing and cowl front panel
- O-ring
- Replace
- Expansion Valve
- Feed-through must be splash-proof.
- O-ring
- Replace
- Refrigerant Line, High Pressure
- Refrigerant Line, Low Pressure
- Cylinder Combination Screw
- 5 N·m
- Bolts
- 12 N·m
- 2 pieces
- O-ring
- Replace
- O-ring
- Replace
Removing
- Extract refrigerant with the air conditioning service station, only then open refrigerant circuit. Observe notes "Working on Refrigerant Circuit".
- Observe safety precautions "Safety Precautions When Working on Air Conditioning Systems".
Risk of frostbite from refrigerant escaping under pressure. Frostbite of skin and other body parts possible. Wear protective gloves. Wear safety goggles. Extract refrigerant and open refrigerant circuit immediately. If more than 10 min have passed since extraction and the refrigerant circuit has not been opened, extract refrigerant again. Post-evaporation has built up pressure in the refrigerant circuit.
- Unscrew screws -8-.
- Pull out refrigerant lines -5- and -6-.
- Unscrew bolts -7-.
- Remove expansion valve -3-.
Installing
- Replace O-rings -2-, -4-, -9- and -10-.
Installation is carried out in reverse order.
Removing and installing condenser
Required Special Tools, Test and Measuring Equipment and Auxiliary Items
- Torque Wrench -V.A.G 1331-
- Air Conditioning Service Station
Removing
- Extract refrigerant with the air conditioning service station, only then open refrigerant circuit. Observe notes "Working on Refrigerant Circuit".
- Observe safety precautions "Safety Precautions When Working on Air Conditioning Systems".
- Remove bumper → Body Assembly Work, Exterior.
- Partially remove washer fluid reservoir and move it to the side → Electrical System.
Risk of frostbite from refrigerant escaping under pressure. Frostbite of skin and other body parts possible. Wear protective gloves. Wear safety goggles. Extract refrigerant and open refrigerant circuit immediately. If more than 10 min have passed since extraction and the refrigerant circuit has not been opened, extract refrigerant again. Post-evaporation has built up pressure in the refrigerant circuit.
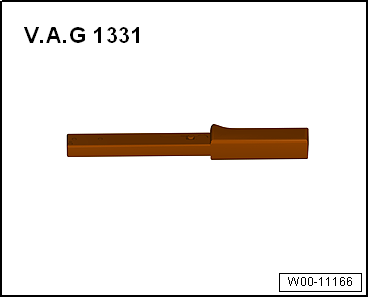
- Unscrew bolts -1- (12 N·m).
- Disconnect refrigerant lines -2- from condenser.
- Slide condenser -4- out of brackets -3- and -5- in direction of arrow A and remove it downward.
Installing
- Replace sealing rings.
Installation is performed in reverse order. Make sure the condenser seats correctly in the brackets.
Removing and installing desiccant bag/desiccant cartridge
Required Special Tools, Test and Measuring Equipment and Auxiliary Items
- Torque Wrench -V.A.G 1331-
- Air Conditioning Service Station
Removing
- Extract refrigerant with the air conditioning service station, only then open refrigerant circuit. Observe notes "Working on Refrigerant Circuit".
- Observe safety precautions "Safety Precautions When Working on Air Conditioning Systems".
- Partially remove front bumper to ensure access to desiccant cartridge → Body Assembly Work, Exterior.
Risk of frostbite from refrigerant escaping under pressure. Frostbite of skin and other body parts possible. Wear protective gloves. Wear safety goggles. Extract refrigerant and open refrigerant circuit immediately. If more than 10 min have passed since extraction and the refrigerant circuit has not been opened, extract refrigerant again. Post-evaporation has built up pressure in the refrigerant circuit.
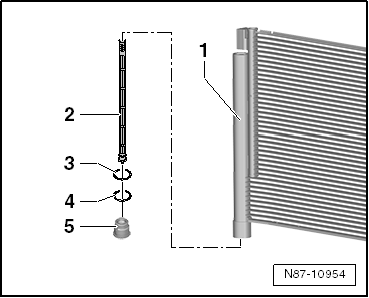
- Unscrew sealing cap -5- (5 N·m) using Torx 55 socket insert.
- Pull desiccant cartridge -2- out of condenser -1- using a suitable tool.
Installing
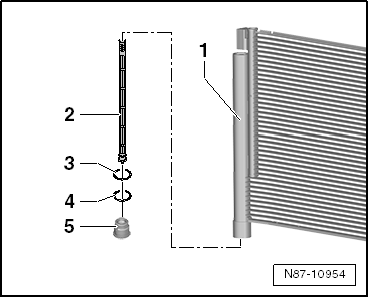
- Insert new desiccant cartridge -2- into condenser -1-.
- Sealing ring -4- must be replaced.
- Make sure sealing cap -5- (5 N·m) seats correctly.
Installation is carried out in reverse order.
Removing and installing extraction and filling valves, low and high pressure side
Required Special Tools, Test and Measuring Equipment and Auxiliary Items
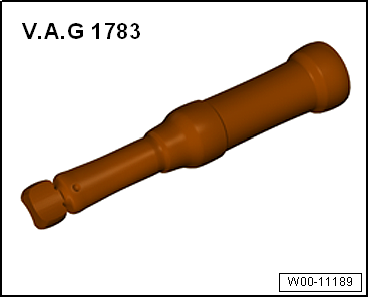
- Torque wrench -V.A.G 1783-
- 1/4" socket driver -VAS 6234-

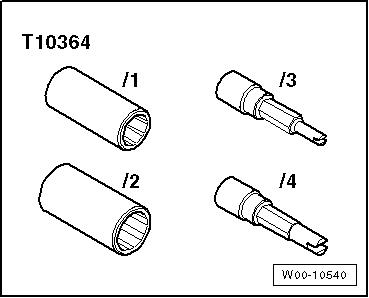
- Adapter set for service connections -T10364-
- Air Conditioning Service Station
Removing
- Extract refrigerant with the air conditioning service station, only then open refrigerant circuit. Observe notes "Working on Refrigerant Circuit".
- Observe safety precautions "Safety Precautions When Working on Air Conditioning Systems".
- Remove caps -3- (2 +- 0.2 N·m) and -4- (2 +- 0.2 N·m).
Risk of frostbite from refrigerant escaping under pressure. Frostbite of skin and other body parts possible. Wear protective gloves. Wear safety goggles. Extract refrigerant and open refrigerant circuit immediately. If more than 10 min have passed since extraction and the refrigerant circuit has not been opened, extract refrigerant again. Post-evaporation has built up pressure in the refrigerant circuit.
- Unscrew extraction and filling valves -1- (2.4 +- 0.2 N·m) and -2- (2.4 +- 0.2 N·m) using socket insert -T10364- and suitable adapter.
Installing
- Installation is carried out in the reverse order.