Body and Paint
Side Airbag. Removal and Installation
In this manual: Body and Paint
16steps
~96min
5/5difficulty
Done 0 of 16
Removal
- Remove the front seat.
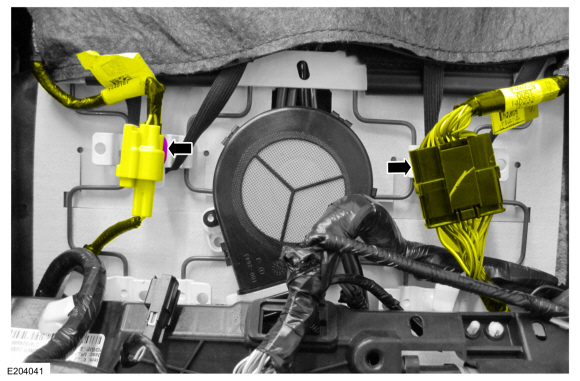
Refer to: Front Seat (501-10A Front Seats, Removal and Installation). - Release the electrical connector retainers and move the wiring harnesses aside.
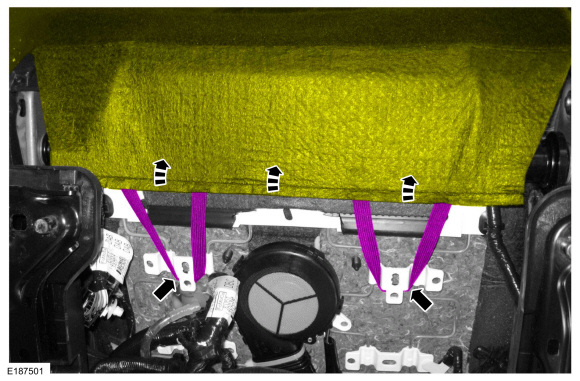
- Disconnect the seatback cover straps and turn the seatback cover upward.
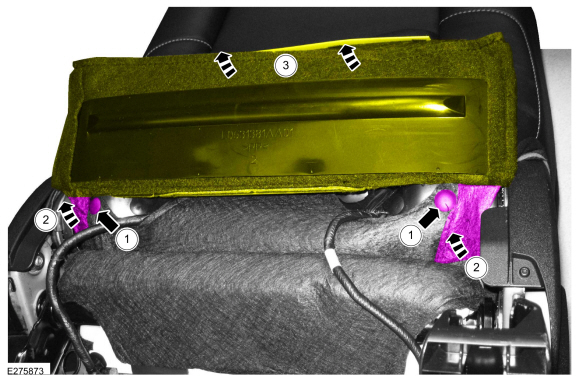
- Remove the pin-type retainers.
- Disconnect the hook and loop strips.
- Lift the seatback flap.
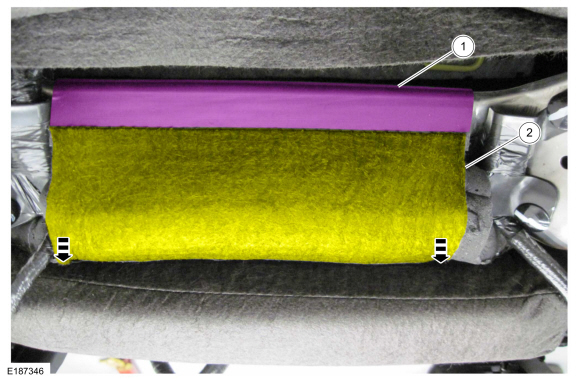
Install the front seatback cover.- Release the J-clip.
- Position the seatback cover between the seat cushion and the seatback cushion.
- Remove the seatback trim insert.
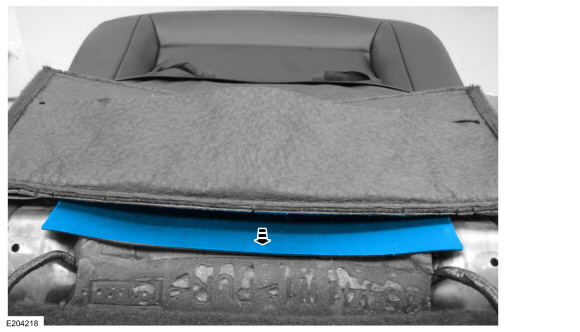
NOTICE: Be careful when separating the seatback trim cover from the hook and loop strips, or the hook and loop strips may tear from the seatback foam.
Release the hook and loop strips.
- Turn the seatback cover upward to access the rear J-clips.

- Remove the locking pins from the deployment chute wrap and start pulling it through the seatback foam.
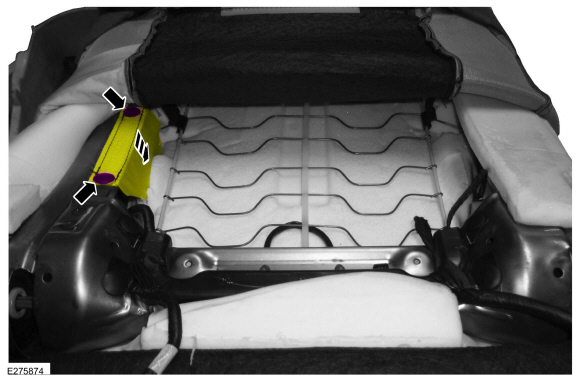
- Pull the deployment chute wrap out of the seatback foam.
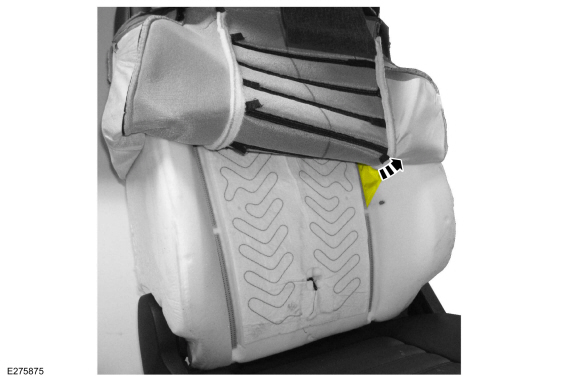
- Lift the seatback trim cover and release the J-clips from the lumbar wires and seatback frame.

- Remove the side air bag nuts.
Torque: 58 lb-in (6.5 N·m)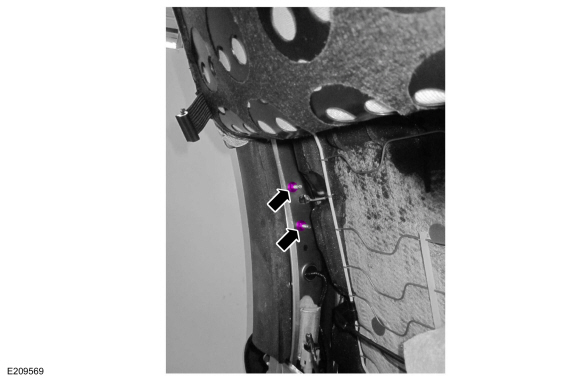
- Disconnect the side air bag electrical connector.
- Remove the side air bag with the deployment chute.
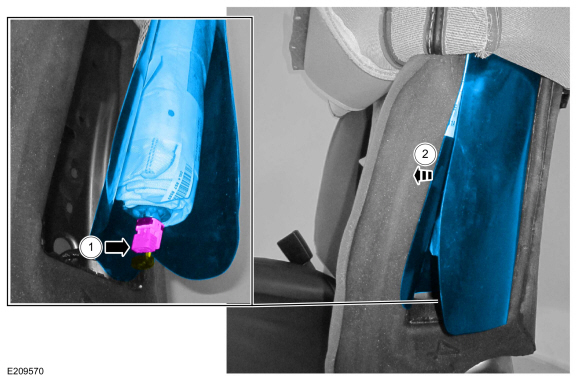
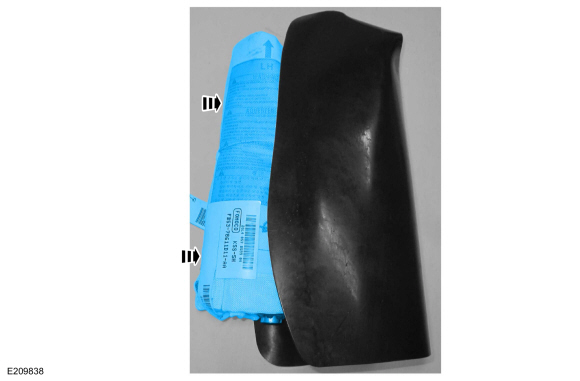
- Remove the side air bag from the deployment chute.

Installation
- To install, reverse the removal procedure.
- Install the side air bag into the deployment chute.
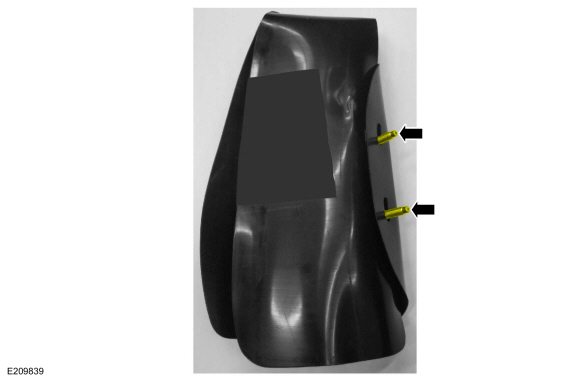
- Insert the side air bag studs into the holes in the deployment chute.
Test yourself
A quick Ford Fusion quiz: every answer comes with an explanation and a link to the manual page.
Was this page helpful?