Suspension System
Rear lower arm
In this manual: Suspension System
13steps
~78min
3/5difficulty
Done 0 of 13
Repair Procedures
Removal
- Loosen the wheel nuts slightly. Raise the vehicle and make sure it is securely supported.
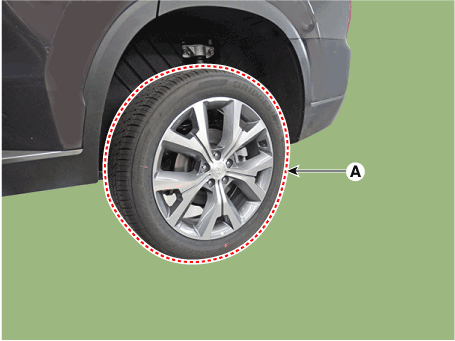
- Remove the rear wheel and tire (A) from the rear hub.
Tightening torque: 107.9–128 N·m

- Be careful not to damage the hub bolts when removing the rear wheel and tire (A).
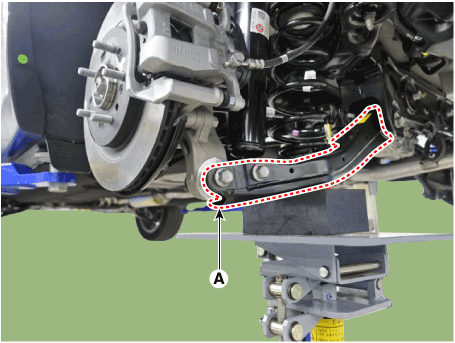
- Loosen the bolt and nut and remove the rear lower arm (A) from the rear axle.
Tightening torque: 137.3–157 N·m

- Place a transmission jack under the lower arm to remove it without applying load.
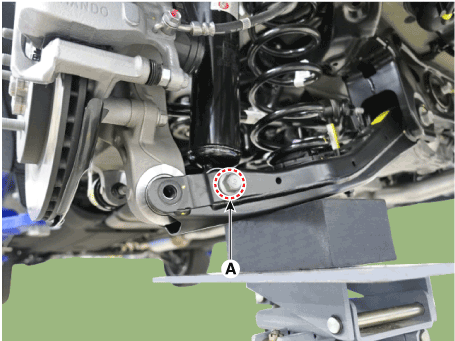
- Loosen the bolt and nut (A), then disconnect the rear shock absorber from the lower arm.
Tightening torque: 137.3–157 N·m
- Loosen the nut (A) and disconnect the stabilizer link from the lower arm.
Tightening torque: 98.0 - 118 N·m
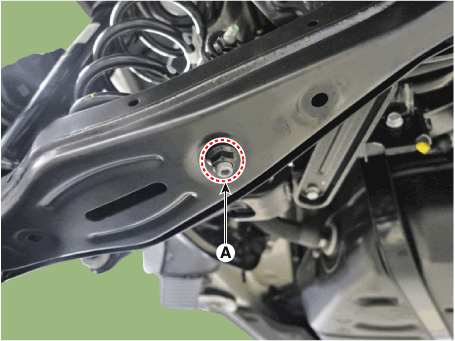
- Remove the coil spring (A).
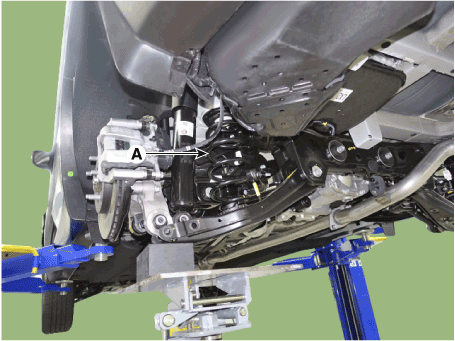
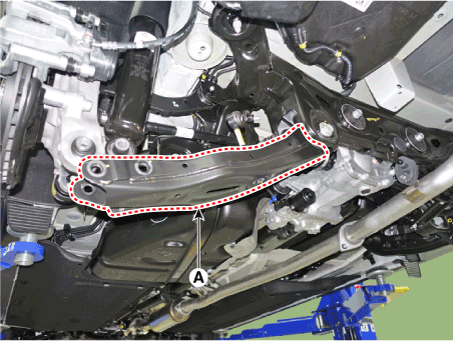
- Loosen the bolt and nut and remove the rear lower arm (A).
Tightening torque: 137.3–157 N·m
Inspection
- Inspect the bushing for wear and damage.
- Inspect the rear lower arm for deformation.
- Check the coil spring and spring seat for wear and deformation.
- Check that all bolts and nuts are present.
Installation
- Install in the reverse order of removal.
- Check the alignment. (Refer to Suspension System - "Alignment")
Test yourself
A quick Hyundai Palisade quiz: every answer comes with an explanation and a link to the manual page.
Was this page helpful?