Luggage Side Trim
Components and Component Location
Component Location
[4 Door]
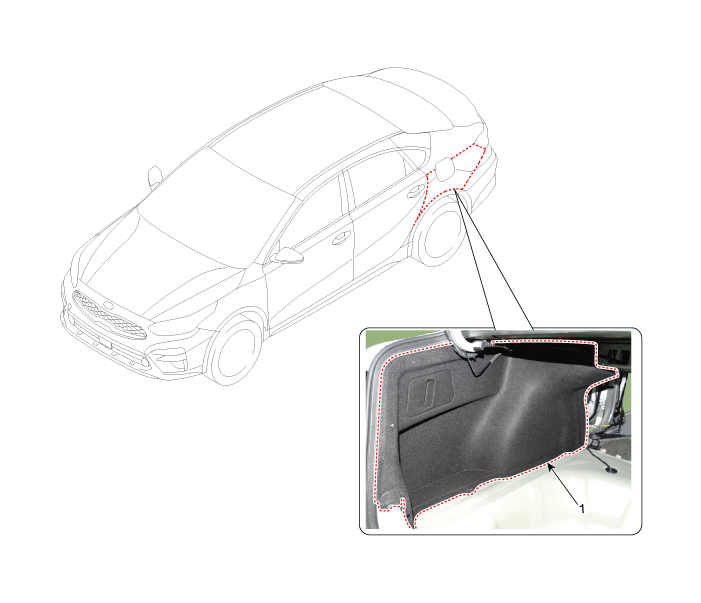
| 1. Luggage Compartment Side Trim |
[5 Door]
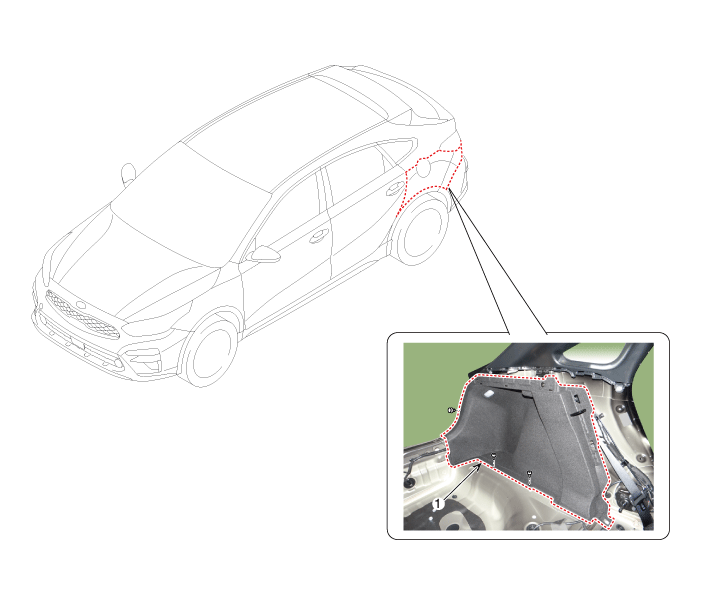
| 1. Luggage Compartment Side Trim |
Repair Procedures
Replacement
[4 Door]
Remove the rear wheel house garnish.
(Refer to Interior Trim - "Rear Wheel House Trim")
Loosen the clips and remove the luggage compartment side trim (A).
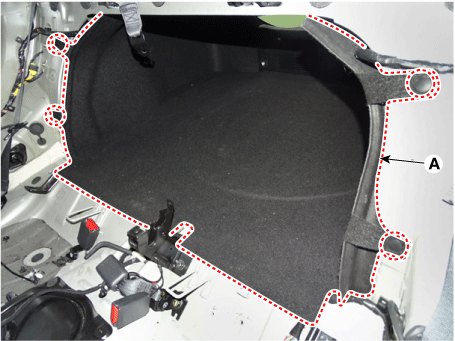
Loosen the mounting clips and screws, then remove the luggage compartment edge trim (A).
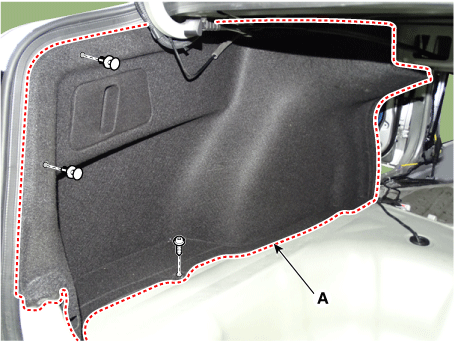
To install, reverse the removal procedure.
[5 Door]
Remove the rear wheel house garnish.
(Refer to Interior Trim - "Rear Wheel House Trim")
Remove the rear door seal.
(Refer to Back Door - "Back Door Garnish")
Remove the rear crossmember trim.
(Refer to Luggage Compartment Trim - "Rear Cross Trim")
Loosen the mounting screws and remove the luggage compartment side floor tray (A).
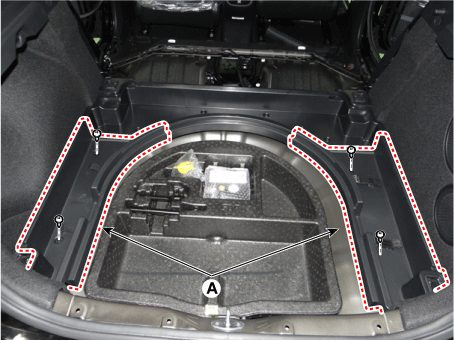
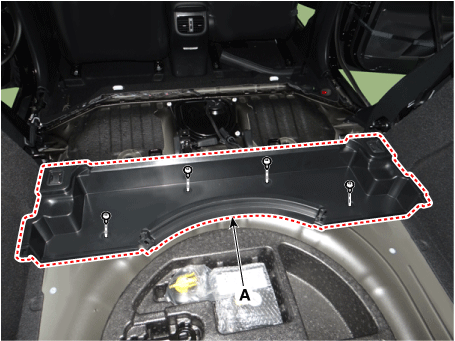
Loosen the mounting screws and remove the luggage compartment center floor tray (A).
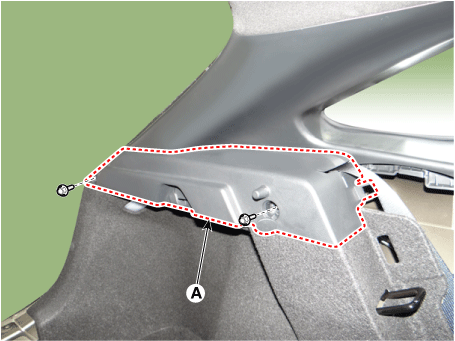
Lift the assist grip caps and loosen the mounting bolts, then remove the shelf side garnish (A).
Tightening torque: 7.8–11.8 N·m
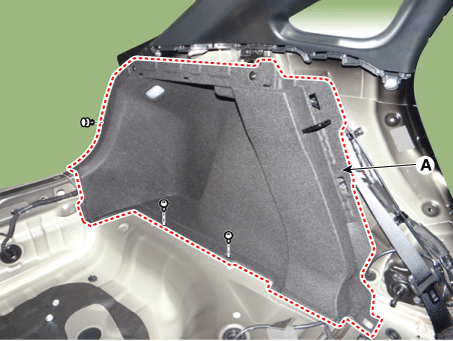
Loosen the mounting screws and clip, then remove the luggage compartment side trim (A).
Press the lock pin and disconnect the various connectors (A).
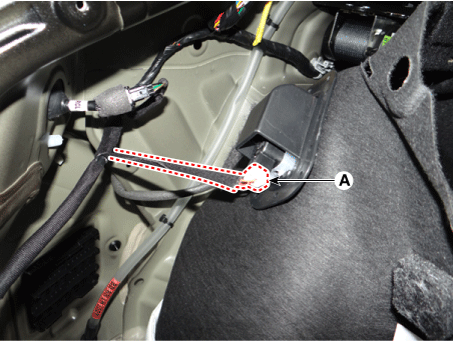
To install, reverse the removal procedure.
Test yourself
A quick Kia Forte BD quiz: every answer comes with an explanation and a link to the manual page.