Suspension System
TPMS Sensor Repair Procedures
In this manual: Suspension System
34steps
~204min
5/5difficulty
Done 0 of 34
Removal
- Remove the valve core and deflate the tire.
- Remove the tire bead from the wheel using a tire changer machine.
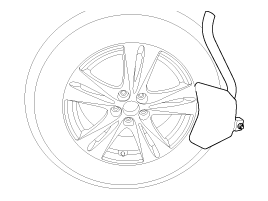
- Rotate the wheel clockwise.
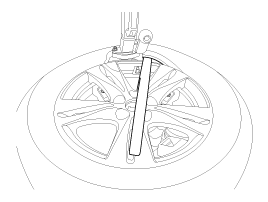
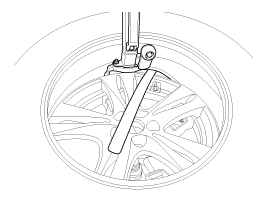
- If the valve core (shipping valve, silver air intake part) has moved from its original position, be sure to check that the valve's original position (metal clamps) is seated in the serrated state.
- When tightening the valve nut, do not deviate from the fixed position. Turn the valve to the fixed position (so the metal clamps fit inside) and press. Do not reuse the nut. Tighten the nut to the specified torque (8 N·m).
- Touch the rim so that the valve washer covers the valve hole.
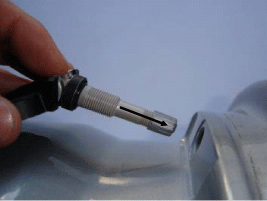
- Hold the valve body with two fingers, hold the valve axially with one finger, and press on the valve.
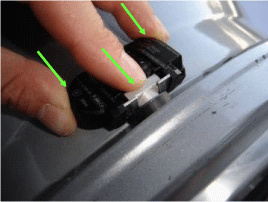
- Housing condition: the laser marking must be visible.
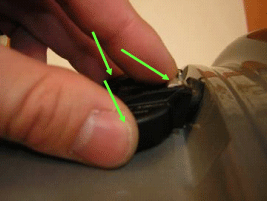
- When the valve is fully inserted so that the sensor contacts the rim, hold the valve and begin tightening the wheel nut.
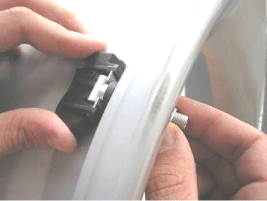
- While holding the valve and sensor in position, install the nut.
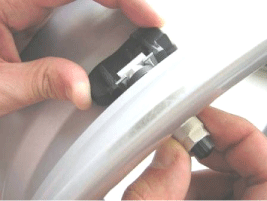
- Apply soap or tire lubricant to the upper and lower tire beads.
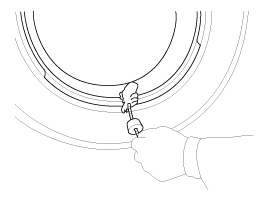
- To install the lower bead, position the sensor at the "5 o'clock" position relative to the head on the tire changer.
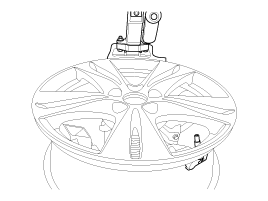
- Place the tire on the rim so that the lower bead contacts the rim edge behind the sensor (at 6 o'clock). Rotate the rim clockwise and press down on the tire at the "3 o'clock" position to install the lower bead.
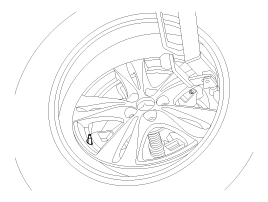
- After the lower bead is on the tire, rotate the rim until the sensor is at the "5 o'clock" position relative to the head on the tire changer. Press on the tire at the "3 o'clock" position and rotate the rim clockwise to seat the upper bead.
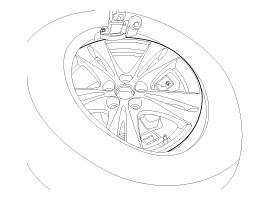
- Inflate the tire until both beads are seated.
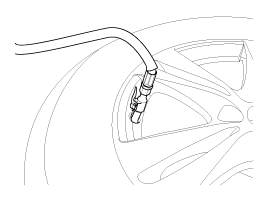
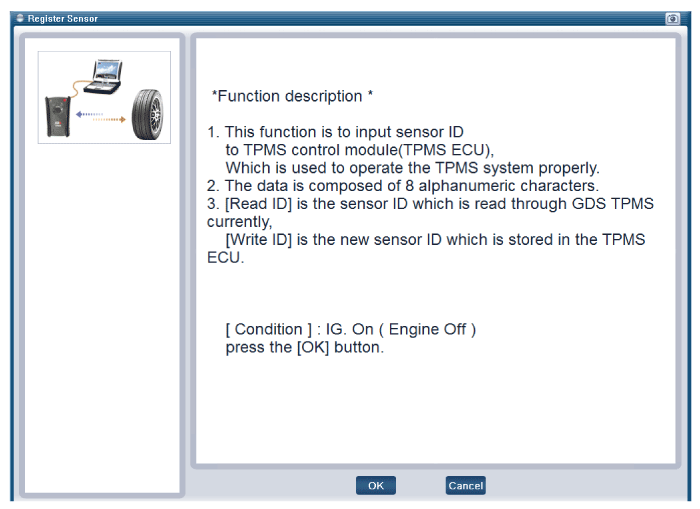
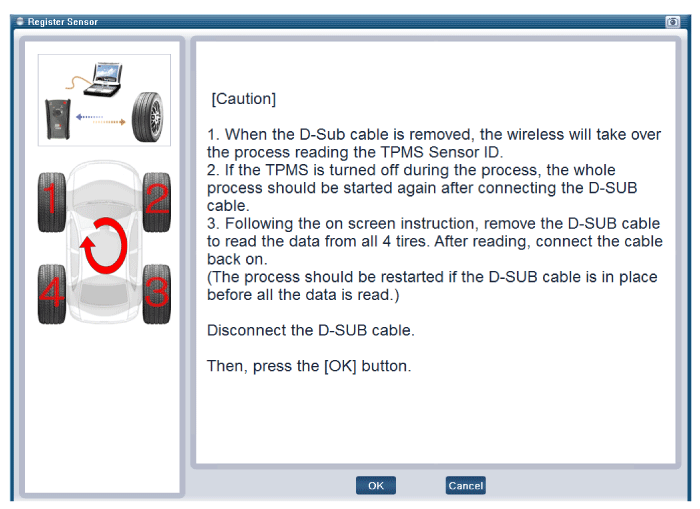
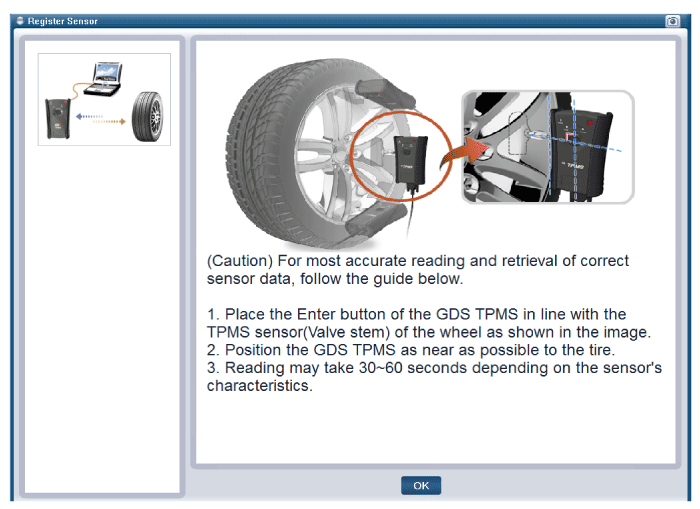
- If a TPMS sensor fails, the TPMS sensor must be registered. Replace the faulty sensors with new units and perform TPMS sensor registration.
Inspection
After installation, check the TPMS sensor.
- Sealing washer on the outer edge of the compressible hole.
- The lower part of the valve body, fixed position (without metal clamps), must be positioned.
- The body must contact the rim surface at at least one or more points.
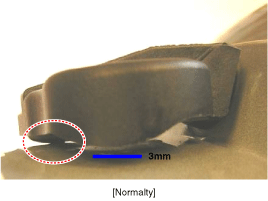
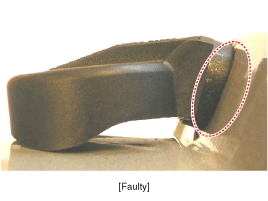
- The installation height of the housing bead must not exceed the height of the chin.
Replacement
Tire Repair After Using Tire Mobility Kit (TMK)
When TPMS Warning Lamp is OFF- Remove the repaired tire, wheel, and TPMS sensor from the TMK. (Refer to "Tire Removal")
- Completely remove the sealant from the wheel and TPMS sensor (A).
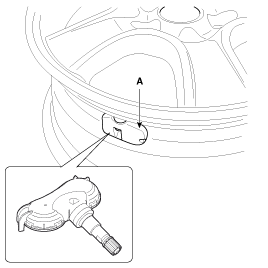
- Install the TPMS sensor on the new tire.
- Check the normal operation of the TPMS system.
- Remove the repaired tire, wheel, and TPMS sensor from the TMK. (Refer to "Tire Removal")
- Completely remove the sealant from the wheel and TPMS sensor (A).
- Install the TPMS sensor on the new tire.
- Check the tire pressure with an electric pressure gauge.
- Check the tire pressure of the TPMS sensor with GDS.
- If the difference between the two checked pressure values is not more than 2 psi, the TPMS sensor is normal. Reinstall it on the new tire.
- If the difference between the two checked pressures is more than 2 psi, the TPMS sensor is faulty. Install a new TPMS sensor on the new tire.
- Check the normal operation of the TPMS system.
Diagnostic Procedure Using the Scan Tool
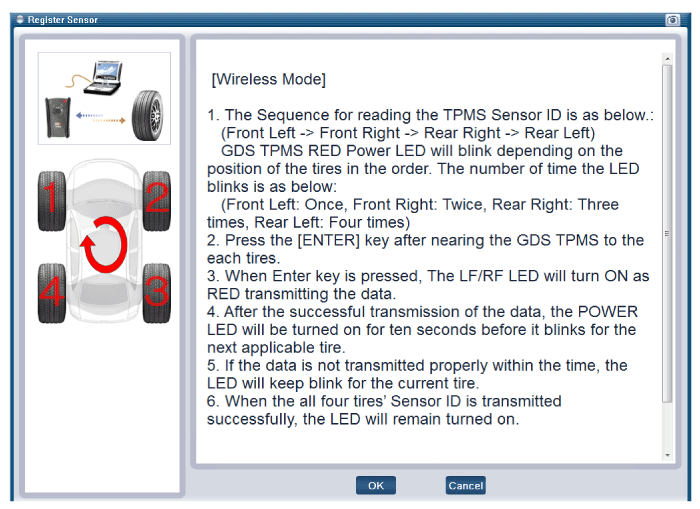
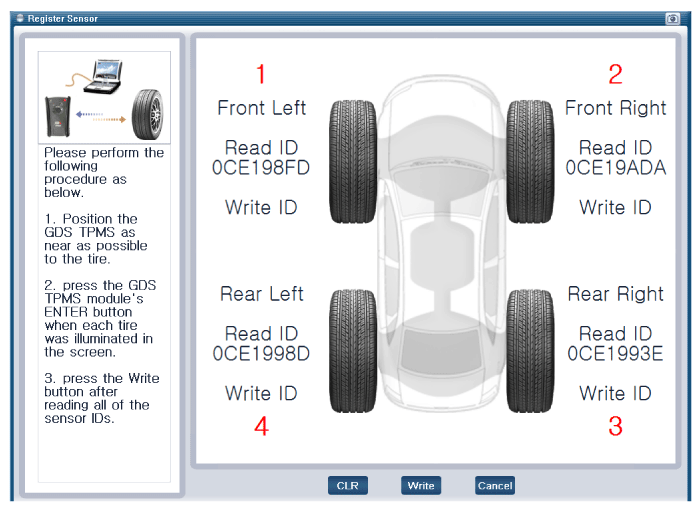
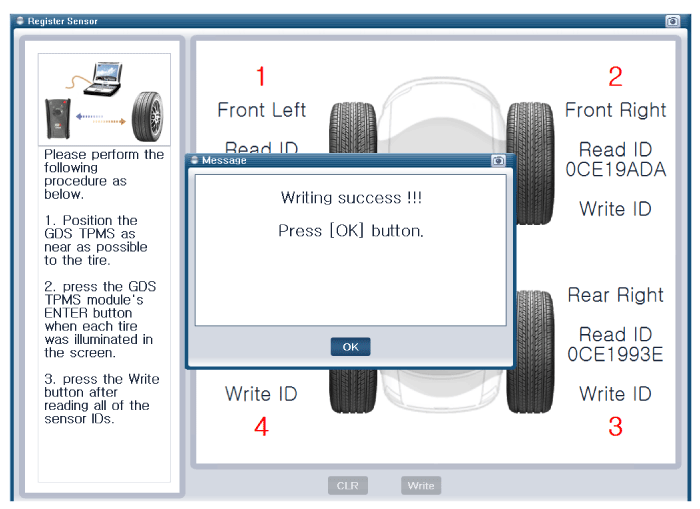
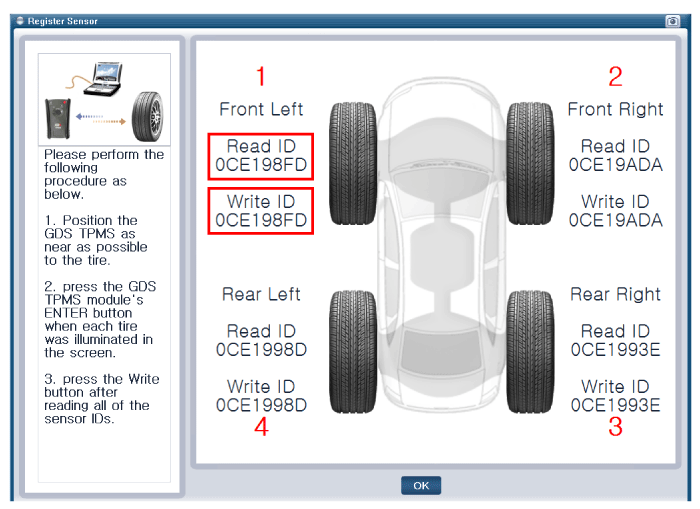
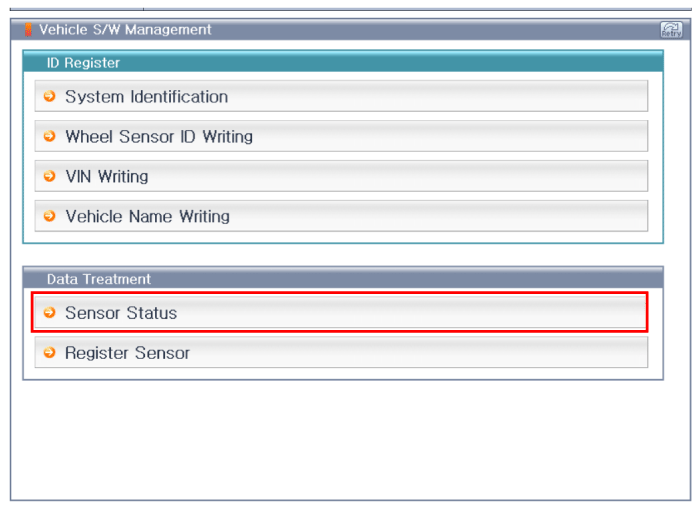
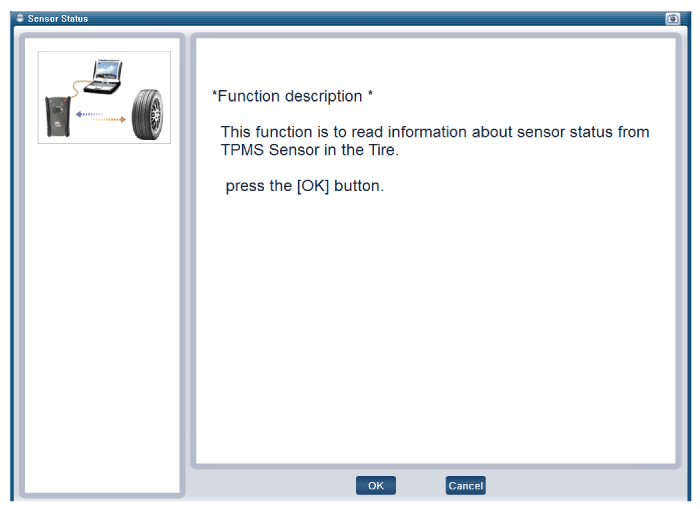
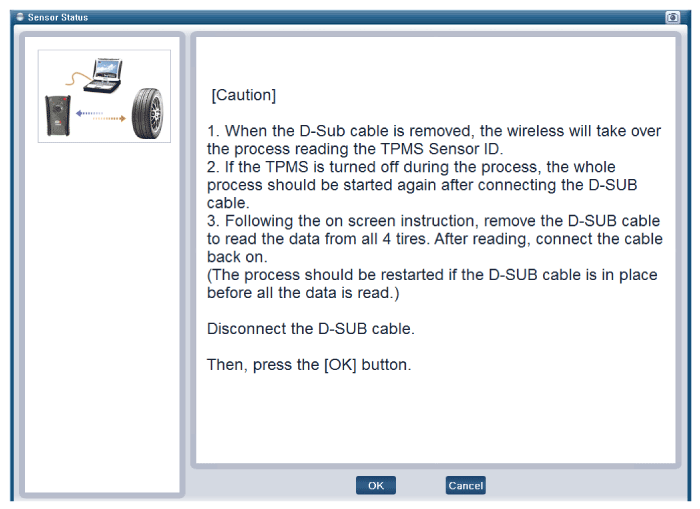
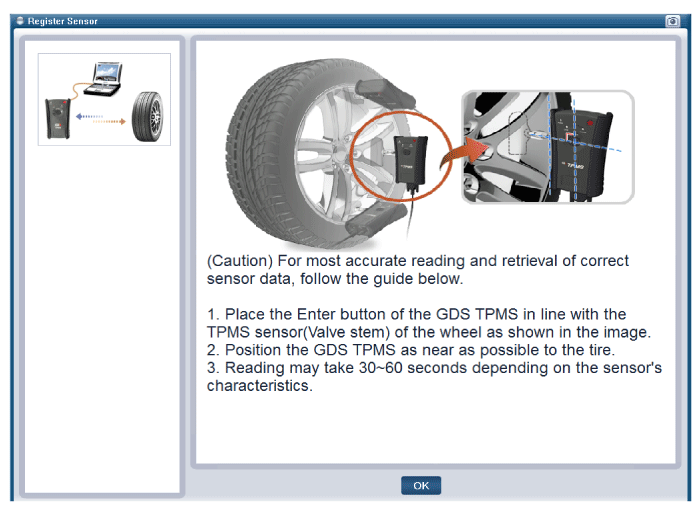
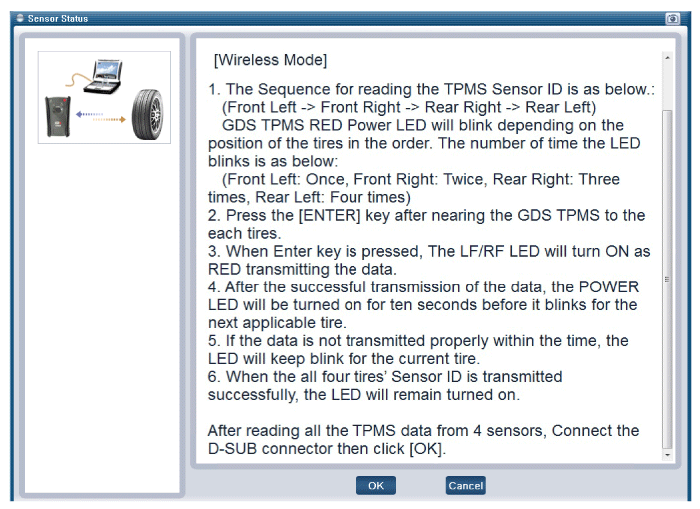
As a guide to diagnostic procedures using the diagnostic device, the main contents are as follows:- Connect the 16-pin diagnostic connector located in the lower part of the driver side trim panel to the scan tool, then turn on the scan tool after turning the ignition key ON.
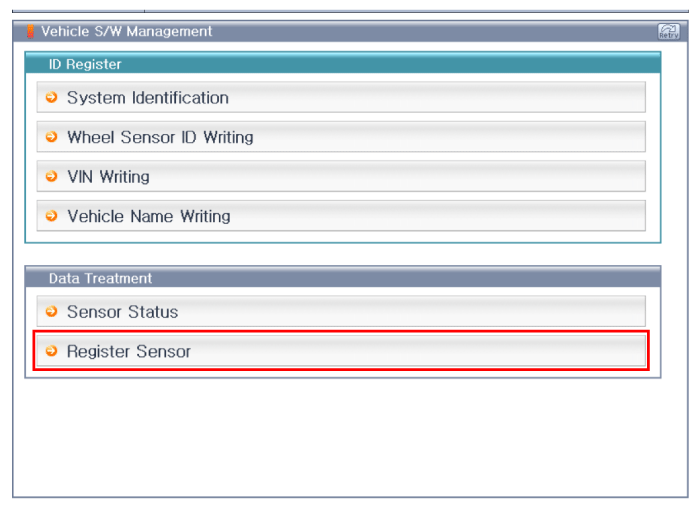
- On the GDS vehicle selection screen, select "Vehicle Model" and "TPMS," then select OK.

Test yourself
A quick Kia Cee'd quiz: every answer comes with an explanation and a link to the manual page.
Was this page helpful?