Shift Cable
Components and Component Location
Component
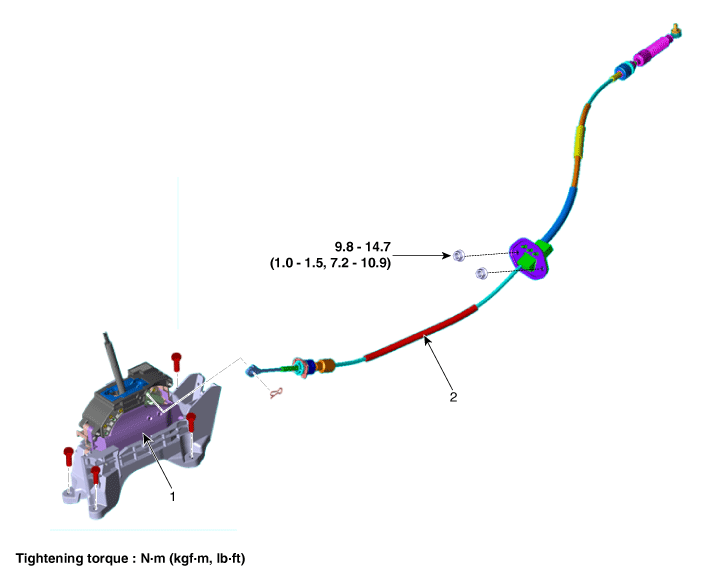
| 1. Shift lever assembly | 2. Shift Cable Assembly |
Repair Procedures
Removal
Shift the transmission to "N".
Remove the battery and battery tray.
(Refer to Engine Electrical System - Battery)
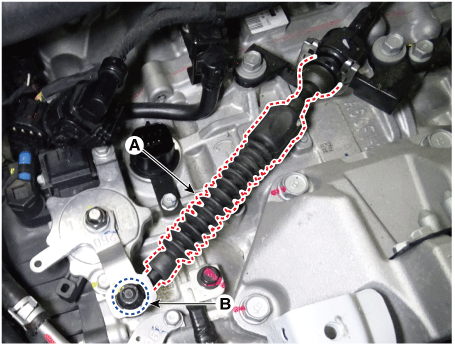
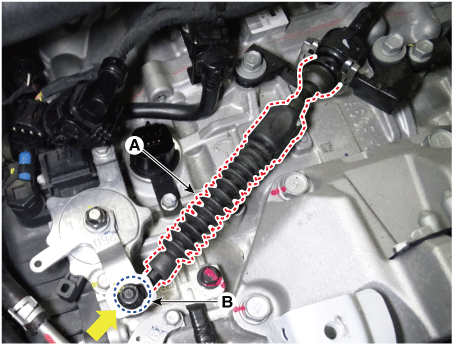
Remove the shift cable (A) from the bracket by loosening the nut (B).
Remove the floor console assembly.
(Refer to Body - Floor Console Assembly)
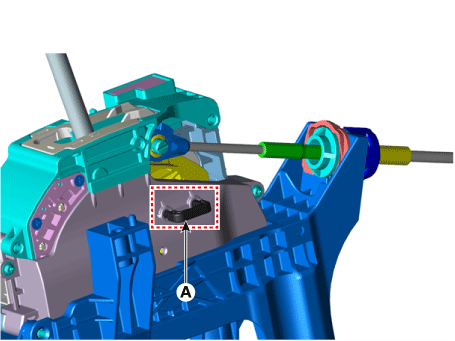
Remove the stop pin (A).
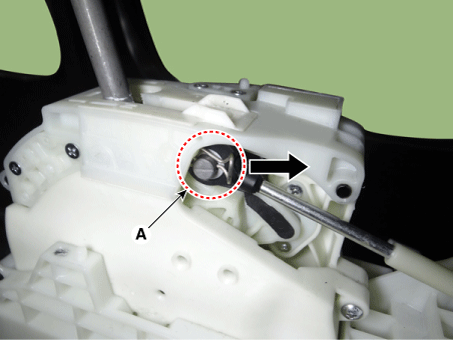
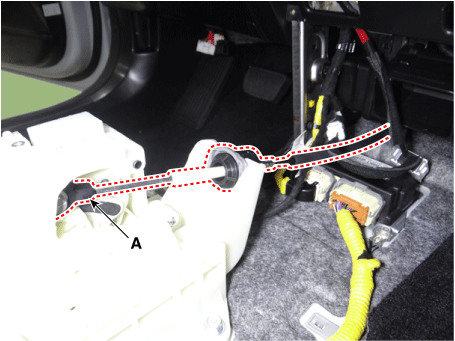
Disconnect the shift cable (A) from the shift lever.
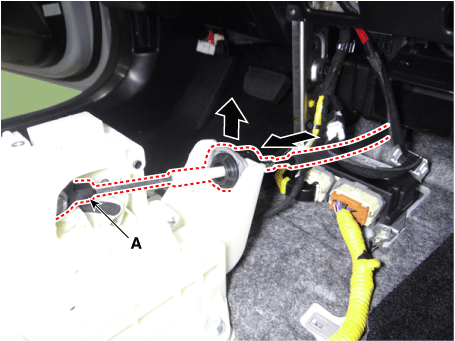
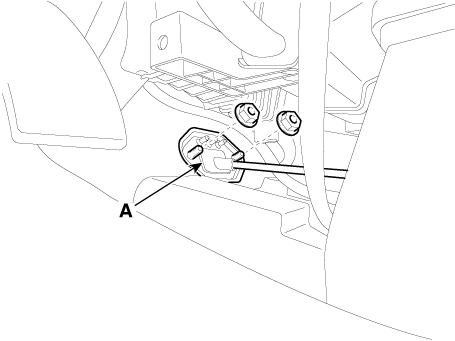
Remove the shift cable bracket (A) after loosening the nuts (B).
Then remove the shift cable by pulling it toward the vehicle interior.
Installation
Insert the "N range locking pin" (A) into the shift lever after checking that the shift lever and manual control lever are in the "N" range.
Install the shift cable bracket (A) by tightening the nuts.
Tightening Torque: 9.8–14.7 N·m
Insert the lock pin (A) after installing the shift cable.
Tighten the nut (B) to the specified torque after eliminating the play, while pressing the shift cable (A) in the direction indicated by the arrow.
Tightening Torque: 9.8–13.7 N·m
Remove the N range locking pin (A).
Install the floor console assembly.
(Refer to Body - Floor Console Assembly)
Install the battery and battery tray.
(Refer to Engine Electrical System - Battery)
Test yourself
A quick Kia Optima DL3 quiz: every answer comes with an explanation and a link to the manual page.