Dynamic Damper
Components and Component Location
Components
[RH]

| 1. BJ assembly 2. Clip 3. BJ boot band 4. Boot |
5. Dynamic Damper Band 6. Dynamic Damper 7. Shaft 8. TJ Boot Band |
9. TJ Boot 10. Spider Assembly 11. Snap Ring 12. TJ Housing |
13. Snap ring |
[LH]
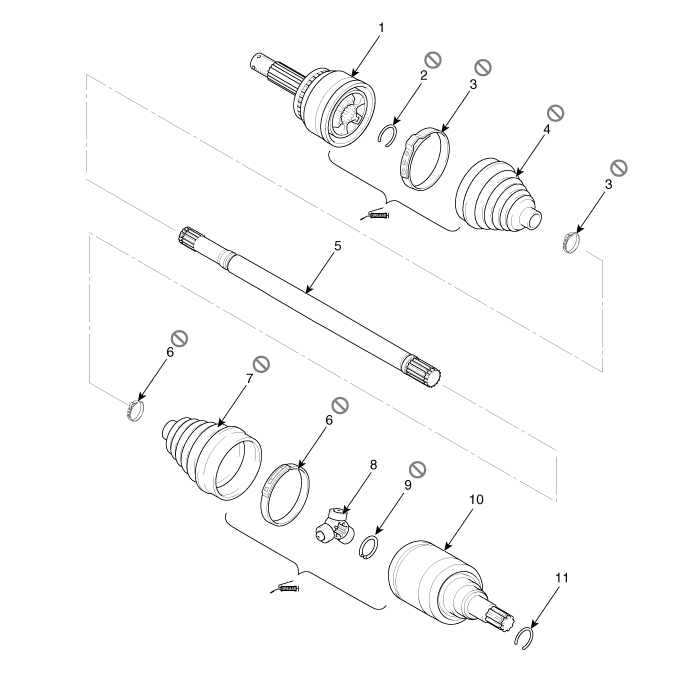
| 1. BJ Assembly 2. BJ Snap Ring 3. BJ Boot Band 4. BJ Boot |
5. Shaft 6. TJ Boot Band 7. TJ Boot 8. Spider Assembly |
9. Retaining ring 10. TJ housing 11. Snap ring |
Repair Procedures
Replacement
Remove the front drive shaft.
(See Drive Shaft and Axle - "Front Propeller Shaft")
Remove the TJ joint assembly.
(See Drive Shaft and Axle - "TJ Joint")
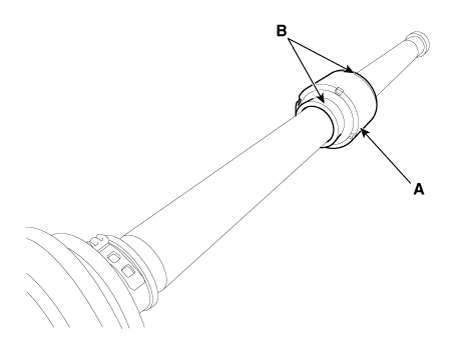
Remove both dynamic damper bands (B) from the dynamic damper (A).
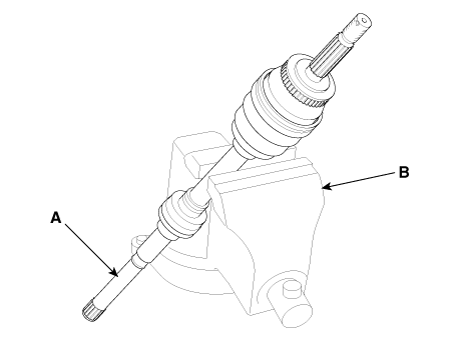
Secure the drive shaft (A) in a vise (B), as shown in the illustration.
Apply soap powder to the shaft to prevent damage between the shaft splines and the dynamic damper when the dynamic damper is removed.
Carefully separate the dynamic damper (A) from the shaft (B).

Installation
Apply soap powder to the shaft to prevent damage between the shaft splines and the dynamic damper.
Install the dynamic damper.
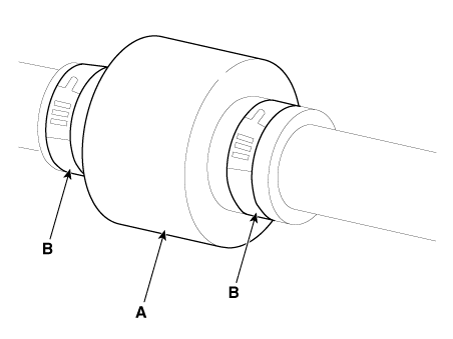
Install the dynamic damper band (A).
Using SST (09495-3K000), secure the TJ boot bands (B).
Clearance (A): 2.0 mm (0.0787 in.) or less
Install the TJ joint assembly.
(See Drive Shaft Assembly - "TJ Joint")
Install the front propeller shaft.
(Refer to Drive Shaft Assembly — "Front Drive Shaft")
Inspect the front wheel alignment.
(See Suspension System - Alignment)
Test yourself
A quick Kia Rio YB quiz: every answer comes with an explanation and a link to the manual page.