Rear wing panel gutter
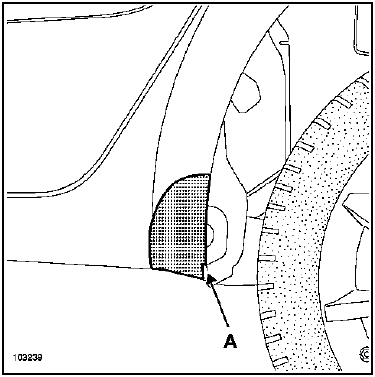
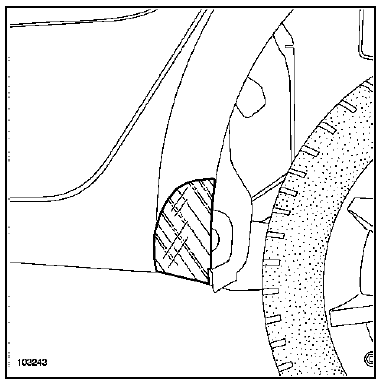
Carefully mark the notch on the adhesive film and the rear wing (A).
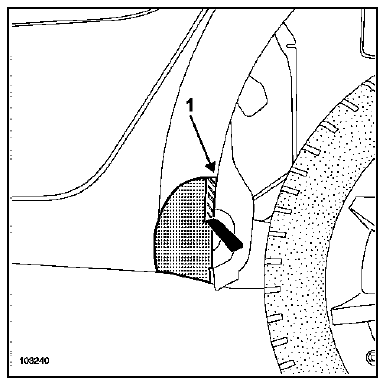
Partially remove the release sheet (adhesive side) from the rear part of the film (1).
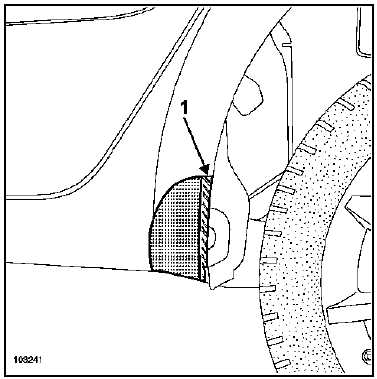
Position and bond the rear part of the film (1) to the rear edge of the rear wing.
IMPORTANT Do not touch the adhesive part of the film with your fingers.
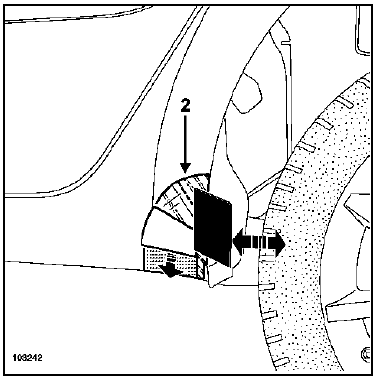
Using the squeegee, bond the film with a rear-to-front movement, taking care to avoid air bubbles.
Hold the film vertically and bond the front part (2) to the bottom of the rear wing.
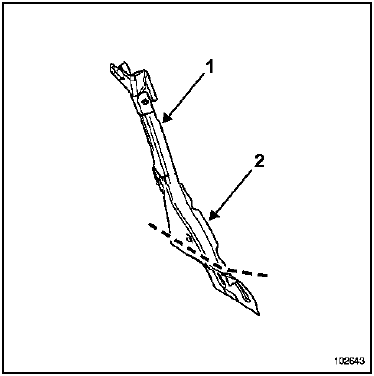
The rear wing panel gutter consists of two parts:
- upper section (1).
- lower section (2).
Depending on the severity of the impact, replace only the damaged sections.
This type of operation requires separating the elements of the part supplied as an assembly by the Spare Parts Department.
This part can be replaced in different ways:
- Complete, complementary to the roof panel, the complete rear wing, and the rear wheel arch extension.
- Complementary lower section, to the rear wheel arch extension and the extreme rear lower sill side closures.
- Partial lower section avoids removing the rear wing.
In the method described below, you will only find the descriptions and joins specific to the part concerned.
REPLACEMENT PART CONTENTS
Part assembled with:
Upper side gutter (1).
Tailgate ball stud bracket.
M8X125 weld nut.
Lower side gutter (2).
M6X100 clinch nut.
PARTS CONCERNED (thickness in mm):
- Rear wing panel gutter upper section 1
- Rear wing panel gutter lower section 0.9
PART IN POSITION
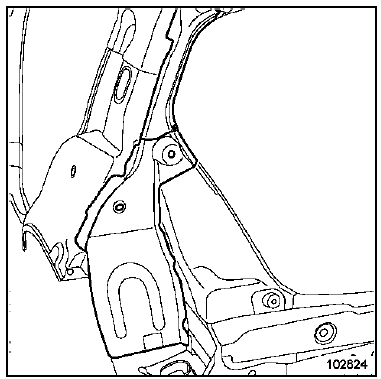
Specifics of replacing the lower section of the rear wing panel gutter
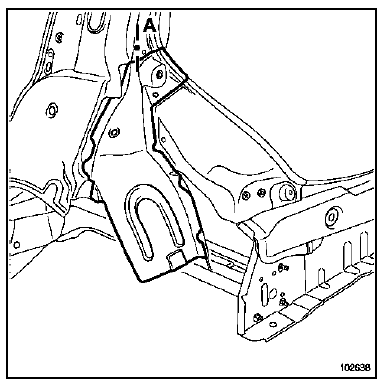
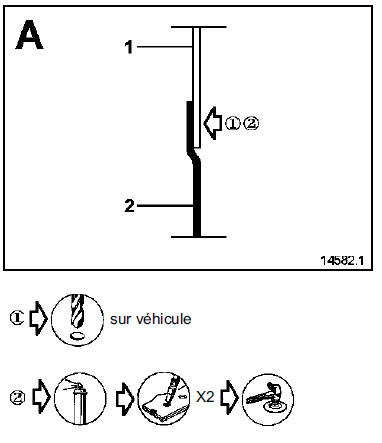
- Rear wing panel gutter upper section
- Rear wing panel gutter upper section
Specifics of partially replacing the lower section of the rear wing panel gutter
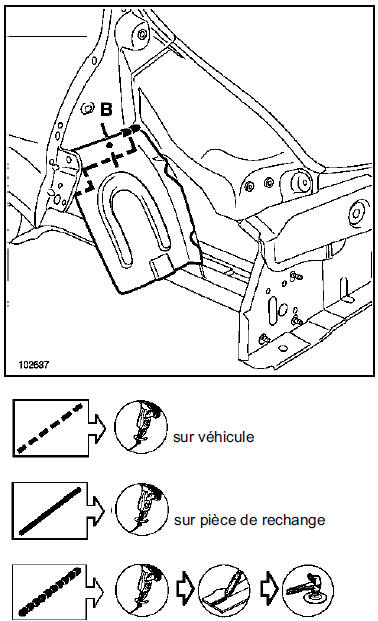
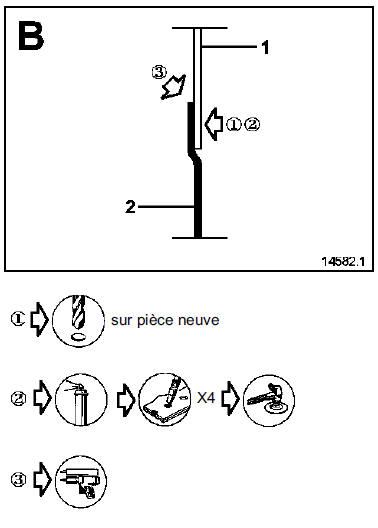
Test yourself
A quick Renault Megane quiz: every answer comes with an explanation and a link to the manual page.