Running gear, axles, steering
Dismantling and assembling drive shaft
In this manual: Running gear, axles, steering
~2min read
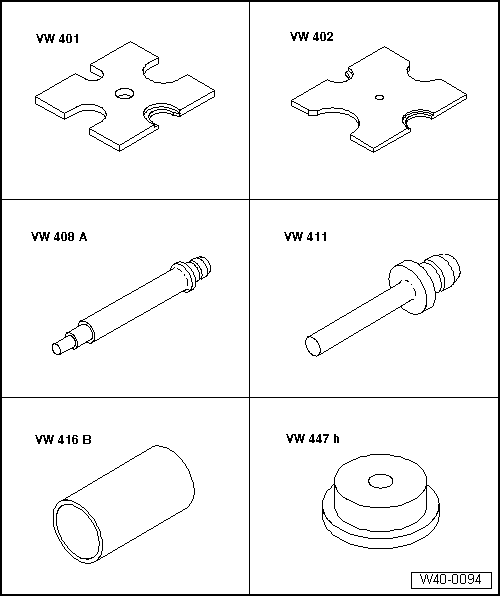
Special tools and workshop equipment required
Thrust plate -VW 401-
Thrust plate -VW 402-
Press tool -VW 408 A-
Press tool -VW 411-
Tube -VW 416 B-
Thrust washer -VW 447 H-
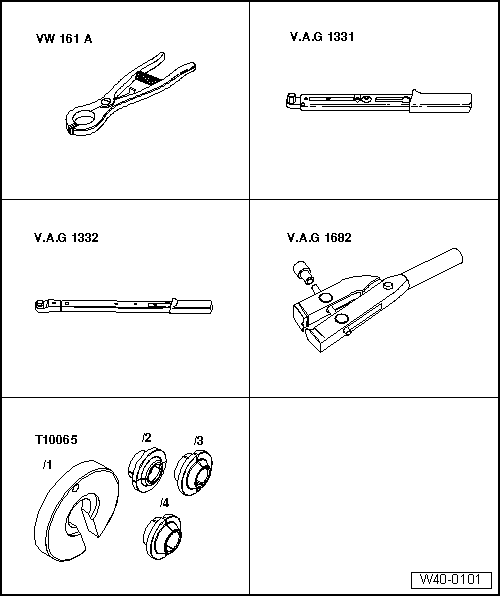
Circlip pliers -VW 161 A-
Torque wrench -V.A.G 1331-
Torque wrench -V.A.G 1332-
Special pliers -V.A.G 1682-
Assembly tool -T10065-
Dismantling |
Driving off outer constant velocity joint
Drift must be positioned exactly on ball hub of constant velocity joint.Driving joint on |
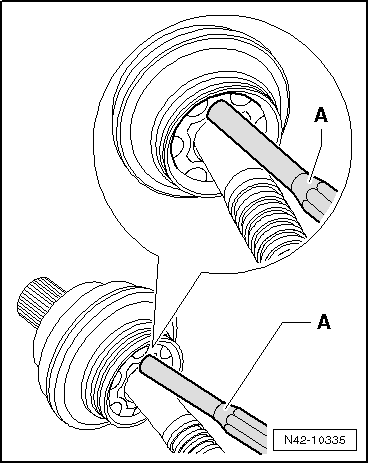 |
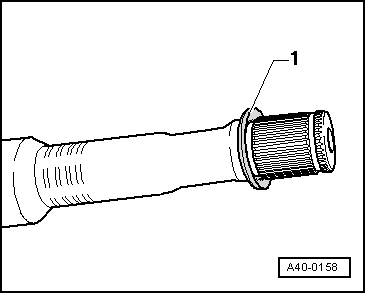
Installation position of dished spring at outer joint
|
 |
Driving off cover for inner joint |
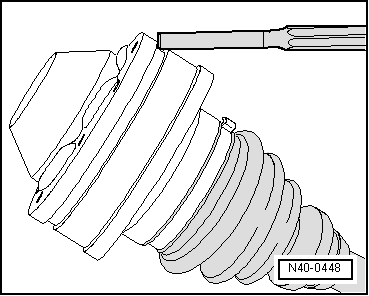 |
Pressing off inner constant velocity joint
Assembling |
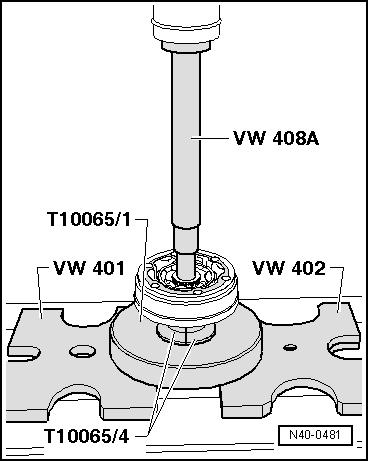 |
Installation position of dished spring at inner joint
|
|
Pressing on inner constant velocity joint Note Chamfer on internal circumference of ball hub (splines) must face contact shoulder on drive shaft.
|
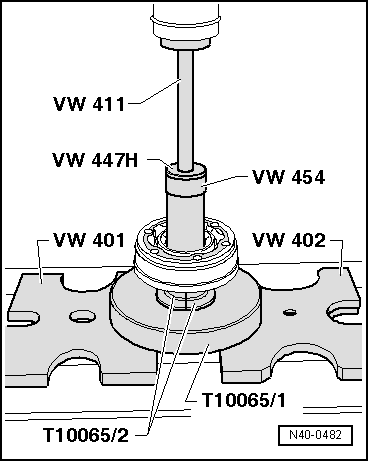 |
|
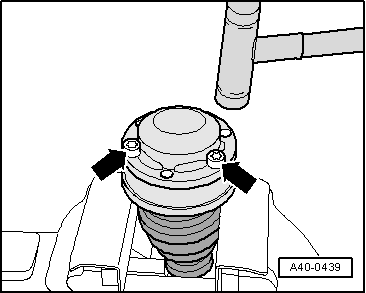 |
Tighten clamp on outer joint
Note Due to the hard material of the protective boot (compared to rubber) and the necessity of using a stainless steel clamp, it is only possible to tension the clamp with clamp tensioner -V.A.G 1682-. Specified torque: 25 N·m.Use torque wrench -C - with setting range of 5 ... 50 N·m. Make sure thread of spindle -A- on pliers moves freely. Lubricate with MoS2 grease if necessary. If the thread is tight (e.g. due to dirt), the required clamping force for the clamp will not be attained although the specified tightening torque is applied. |
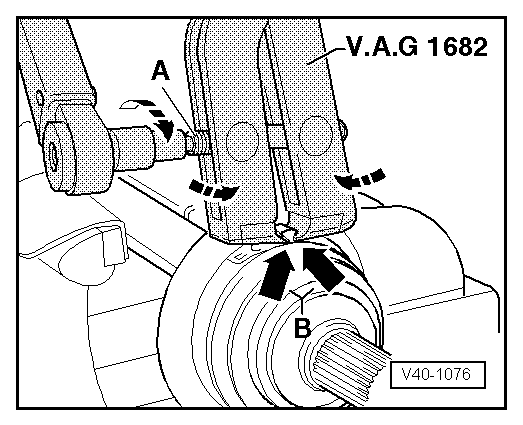 |
Tightening clamp on small diameter |
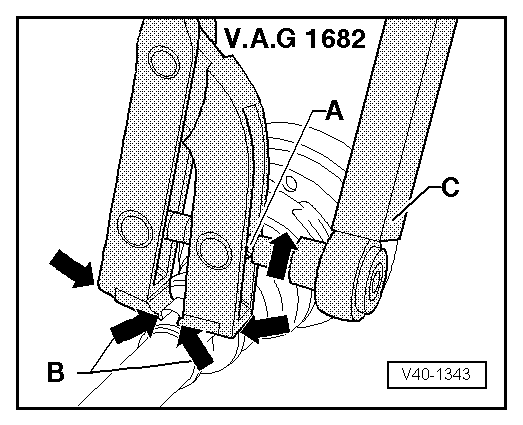 |
Test yourself
A quick Volkswagen Golf quiz: every answer comes with an explanation and a link to the manual page.
Was this page helpful?