Timing Belt - Installation
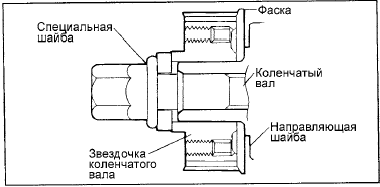
1. Install the guide washer and crankshaft sprocket as shown in the illustration. Pay attention to the orientation of the parts during installation.
Tightening torque Crankshaft sprocket bolt: 140 - 150 N·m
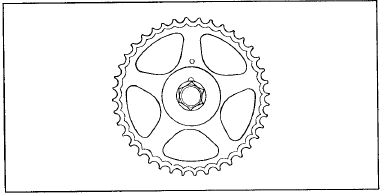
2. Install the camshaft sprocket and tighten its bolt to the specified torque.
Tightening torque Camshaft sprocket bolt:
80 - 100 N·m
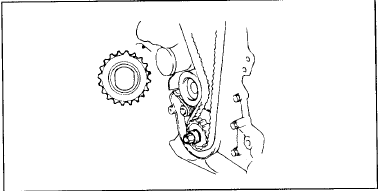
3. Install the idler pulley and tighten its mounting bolt to the specified torque.
Tightening torque Idler pulley bolt: 43 - 55 N·m 4. Align the crankshaft and camshaft sprocket marks with the timing marks when the No. 1 cylinder piston is at TDC on the compression stroke.
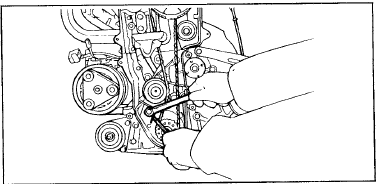
5. Install the timing belt tensioner components in the following order: first install the tensioner, then install the tensioner spring and spacer. Temporarily tighten the tensioner pivot bolt. Temporarily tighten the tensioner adjusting bolt and washer (in the elongated hole of the tensioner bracket).
Hook the lower end of the spring onto the projection on the oil pump housing, as shown in the illustration.
6. Move the tensioner pulley toward the water pump and temporarily tighten the tensioner mounting bolts.
7. Install the timing belt onto the crankshaft sprocket.
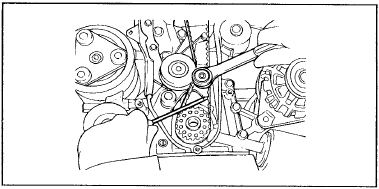
8. Install the timing belt onto the camshaft sprocket. After installing the timing belt on the camshaft sprocket, make sure the timing belt tension side is taut. Then apply force to the camshaft sprocket in the reverse direction of rotation (counterclockwise) to tension the tension side of the belt, and check that all timing marks are aligned.
9. First tighten the tensioner adjusting bolt, then tighten the tensioner pivot bolt.
Tightening torque Tensioner bolt: 20 - 27 N·m 10. Turn the crankshaft one full revolution in the normal direction of rotation (clockwise) and realign the crankshaft mark with the timing mark (No. 1 cylinder at TDC on the compression stroke).
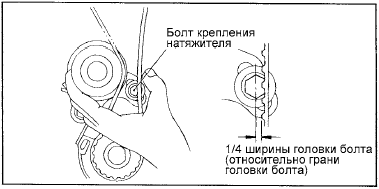
11. Check the timing belt tension again.
Hold the tensioner and timing belt together by hand, then lightly press the belt with your thumb (with a force of approximately 49 N) in the horizontal direction at the center of the tensioner pulley. Make sure the tooth tip of the timing belt deflects approximately 1/4 of the width of the tensioner adjusting bolt head (relative to the bolt head edge).
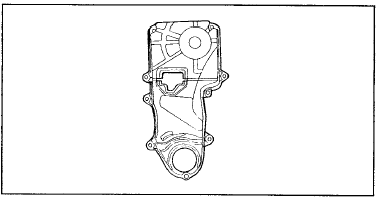
12. Install the timing belt cover.
Tightening torque Timing belt cover mounting bolts: 8 - 10 N·m
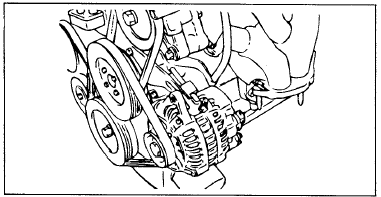
13. Install the crankshaft pulley. Make sure that the crankshaft sprocket locating pin is engaged with the small hole in the crankshaft pulley.
Tightening torque Crankshaft pulley mounting bolts: 140 - 150 N·m 14. Install the coolant pump pulley.
15. Install the generator drive belt and adjust its tension.
Test yourself
A quick Hyundai Elantra CN7 quiz: every answer comes with an explanation and a link to the manual page.