Dual Clutch Assembly
Components and Component Location
Components
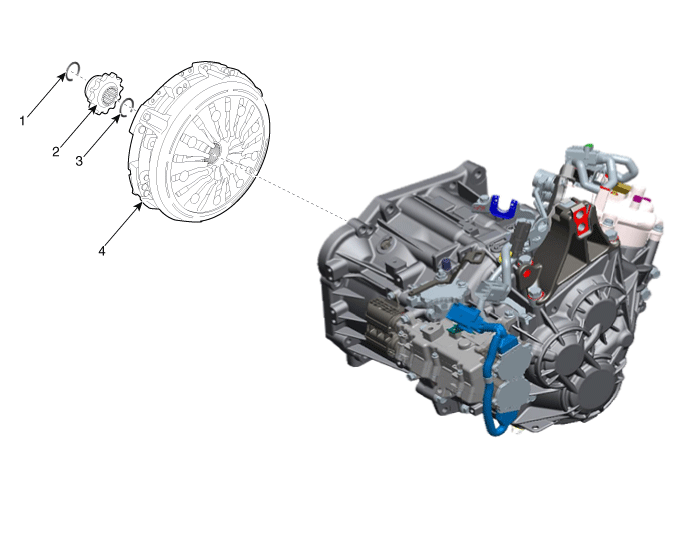
| 1. Snap ring 2. Spline hub |
3. Snap ring 4. Dual clutch assembly |
Video Clip




Removal
(Refer to Video Clip)
Remove the dual clutch transmission from the vehicle.
(Refer to DCT System — "DCT")
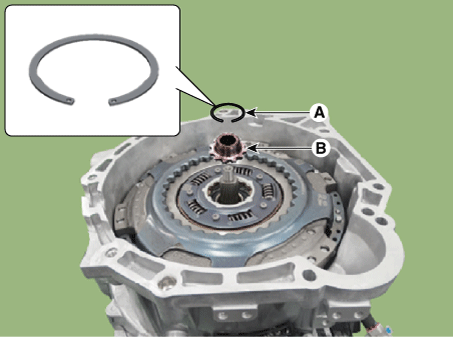
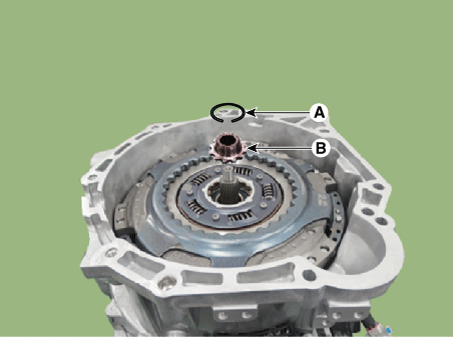
Remove the spline hub (B) after removing the snap ring (A).
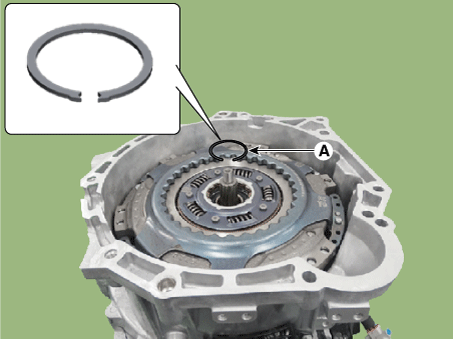
Remove the snap ring (A).
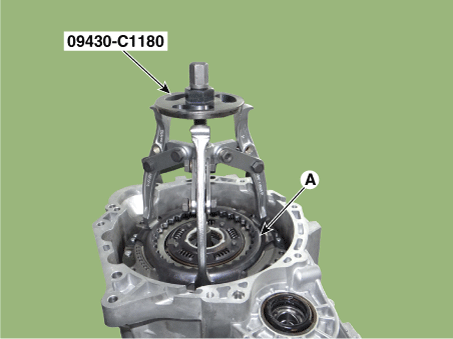
Remove the dual clutch assembly (A) using the special service tool (09430-C1180).
Installation
(Refer to Video Clip)
If the dual clutch assembly has been replaced, perform clutch wear compensation initialization.
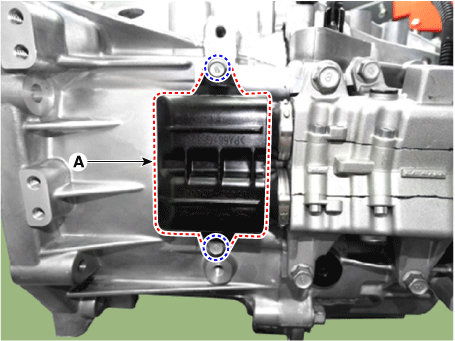
Remove the fork cover (A).
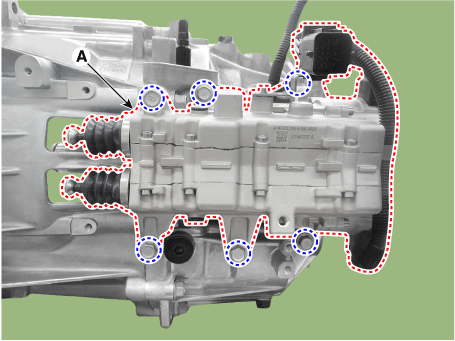
Remove the clutch actuator assembly (A).
Perform clutch wear compensation initialization.
(Refer to Dual Clutch Transmission Control System - "Clutch Actuator Assembly")
(Refer to Video Clip)
Install the clutch actuator assembly (A).
Tightening torque: 19.6–26 N·m
Install the fork cover (A).
Tightening torque: 3.9 ~ 5.9 N·m
Using the dual clutch installer (09430-2A240), install the dual clutch assembly.
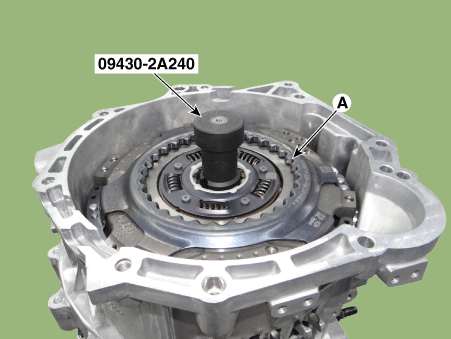
Install the special service tool (09430-2A240) on the clutch housing side. Then install the dual clutch assembly (A) by turning the shaft of the service tool.
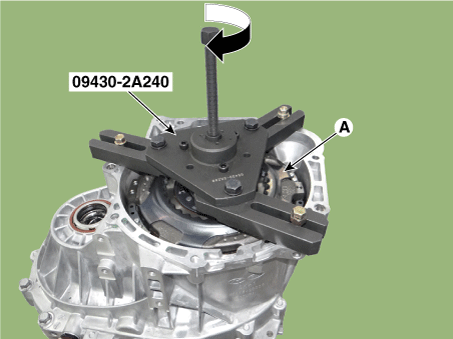
Install the snap ring (A).
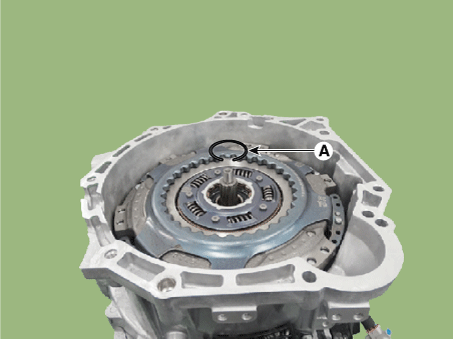
Install the spline hub (B) and the snap ring (A).
Install the dual clutch transmission in the vehicle.
(Refer to DCT System — "DCT")
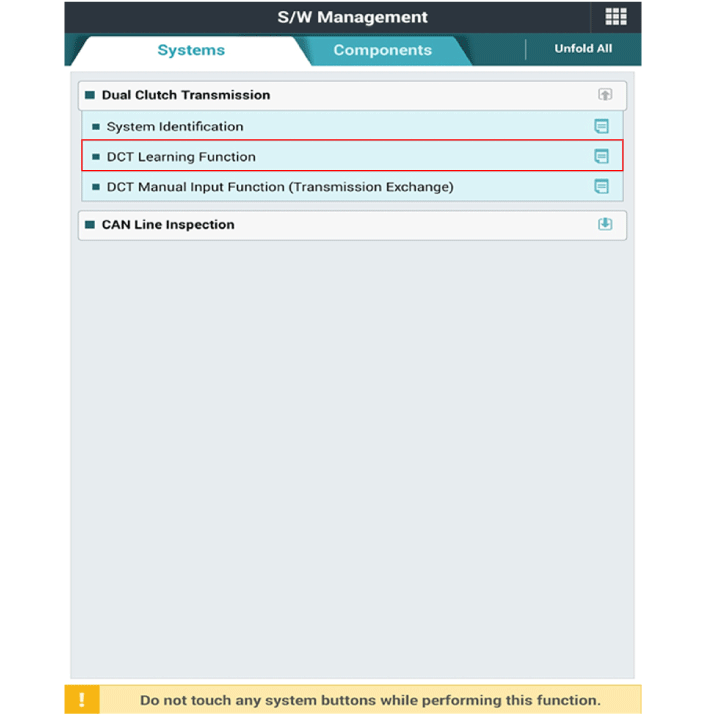
Perform the clutch touch point learning procedure using the KDS.
Test yourself
A quick Kia Forte BD quiz: every answer comes with an explanation and a link to the manual page.