Fixed Quarter Glass
Components and Component Location
Component Location

| 1. Quarter Fixed Glass |
Repair Procedures
Removal
Remove the rear door pillar trim.
(Refer to Interior Trim - "Rear Pillar Trim Panel")
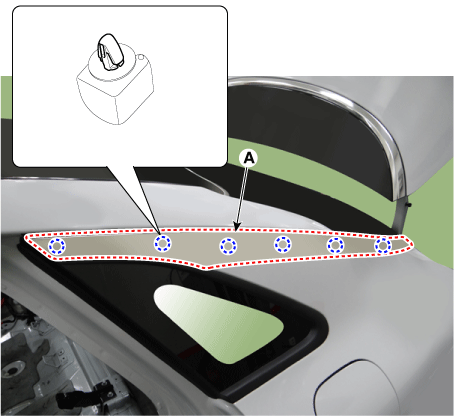
Using a screwdriver or a remover, remove the rear pillar garnish (A).
Loosen the mounting nuts and remove the quarter fixed glass (A).
Tightening torque: 3.9 ~ 4.4 N·m
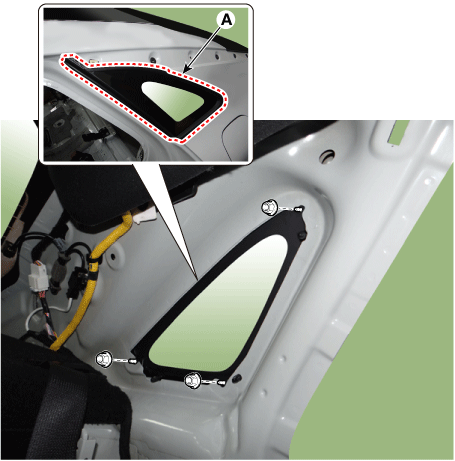
Using a utility knife, cut the sealant of the quarter fixed glass.
Installation
Using a knife, scrape off the remaining sealant around the body flange, leaving sealant about 2 mm (0.0079 in.) thick. Make installation marks on the quarter fixed glass and body.
Clean the edges of the body flange and quarter fixed glass.
Apply body primer to the edge of the body flange.
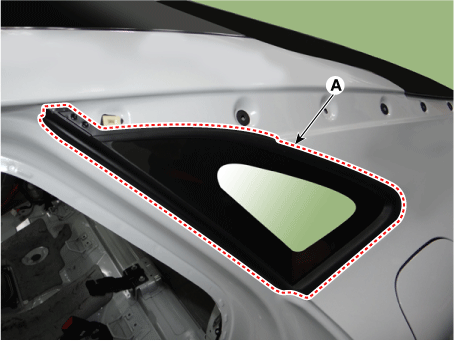
Install the side fixed glass (A).
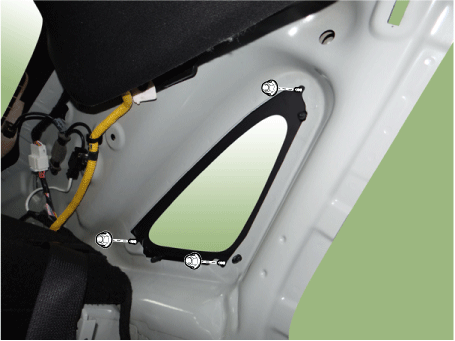
Install the quarter fixed glass mounting nuts.
Tightening torque:
3.9–4.4 N·m (0.4–0.45 kgf·m, 2.9–3.3 ft-lbf, 34.7–39.1 in-lbf)
Install the pillar garnish C (A).
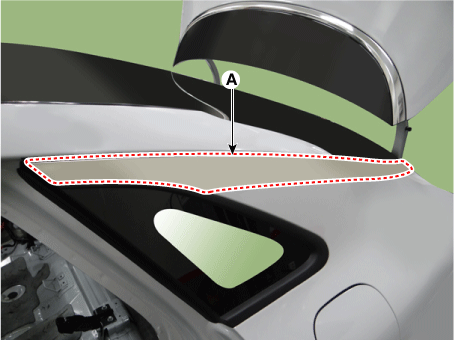
Install the rear door pillar trim.
(Refer to Interior Trim - "Rear Pillar Trim Panel")
Test yourself
A quick Kia Optima DL3 quiz: every answer comes with an explanation and a link to the manual page.