Body (Interior and Exterior)
Hood Crossmember Assembly
In this manual: Body (Interior and Exterior)
25steps
~150min
5/5difficulty
Done 0 of 25
Components and Component Location
Component Location
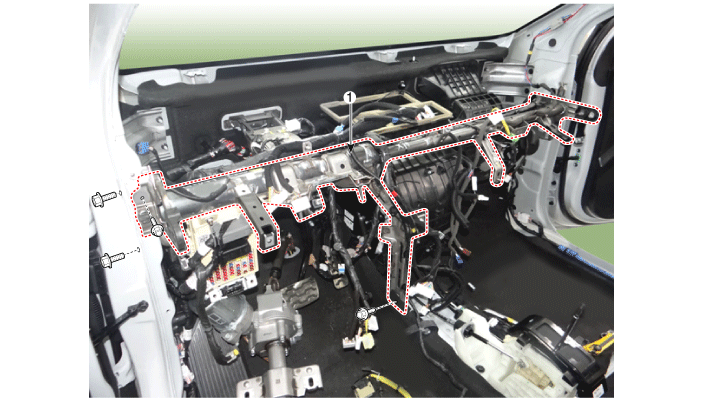
| 1. Crash Pad Center Lower Panel |
Repair Procedures
Replacement
- Remove the main airbag assembly. (Refer to Airbag - "Main Airbag Assembly")
- Lower the steering column after loosening the mounting bolts. (Refer to Steering System - "Steering Column and Shaft")
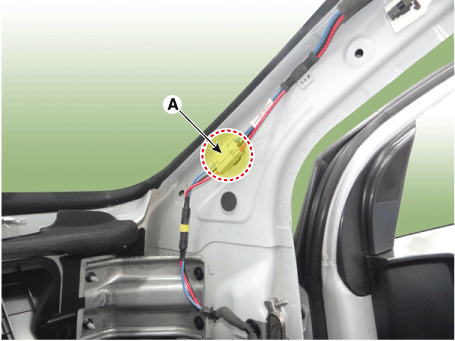
- Disconnect the connector (A) and the mounting clips on the front pillar [RH].
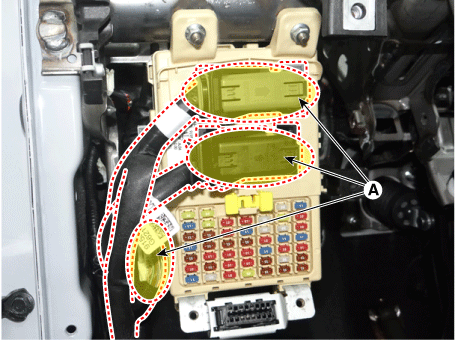
- Disconnect the junction block connectors in the cabin (A).
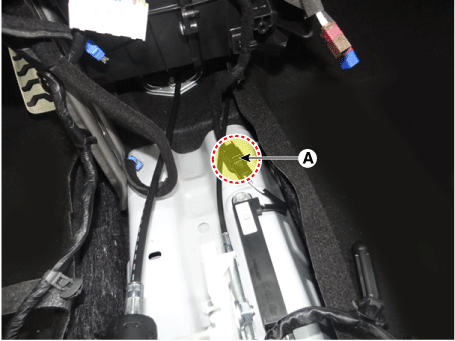
- Disconnect the smart key antenna connector (A).
- Disconnect the passenger side wiring connector (A).
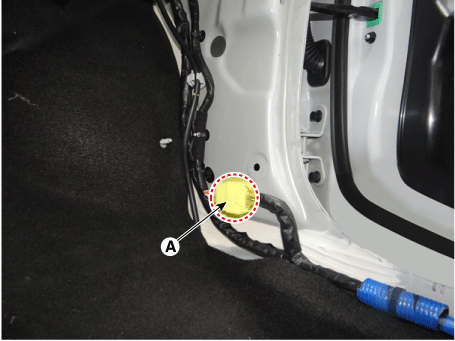
- Loosen the BCM mounting nut (A).
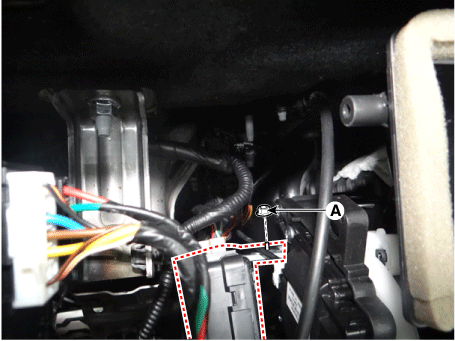
- Separate the BCM (B) by removing the mounting nut and disconnecting the connectors (A).
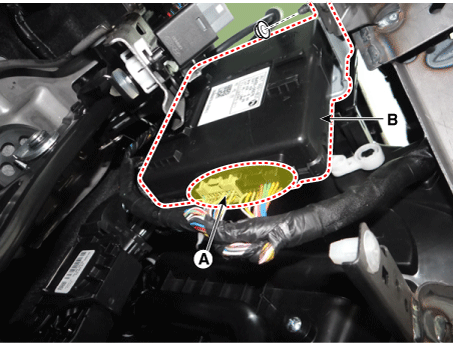
- Remove the BCM (B) by disconnecting the connectors (A).
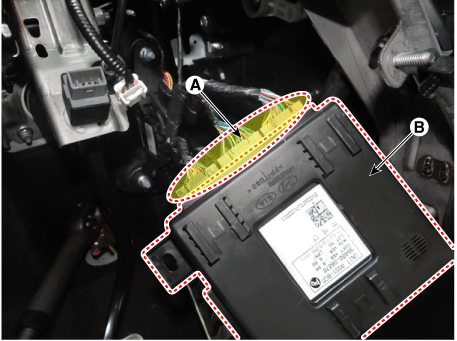
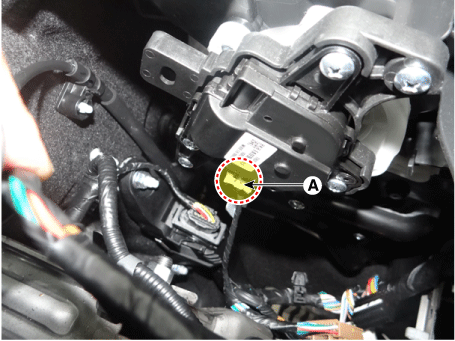
- Disconnect the mode actuator connector (A). [Driver]
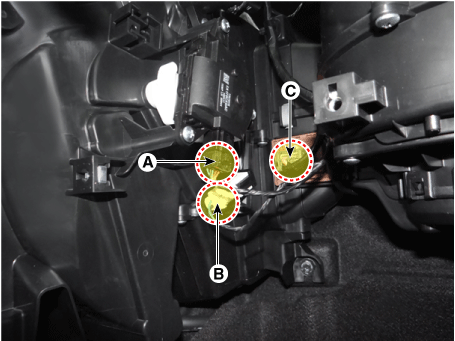
- Disconnect the temperature control actuator (A) and the evaporator sensor (B) from the blower resistor (C).
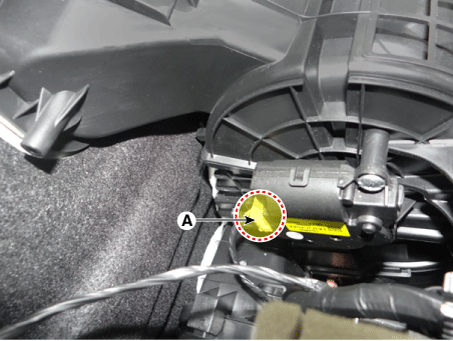
- Disconnect the intake door actuator control (A).
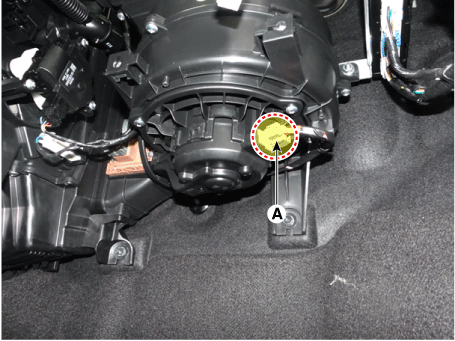
- Disconnect the blower motor connector (A) and remove the wiring clips.
- Disconnect the smart key unit connector after loosening the mounting nut, then remove the smart key unit (A).
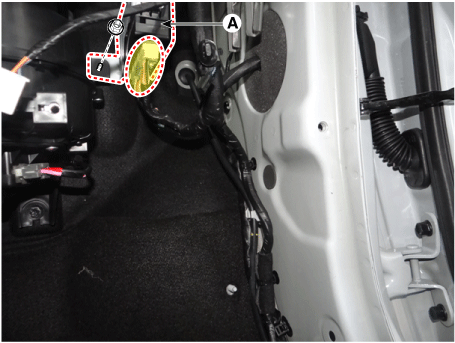
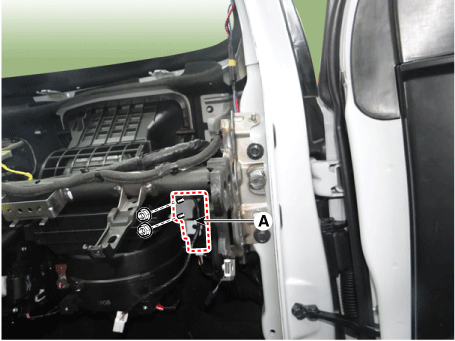
- Remove the cap (A) and nuts, then remove the wiper arm (B).
Tightening torque: 22.6–26 N·m
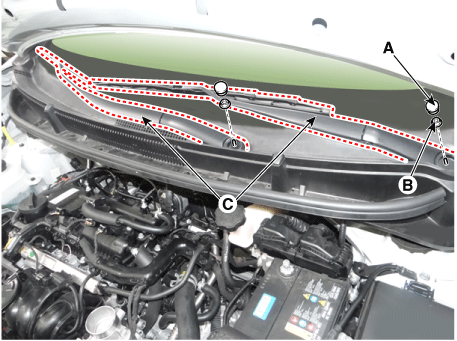
- Disconnect the washer hose (A).
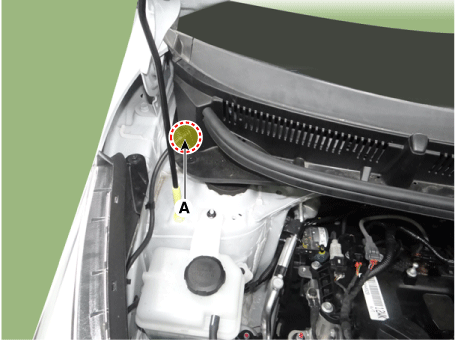
- Remove the upper side cover CWOL (A).
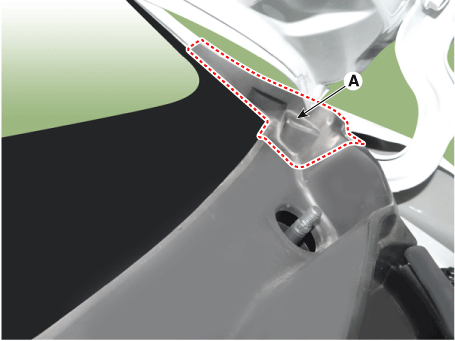
- Disconnect the clips, then remove the upper shroud cover (A).
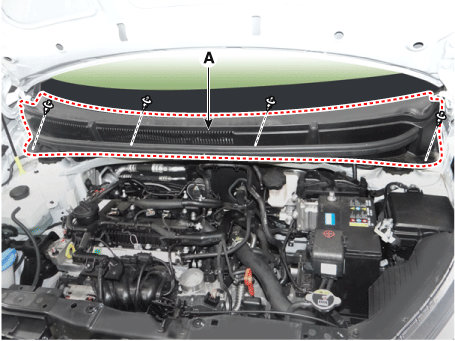
- Remove the front wiper motor (A) after loosening the mounting bolts.
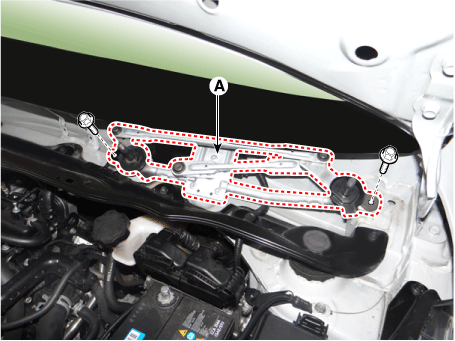
- Disconnect the front wiper motor connector (A).
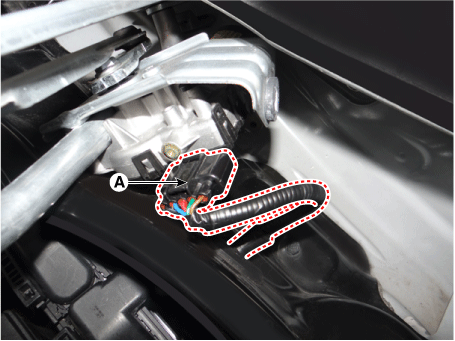
- Loosen the hood cross member mounting bolts (A).
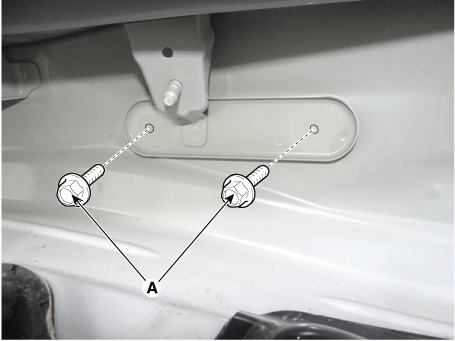
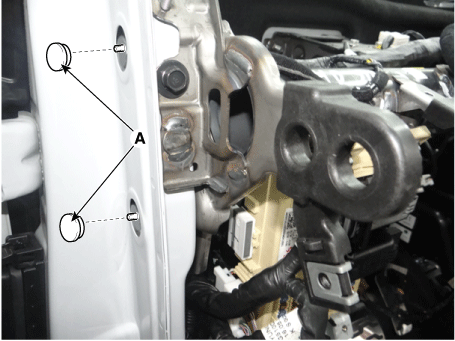
- Remove the hood cross member bolt caps (A).
- Remove the hood cross member assembly (A) after loosening the mounting bolts and nuts. [Driver side]
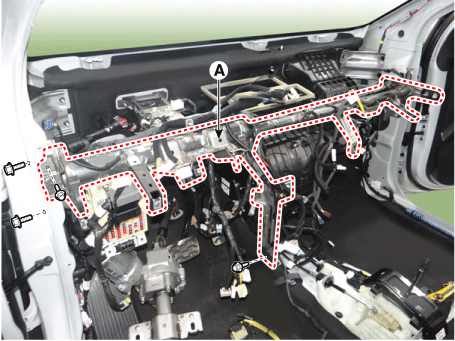
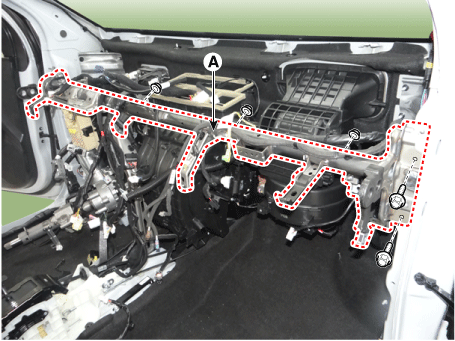
- Remove the main wire harness (A) from the hood cross member.
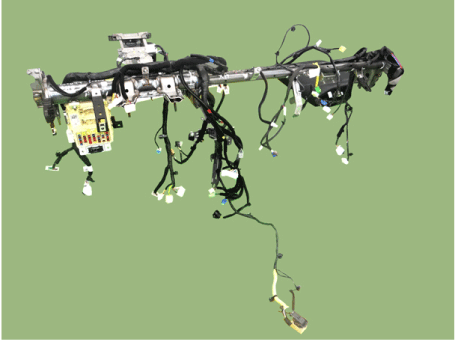
- Install in the reverse order of removal.
Test yourself
A quick Kia Picanto JA quiz: every answer comes with an explanation and a link to the manual page.
Was this page helpful?