Front Door Lock
Exploded View
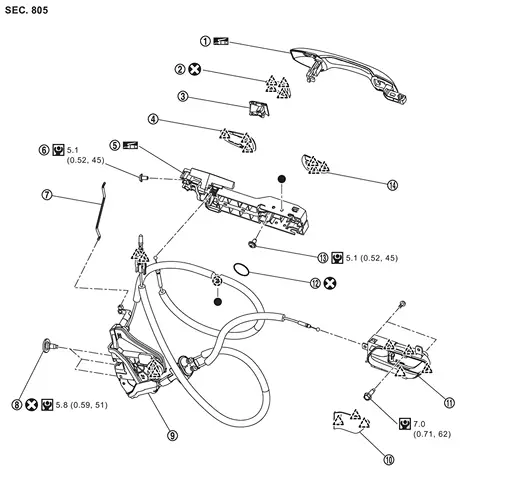
 |
Front door outside handle |  |
Escutcheon cover |  |
Escutcheon base |
 |
Rear gasket |  |
Front door outside handle bracket |  |
TORX bolt |
 |
Key rod (Driver side) |
 |
TORX bolt |  |
Front door lock assembly |
 |
Inside handle cap |  |
Front door inside handle |  |
Hole seal |
 |
TORX bolt |  |
Front gasket | ||
 |
: Clip | ||||
 |
: Pawl | ||||
 |
: Always replace after every disassembly. | ||||
 |
: N·m (kg-m, in-lb) | ||||
 |
: Body grease | ||||
 : Indicates that the part is connected at points with same symbol in actual vehicle. |
|||||
Front Door Lock Assembly
Removal and Installation
REMOVAL
Remove front door finisher. Refer to Removal and Installation.
Remove front door module assembly. Refer to Removal and Installation.
Remove front door outside handle bracket. Refer to Removal and Installation.
Remove front door lock assembly mounting TORX bolts.
Disengage front door lock assembly fixing pawls, and then remove front door lock assembly.
INSTALLATION
Note the following items, and then install in the reverse order of removal.
Inspection
After opening and closing the door, check that door is fixed to the vehicle body normally.
Check the lock/unlock operation of door lock.
Front Door Inside Handle
Removal and Installation
REMOVAL
Remove front door finisher. Refer to Removal and Installation.
Remove front door inside handle fixing screws  .
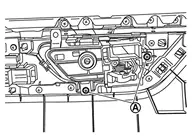
Remove front door inside handle fixing pawls, and then remove front door inside handle.
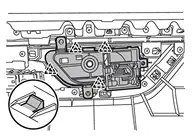
|
:Pawl |
INSTALLATION
Note the following items, and then install in the reverse order of removal.
Front Door Outside Handle
Removal and Installation
REMOVAL
Remove front door finisher. Refer to Removal and Installation.
Remove front door module assembly. Refer to Removal and Installation.
Disconnect front door outside handle harness connector  , and then disengage front door outside handle harness connector fixing clip (if equipped).
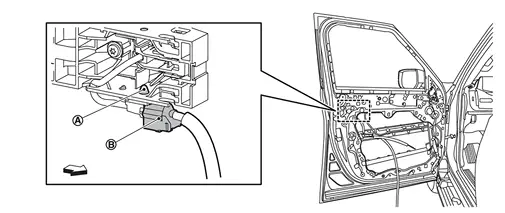
| : vehicle front |
Remove key rod from key rod holder of front door lock assembly according to the numerical order 1→2 indicated by arrows as shown in figure (driver side).

| : vehicle front |
Apply protective tape (A) on the part to protect it from damage.
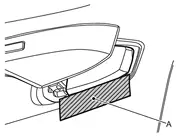
Insert a remover tool (A) at the notch of the escutcheon cover bottom and disengage fixing pawls, and then remove escutcheon cover.

|
: Pawl |
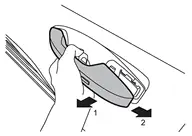
Slide front door outside handle grip toward rear of vehicle and remove it according to the numerical order 1→2 indicated by arrows as shown in figure.
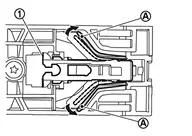
Remove door side grommet .
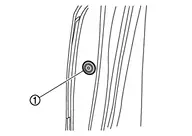
Loosen TORX bolt from grommet hole.
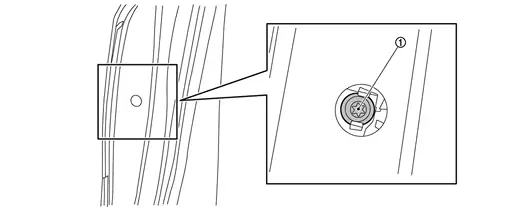
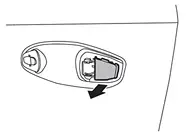
Remove escutcheon base from front door panel.
Disengage front gasket and rear gasket fixing pawls, and then remove front gasket and rear gasket.
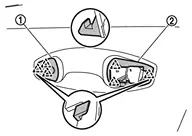
|
: Pawl |
Disengage front door outside handle cable fixing clip from front door outside handle bracket.
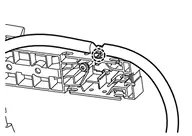
|
: Clip |
Remove hole seal .
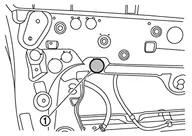
Loosen front door outside handle bracket mounting TORX bolt from service hole.
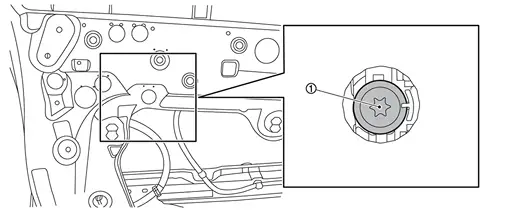
Slide front door outside handle bracket toward front of vehicle and remove it.
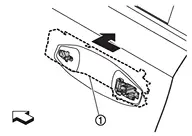
| : vehicle front |
Disconnect front door outside handle cable from front door outside handle bracket according to the numerical order 1→3 indicated by arrows as shown in figure.
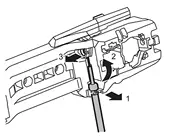
INSTALLATION
Note the following items, and then install in the reverse order of removal.