Cvt Shift Selector

| 1. | Shift selector handle | 2. | Shift selector handle clip | 3. | Control cable |
| 4 | Shift selector assembly | 5. | Shift selector handle cover |
REMOVAL
Apply the parking brake.
Remove shift lock override button cover (1) using suitable tool, and insert suitable tool into opening (A) to depress the shift lock override button. Move shift selector to “N” position while depressing shift lock override button.
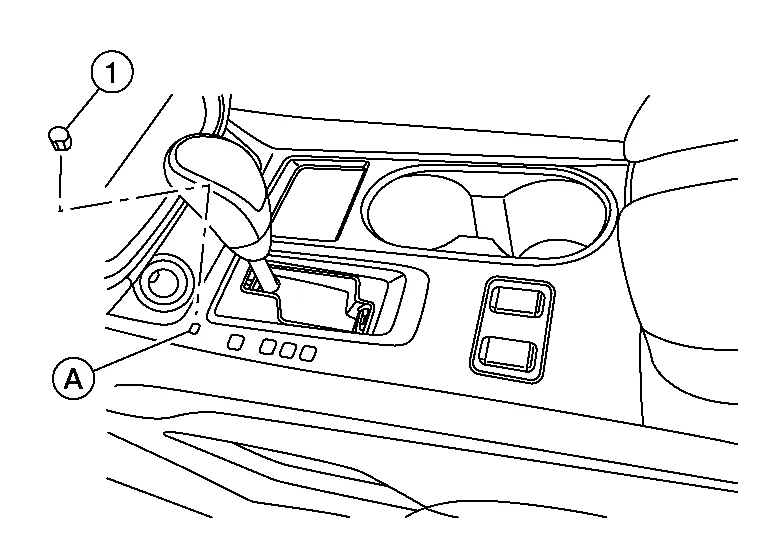
Remove the shift selector handle with the following procedure.Slide the shift selector handle cover (1) down.

Release the shift selector finisher clips and pawls using a suitable tool; disconnect the harness connectors and remove. Refer to Exploded View.
Depress the shift lock override button and move the shift selector to the "P" position.
Remove the center console side finisher (RH). Refer to Exploded View.
Position aside the center console lower side finisher (RH). Refer to Exploded View.
Remove control cable (1) from shift selector assembly (2).
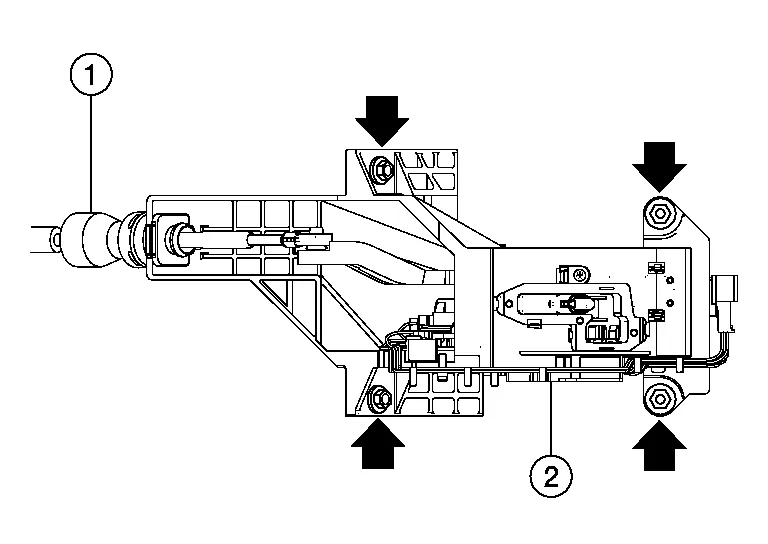
Remove shift selector assembly nuts ( ), using suitable tool.
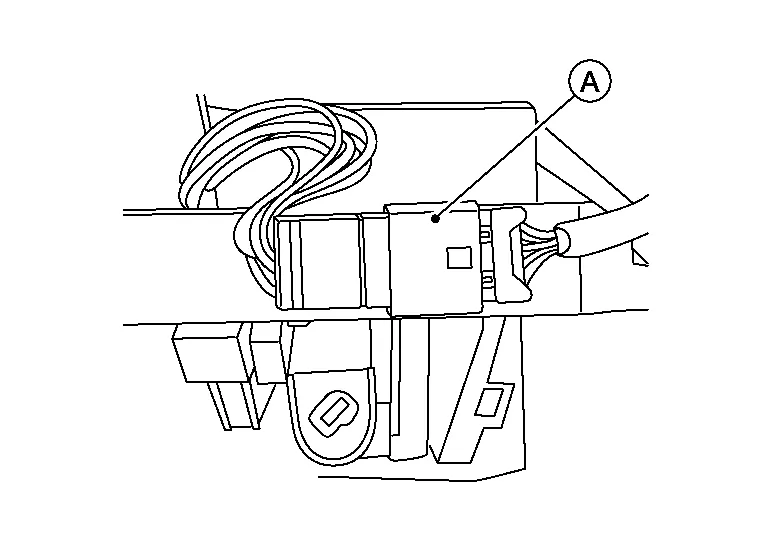
Disconnect shift selector harness connector (A), using a suitable tool.
Remove shift selector assembly from the Nissan Murano vehicle.
INSTALLATION
Installation is in the reverse order of removal.
Shift Selector
Pay attention to the following when connecting the control cable to the shift selector assembly.
When connecting the control cable (1) to the shift selector assembly (2), face the grooved surface of the rib (A) up and insert the control cable until it stops.
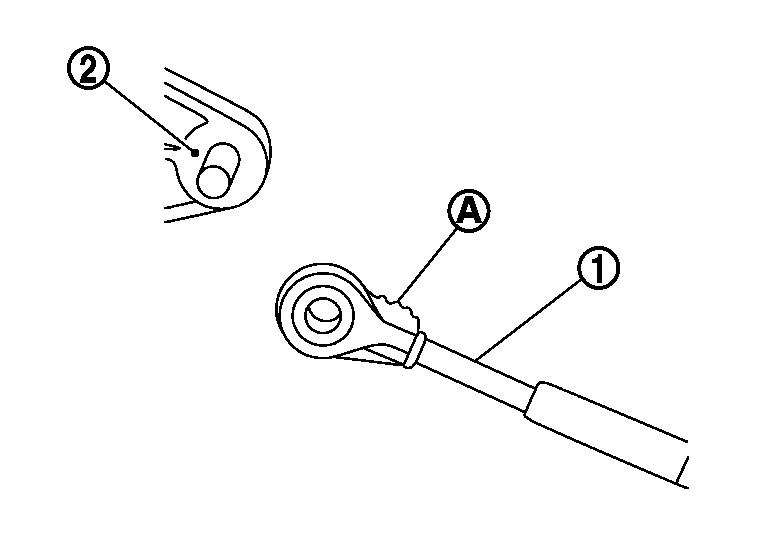
Install the socket (A) onto the shift selector assembly.
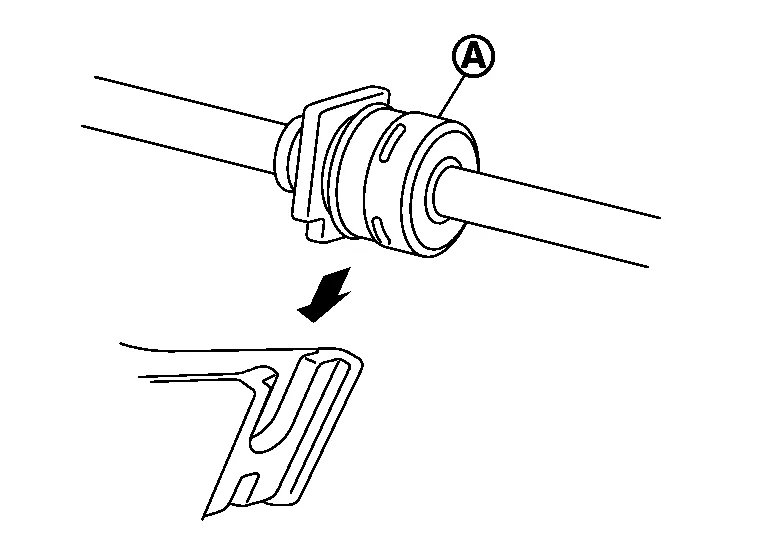
Shift Selector Handle
Follow the procedure below and place the selector lever knob onto the shift selector.
Install the lock pin (2) onto the selector lever handle (3).
Install the selector lever handle cover (1) onto the selector lever handle.
Shift the selector lever to “N” position.
Insert selector lever handle into the selector lever until a slight touch is felt.
Press and hold the selector lever handle into selector lever until you feel it click into place.
After installing selector lever handle (A), pull the handle in the direction shown (
) to check that it does not become disconnected.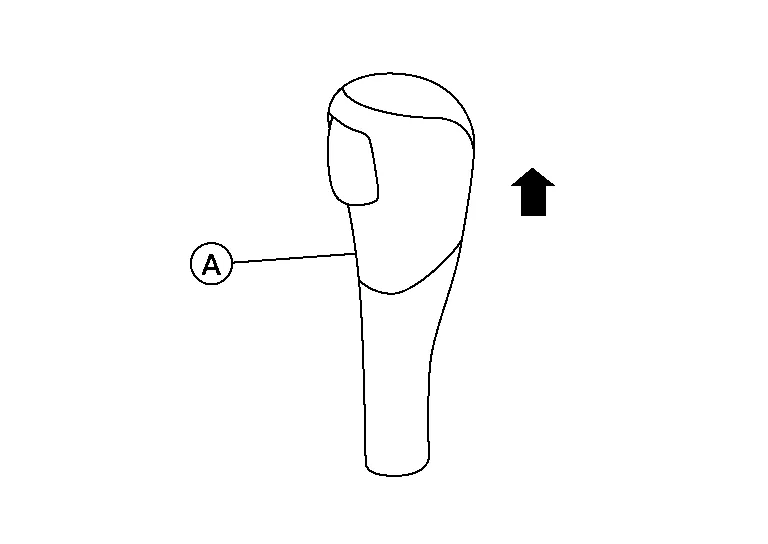
Check the CVT position.
If a malfunction is found, adjust the CVT position. Refer to Inspection and Adjustment.