Restraints
SRS Control Module (SRSCM) Repair Procedures
In this manual: Restraints
29steps
~174min
4/5difficulty
Done 0 of 29
Removal
- Remove the ignition key from the vehicle.
- Disconnect the negative battery cable and wait at least three minutes before starting work.
- Remove the floor console. (Refer to Body - "Floor Console Assembly")
- Lift the lock (C) of the SRSCM connector, then disconnect the connectors (A and B).
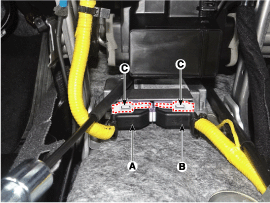
- Remove the SRSCM mounting bolt and nuts from the SRSCM, then remove the SRSCM.
Installation
- Remove the ignition key from the vehicle.
- Disconnect the negative battery cable and wait at least three minutes before starting work.
- Install the SRSCM using the SRSCM mounting bolt and nuts.
Tightening torque 9.8 ~ 13.7 N·m
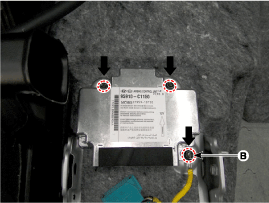
Use new mounting bolts when replacing the SRSCM after a collision. When installing the SRSCM bolt, install the ground wire (B) with the bolt as shown in the figure above.
- Connect the SRSCM wiring harness connector.
- Install the heater ducts and floor console. (Refer to Body - "Floor Console Assembly")
- Connect the negative battery cable.
- After installing the SRSCM, verify that the system operates correctly:
A. Turn the ignition ON; the SRS indicator should illuminate for approximately six seconds, then turn off.
Variant Coding
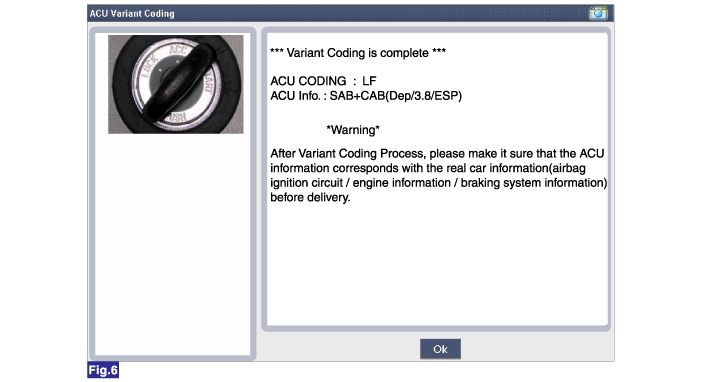
After replacing the SRSCM with a new one, perform the "Variant Coding" procedure.
|
Online type in GDS
- Turn the ignition off.
- Connect the GDS.
- Turn the ignition ON with the engine OFF.
- Select the vehicle name and the airbag system.
- Select the variant coding mode.
- Follow the on-screen instructions below.
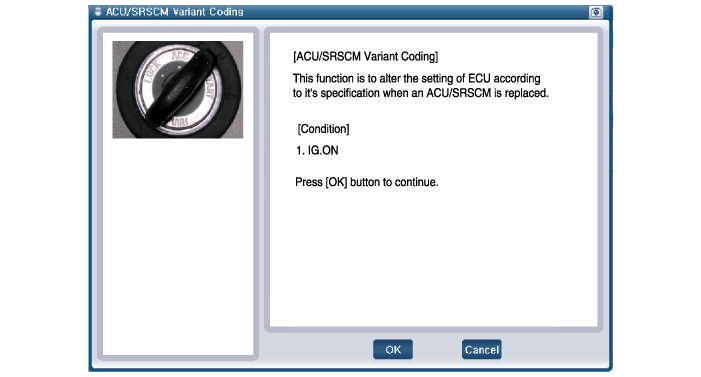
- ACU Variant Coding Start Screen
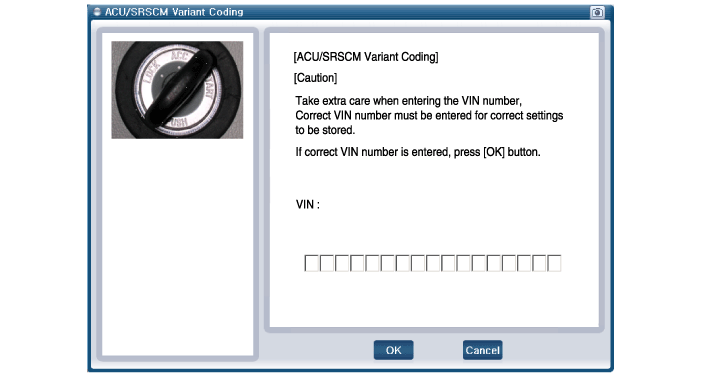
- VIN Input Screen
- Variant Coding Working Screen-1
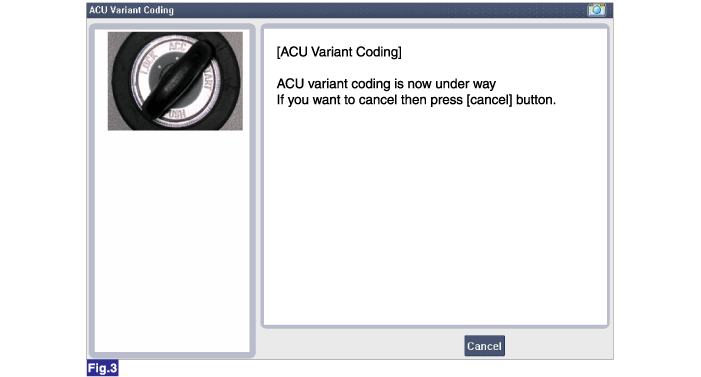
- Variant Coding Working Screen-2
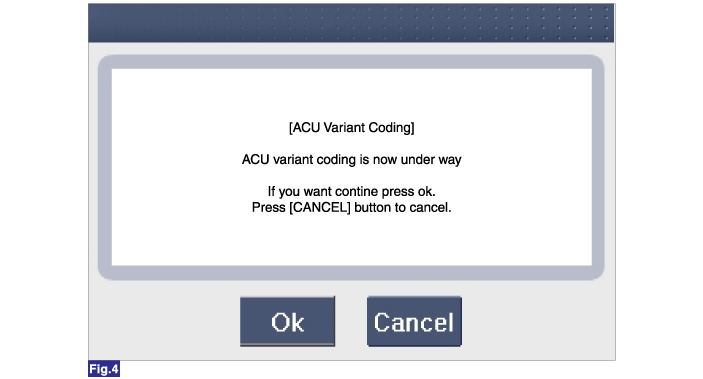
- Variant Coding Completed
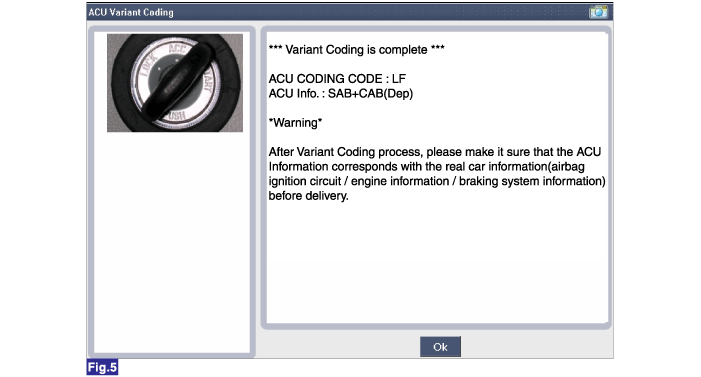
- ACU Variant Coding Start Screen
|
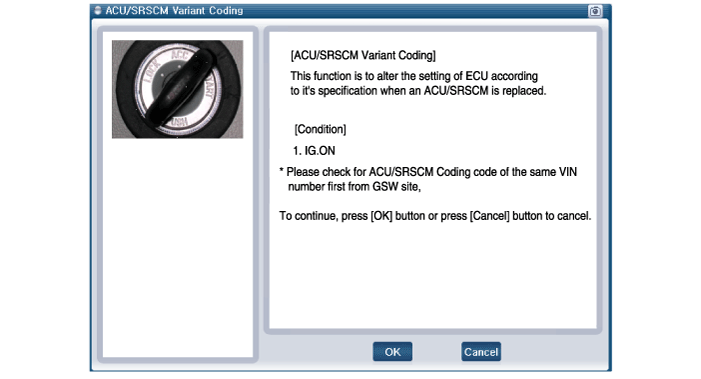
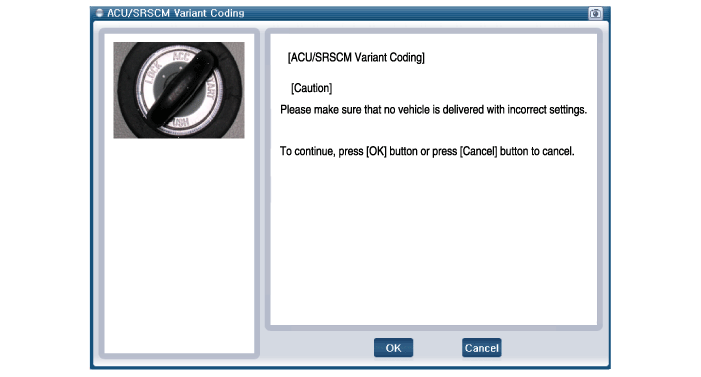
- Turn the ignition off.
- Connect the GDS.
- Turn the ignition ON with the engine OFF.
- Select the vehicle name and the airbag system.
- Select the variant coding mode.
- Follow the on-screen instructions below.
- ACU Variant Coding Start Screen
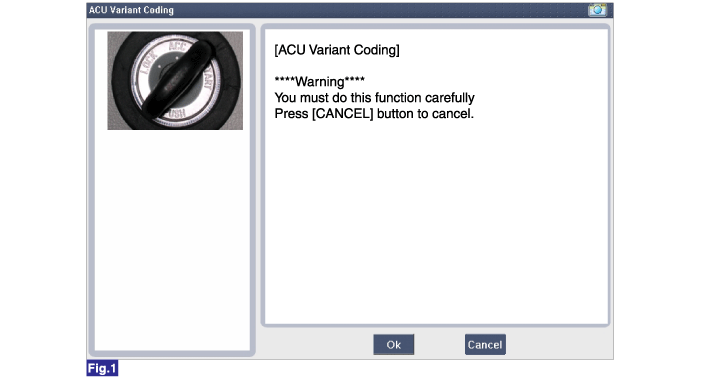
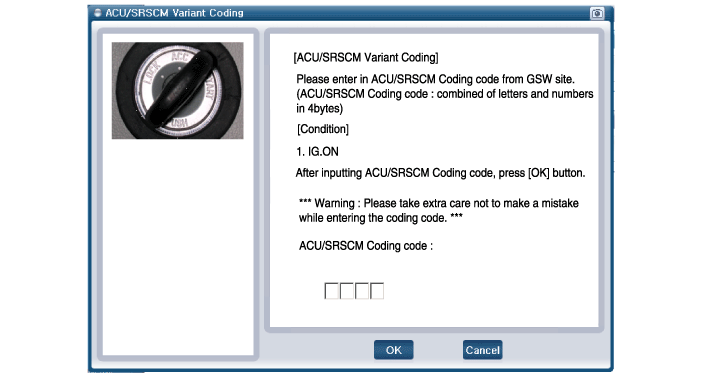
- ACU Coding Code Input Screen
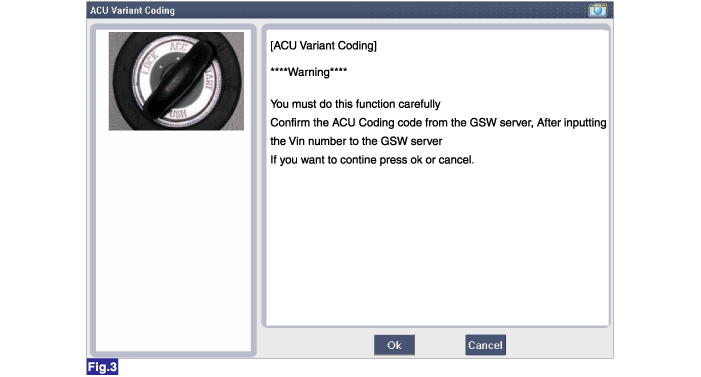
- ACU Coding Code Input Screen Re-check
- Variant Coding Working Screen-1
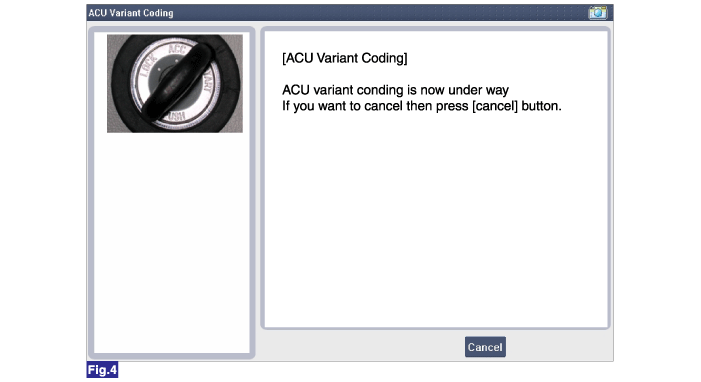
- Variant Coding Working Screen-2
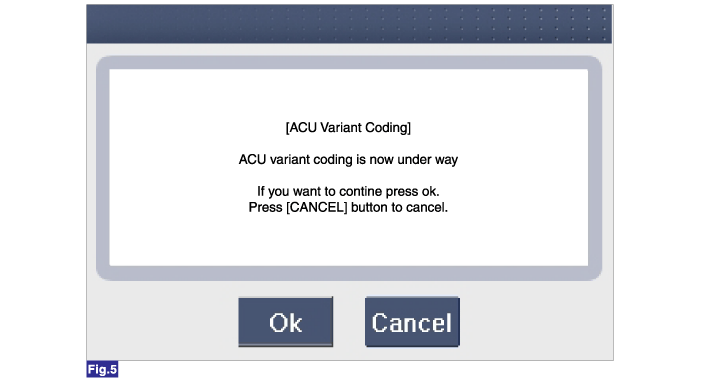
- Variant Coding Completed
- This screen is displayed when you attempt to perform variant coding on an SRSCM that has already been coded.
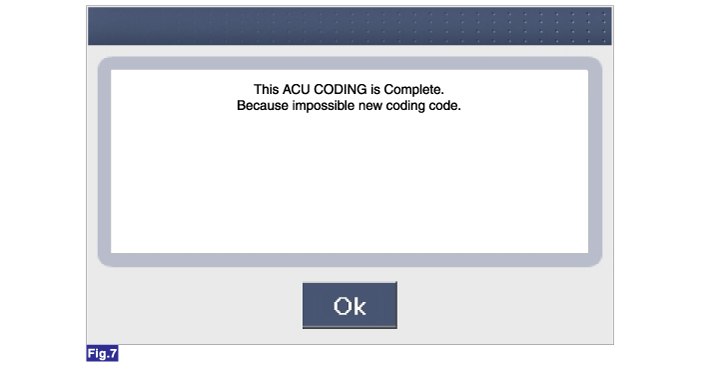
- This screen is displayed when you attempt to perform variant coding on an SRSCM that has already been coded.
- ACU Variant Coding Start Screen
Test yourself
A quick Hyundai Sonata LF quiz: every answer comes with an explanation and a link to the manual page.
Was this page helpful?