3zr-fae Air Cleaner Filter Element
Components
COMPONENTS
ILLUSTRATION
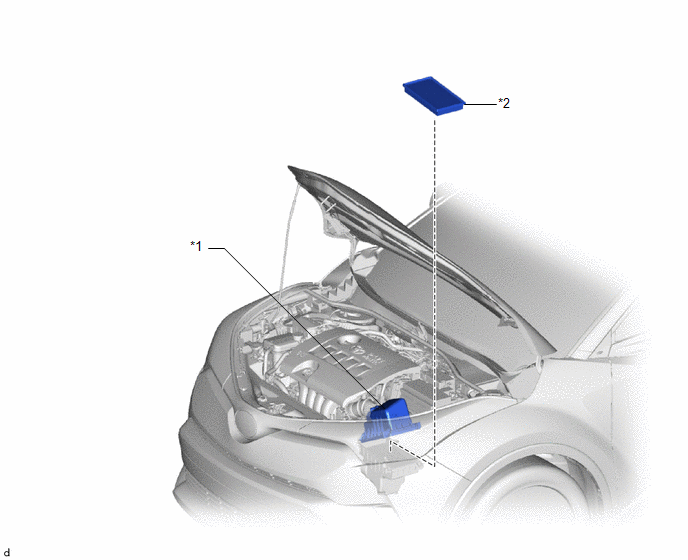
*1 |
AIR CLEANER CAP SUB-ASSEMBLY |
*2 |
AIR CLEANER FILTER ELEMENT SUB-ASSEMBLY |
Removal
REMOVAL
PROCEDURE
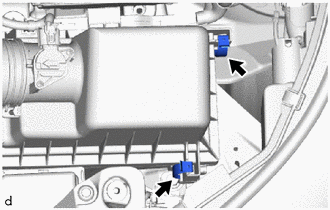
1. DISCONNECT AIR CLEANER CAP SUB-ASSEMBLY
(a) Disconnect the 2 hooks of the air cleaner cap sub-assembly. |
 |
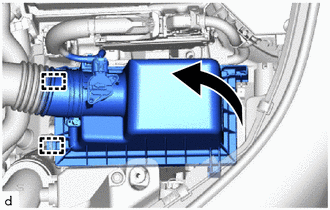
(b) Release the 2 guides and detach the air cleaner cap sub-assembly together with the air cleaner hose assembly from the air cleaner case sub-assembly. |
 |
2. REMOVE AIR CLEANER FILTER ELEMENT SUB-ASSEMBLY
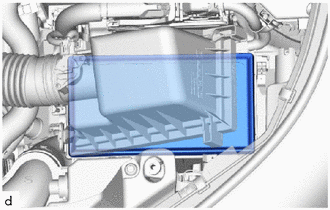
(a) Remove the air cleaner filter element sub-assembly from the air cleaner case sub-assembly. NOTICE: Do not allow foreign objects to enter the air cleaner case sub-assembly. |
 |
3. INSPECT AIR CLEANER FILTER ELEMENT SUB-ASSEMBLY
HINT:
This procedure is only performed when the air cleaner filter element sub-assembly is reused.
(a) Check whether the air cleaner filter element sub-assembly is dirty or clogged.
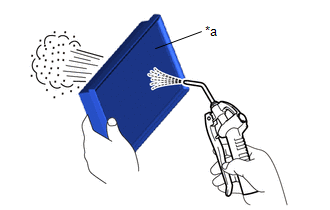
(b) If the air cleaner filter element sub-assembly is dirty or contains foreign objects, clean it with compressed air. NOTICE: When cleaning the air cleaner filter element sub-assembly, blow compressed air from the downstream intake side (throttle body assembly side). If the air cleaner filter element sub-assembly is still very dirty after cleaning, replace it with a new element. |
|
Installation
INSTALLATION
PROCEDURE
1. INSTALL AIR CLEANER FILTER ELEMENT SUB-ASSEMBLY
(a) Make sure the inside of the air cleaner case sub-assembly is free of dirt or deposits, and clean it if necessary.
(b) Install the air cleaner filter element sub-assembly to the air cleaner case sub-assembly.
2. INSTALL AIR CLEANER CAP SUB-ASSEMBLY
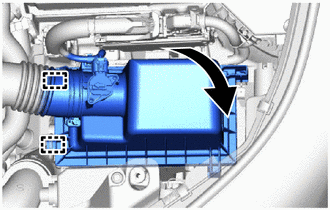
(a) Engage the 2 guides and connect the air cleaner cap sub-assembly together with the air cleaner hose assembly to the air cleaner case sub-assembly. |
 |
(b) Secure the air cleaner cover sub-assembly using the 2 clips.