Back-Up Light Bulb
Components
COMPONENTS
ILLUSTRATION
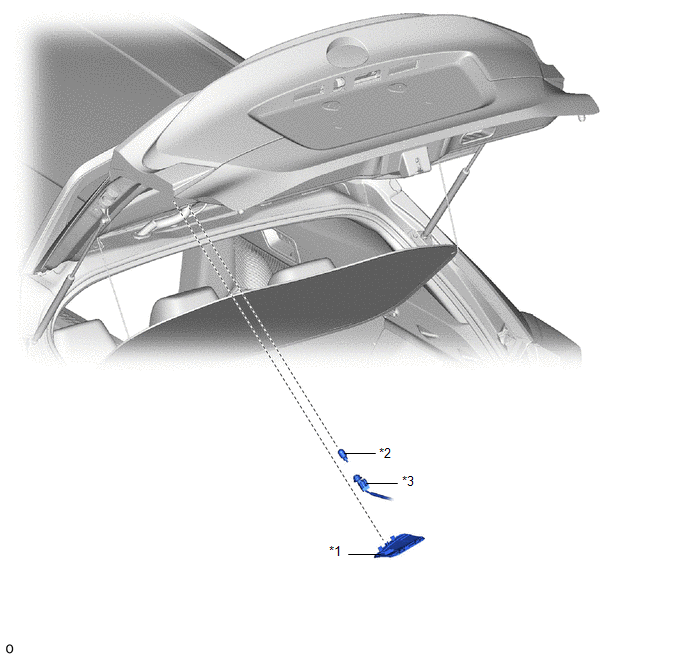
*1 |
LH LUGGAGE DOOR INSPECTION HOLE COVER |
*2 |
BACK-UP LIGHT BULB |
*3 |
BACK-UP LIGHT SOCKET AND WIRE |
- |
- |
Removal
REMOVAL
PRECAUTION / NOTICE / HINT
HINT:
- Use the same procedure for the RH side as for the LH side.
- The procedure described below applies to the LH side.
PROCEDURE
1. REMOVE LH BACK DOOR SERVICE HOLE COVER
(a) Using a screwdriver with its tip wrapped in protective tape, release the claws to remove the LH back door service hole cover as shown in the illustration.
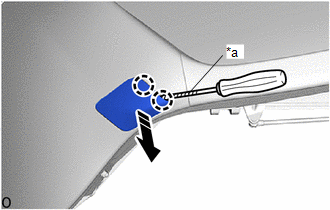
*a |
Protective tape |
 |
Remove in this direction |
2. REMOVE BACK-UP LIGHT BULB
(a) Turn the back-up light bulb socket and wire with the back-up light bulb as shown in the illustration to disconnect the assembly.
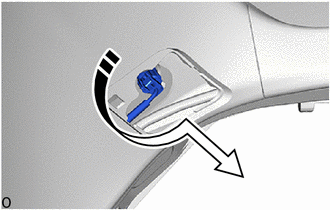
|
Remove in this direction |
(b) Remove the back-up light bulb from the back-up light bulb socket and wire as shown in the illustration.
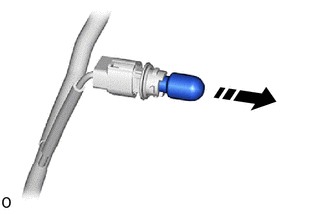
|
Remove in this direction |
Installation
INSTALLATION
PRECAUTION / NOTICE / HINT
HINT:
- Use the same procedure for the RH side as for the LH side.
- The procedure described below applies to the LH side.
PROCEDURE
1. INSTALL BACK-UP LIGHT BULB
(a) Install the back-up light bulb into the back-up light bulb socket and wire as shown in the illustration.
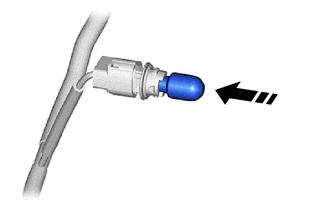
 |
Install in this direction |
(b) Turn the back-up light bulb socket and wire with the back-up light bulb as shown in the illustration to connect the assembly.
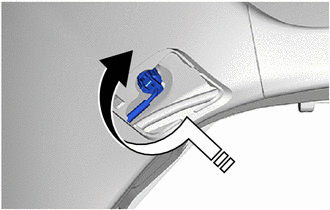
|
Install in this direction |
2. INSTALL BACK DOOR SERVICE HOLE COVER
(a) Engage the claws to install the back door service hole cover.
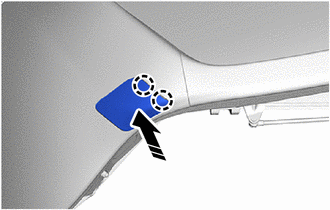
|
Install in this direction |