Body Electrical
Adjustment
In this manual: Body Electrical
~1min read
1. REMOVE SIDE GARNISH

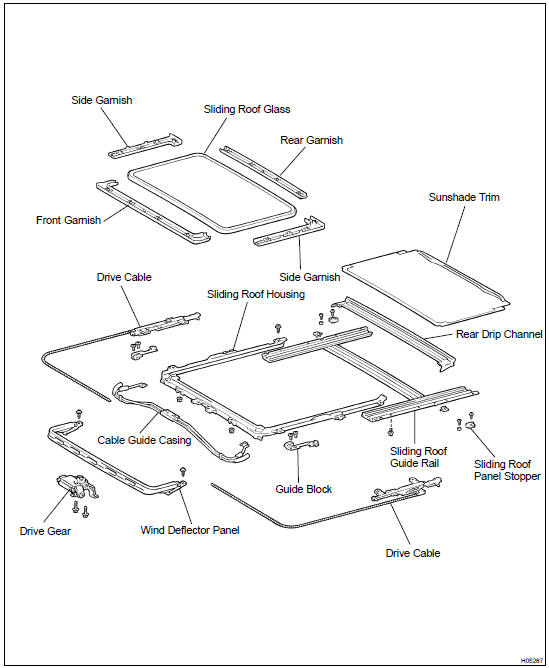
Before making adjustment, using a screwdriver, remove the side garnishes.
HINT:
- Tape the screwdriver tip before use.
- After adjustment, reinstall the side garnishes.
2. ADJUST SLIDING ROOF GLASS IN FORWARD/REARWARD AND LEFT/RIGHT DIRECTIONS
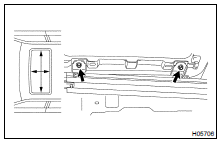
(b) Adjust the sliding roof glass forward/rearward or left/right.
3. ADJUST SLIDING ROOF GLASS IN UPWARD OR DOWNWARD DIRECTIONS
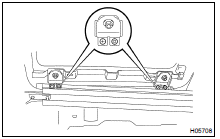
(b) Adjust the sliding roof glass upward or downward.
4. ADJUST SLIDING ROOF GLASS IN CLEARANCE (Difference in left and right clearance)
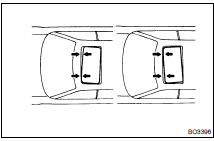
(a) When the front or rear alignment is not correct, remove the drive gear and sliding roof glass, then adjust the drive cables.
NOTICE: Remove the drive gear with the sliding roof fully closed.
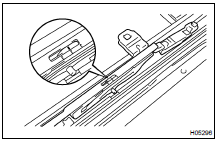
(c) Install the drive gear and sliding roof glass.
COMPONENTS
Test yourself
A quick Toyota Land Cruiser quiz: every answer comes with an explanation and a link to the manual page.
Was this page helpful?