Running gear, axles, steering
Adjusting camber at front wheels
In this manual: Running gear, axles, steering
~2min read
Special tools and workshop equipment required |
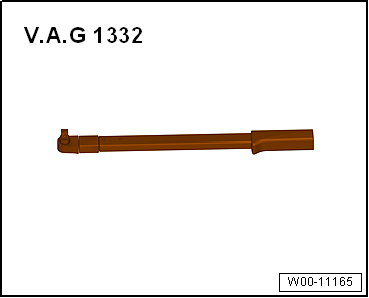
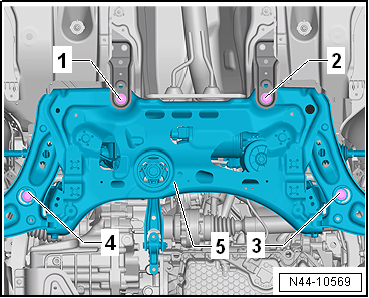
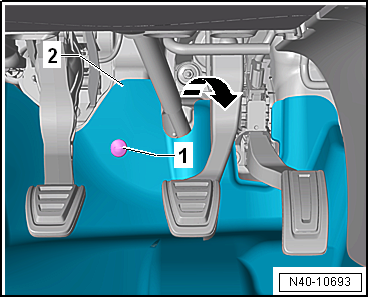
Torque wrench -V.A.G 1332- Note Camber correction is necessary only after body repairs. Camber cannot be adjusted. However, it can be mediated by shifting the subframe! Move subframe only to left or right, but never in or opposite to direction of normal travel!
|
 |
|
 |
|
 |
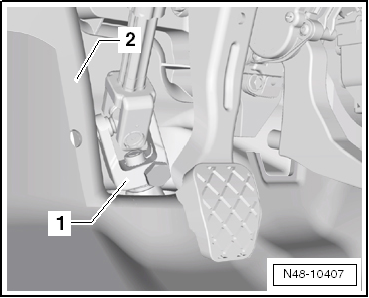
There must be a clearance of 5 mm all round between universal joint -1- and aperture in plenum chamber bulkhead -2-. Specified torques→ Chapter „Assembly overview - subframe“Bolts for noise insulation → General body repairs, exterior; Rep. gr.66. |
 |
Adjusting camber on rear axle, torsion beam axle
Camber cannot be adjusted.If the measurements are outside the permitted tolerances, check the axle beam for damage and renew if necessary. |
Test yourself
A quick Volkswagen Golf quiz: every answer comes with an explanation and a link to the manual page.
Was this page helpful?