3-cyl. injection engine, timing belt drive (4-valve)
Sensors and Transmitters
In this manual: 3-cyl. injection engine, timing belt drive (4-valve)
~1min read
Removing and installing intake air temperature sensor -G42-/intake manifold pressure sensor -G71-
Required special tools, testers and equipment, and auxiliary items
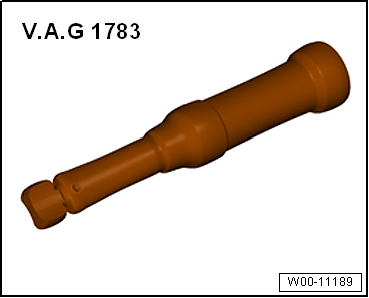
- Torque wrench -V.A.G 1783-
Removing
- Unlock and disconnect connector on intake manifold pressure sensor -G71- with intake air temperature sensor -G42-.
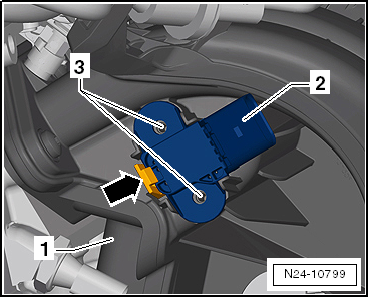
- Carefully release locking lug -arrow- and remove intake manifold pressure sensor -G71- with intake air temperature sensor -G42--2-.

Note
- If the clip -arrow- breaks, screws → Electronic Parts Catalog (ETKA) can be used as an alternative for fastening.
- The intake manifold pressure sensor -G71- with intake air temperature sensor -G42- may also be bolted to the intake manifold -2-.
- In this case, the screws must be unscrewed from holes -3-.
Installing
Installation is carried out in the reverse order. Observe the following:
- Check sealing ring for damage, replace if necessary.
Make sure the intake manifold pressure sensor -G71- with intake air temperature sensor -G42- is correctly seated and securely locked on the intake manifold.

Note
- The intake manifold pressure sensor -G71- with intake air temperature sensor -G42- can also be screwed to intake manifold -2-.
- Observe the assignment of screws → Electronic Parts Catalog (ETKA).
Tightening torques

Was this page helpful?