Check the limiter and hub assembly galvanic parts for discoloration, peeling, or other damage. If damaged, replace the assembly.
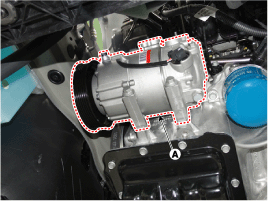
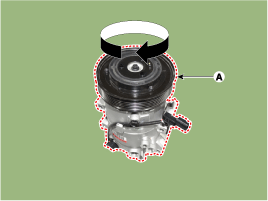
Check the pulley bearing play (A) and rotate the pulley by hand. Replace the pulley if it is noisy or has excessive play/drag.
Inspection of Compressor with External Control Valve (GDS)
Compressor type: Fixed displacement compressor, externally controlled valve, internally controlled valve. For the fixed type and internally controlled valve, compressor operation can be checked by the clutch noise. However, for the externally controlled valve, this cannot be checked this way because there is no clutch. Therefore, the ECV should be checked using GDS as shown below.
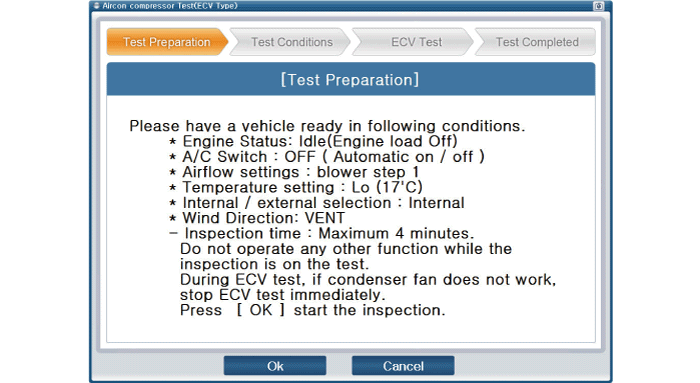
Connect GDS to the vehicle and select "A/C Compressor Test (ECV Type)". [ECV1]
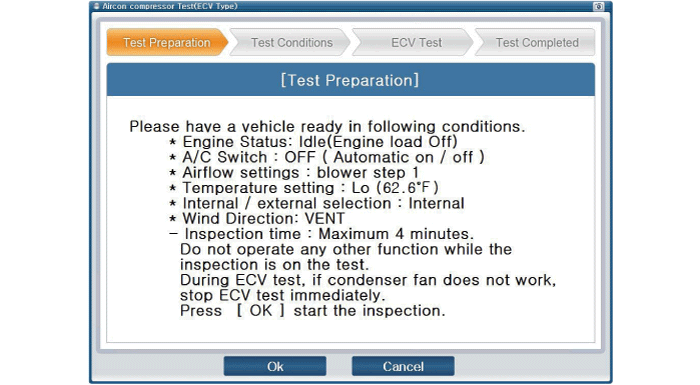
Prepare the vehicle according to the GDS instructions on the monitor. (Turn off only the A/C switch) [ECV2] [ECV3]
Before inspecting the ECV, check whether any other DTCs related to the compressor are detected. If yes, resolve that problem first. If not, press the "OK" button to continue.
Do not continue the inspection if the following DTCs are detected: B1241, B1242, B1672, B1685, B1686, B1687.
[ECV4]
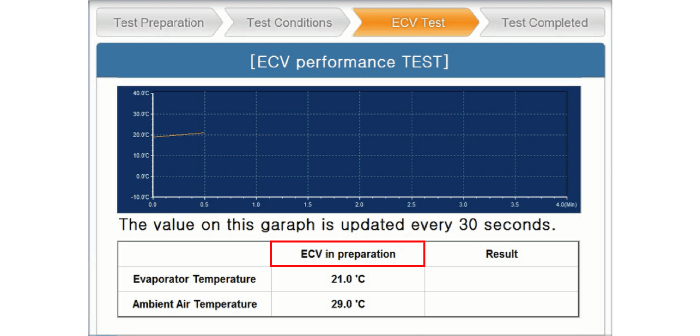
Start the inspection [ECV5] [ECV6]
Check whether the condenser fan operates when the condition changes to "ECV operating".
The pressure relief valve will operate if the condenser fan does not run due to excessive compressor pressure. This allows the A/C system to release excess pressure by discharging refrigerant and oil. (Closed when relieved) ? Add refrigerant and oil after the pressure relief valve has operated. ? Noise may be heard when the pressure relief valve operates.
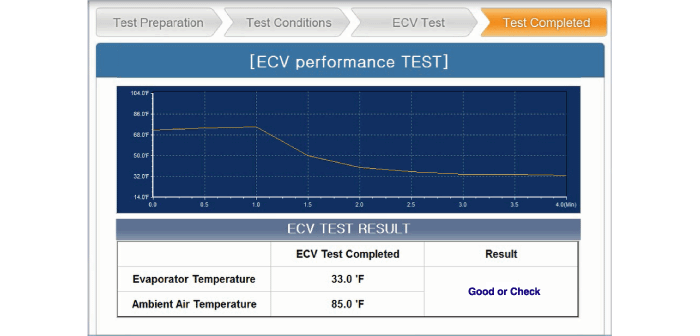
Check the inspection result and, if it reads "Check", press "Check Details". Follow the instructions and re-inspect the ECV from the first step. [ECV7] [ECV8]
Disassembly
Remove the engine room cover. (Refer to Engine Mechanical System - "Engine Room Cover")
Remove the front wheel guard. (Refer to Body - "Front Wheel Guard")
Loosen the drive belt. (Refer to Engine Mechanical System - "Drive Belt")
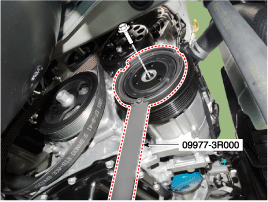
Remove the clutch bolt while holding the pulley with the clutch bolt holder (09977-3R000).
Tightening torque: 10.0 ~ 15 N·m
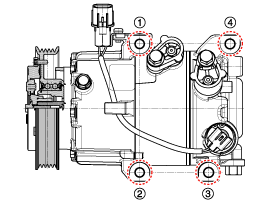
Loosen the limiter bolts and remove the limiter with hub assembly.
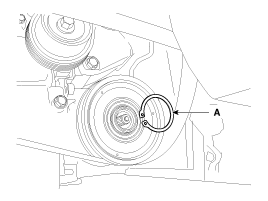
Remove the pulley (B) after first removing the snap ring (A) using snap ring pliers.
Assemble in the reverse order of disassembly.
A.
Clean the sliding surfaces of the pulley and compressor with a non-oil solvent.
B.
Install a new snap ring and make sure it is fully seated in the groove.
C.
Make sure the pulley rotates smoothly after assembly.
?
Test yourself
A quick Hyundai Elantra AD quiz: every answer comes with an explanation and a link to the manual page.