Engine and Transaxle Assembly - Removal
1. Disconnect the battery.
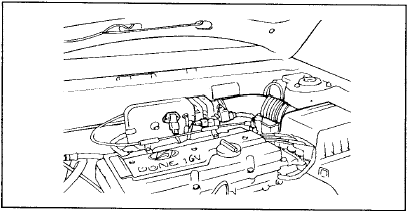
2. Disconnect the air cleaner intake hose.
3. Disconnect the back-up light switch connector and the engine wiring harness connector.
4. On models with 5-speed manual transaxle, disconnect the back-up light switch connector.
5. Disconnect the connectors of the generator wiring harness and the oil pressure switch.
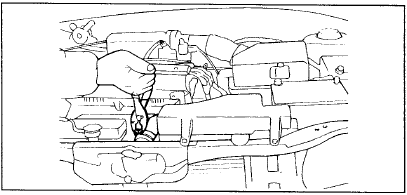
6. Drain the engine coolant.
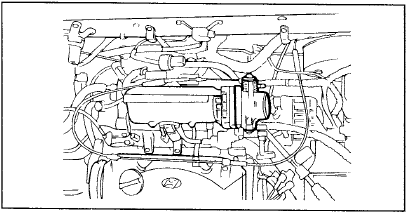
Always make alignment marks before disconnecting hoses so that they can be reconnected in their original positions.
Be careful when disconnecting hoses. Do not spill oil or other fluid.
Plug disconnected pipes or hoses to prevent foreign particles from entering.
7. Disconnect the upper and lower radiator hoses at the engine side, then remove the radiator assembly.
8. Disconnect the engine ground cable.
9. Disconnect the brake booster vacuum hose.
10. Disconnect the main fuel hose, fuel return hose and fuel vapor hose at the engine side.
11. Disconnect both heater hoses (inlet and outlet) at the engine side.
12. Disconnect the accelerator cable at the engine side.
13. On models with manual transaxle, disconnect the shift cable from the transaxle.
14. On models with automatic transaxle, disconnect the shift cable from the transaxle.
15. Disconnect the speedometer cable from the transaxle.
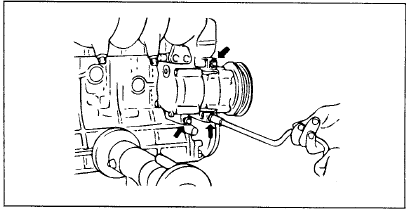
16. Disconnect the A/C compressor from its mounting bracket.
17. Raise and support the vehicle.
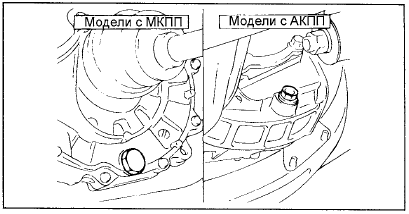
18. Drain the oil (or automatic transmission fluid (ATF)) from the transaxle.
19. Disconnect the exhaust inlet pipe from the exhaust manifold.
Secure the exhaust inlet pipe to the vehicle body with wire.
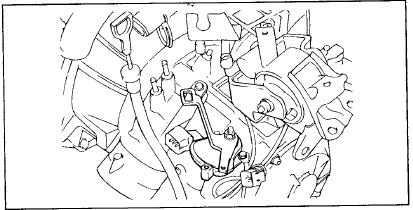
20. On models with manual transaxle, disconnect the select cable and the shift cable.
21. Remove the bolts securing the lower arm and stabilizer ball joint to the lower arm.
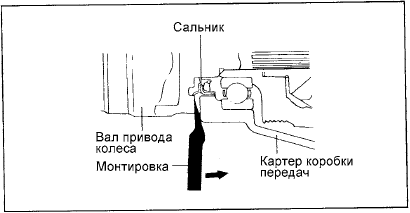
22. Disconnect the drive shafts from the transaxle.
• Cover the drive shaft openings in the transaxle to prevent dirt and foreign material from entering.
• Replace the drive shaft circlips before installing the drive shafts.
23. Suspend the lower arm and drive shaft from the vehicle body with wire.
24. Using chains or cables, secure the engine to the engine hanger by the mounting brackets and attach the hanger to a hoist. Slightly raise the engine assembly (to relieve the engine mounts of the powertrain weight before performing the following operations).
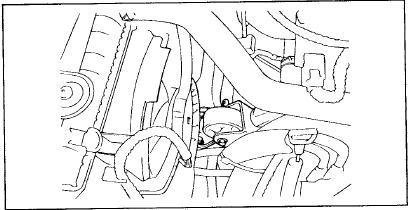
25. Remove the front engine mount.
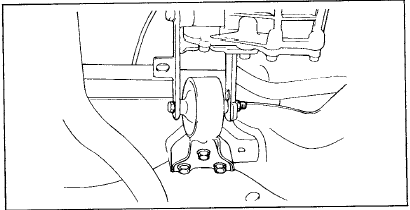
26. Disconnect the rear engine mount.
27. Remove the bolts securing the side engine mount.
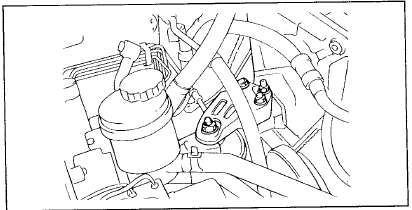
28. Remove the side engine mount bracket from the engine.
29. Slowly raise the engine to relieve the mounts of the engine and transaxle weight, and temporarily hold it in the suspended position.
Make sure all cables, wires (electrical connectors), hoses, etc. are disconnected from the engine.
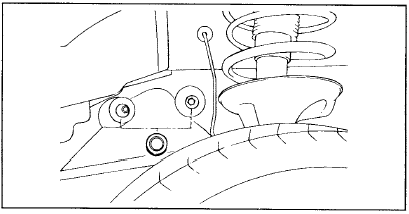
30. Remove the plugs from the inside of the left fender splash shield and remove the bolts securing the transaxle mount bracket.
31. Guiding the powertrain with the transaxle facing downward, lift the engine and transaxle assembly out of the engine compartment and remove it from the vehicle.
Test yourself
A quick Hyundai Elantra CN7 quiz: every answer comes with an explanation and a link to the manual page.