Generator - Disassembly (90 A Model)
1. Remove the nut from the generator "B" terminal and remove the rear cover.
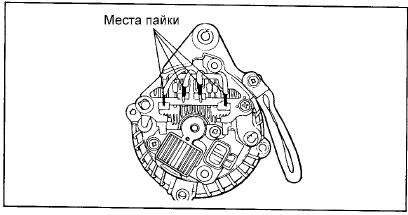
2. Before removing the stator, unsolder the four stator winding wires from the main diodes of the rectifier assembly.
1. When soldering/unsoldering the terminals, be careful to minimize heat transfer from the soldering iron to the diodes. Perform these operations as quickly as possible.
2. Be careful not to apply excessive force to the diode terminals.
3. Remove the stator assembly from the generator rear bracket.
4. Remove the brush holder and the rectifier assembly.
5. Remove the four through bolts.
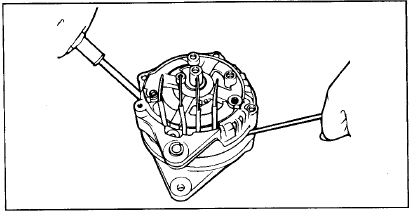
6. Insert a flat-blade screwdriver between the generator front bracket and the stator, and, using the screwdriver as a lever, separate the generator front bracket (downward).
1. Do not insert the screwdriver too deeply, to avoid damaging the stator coil.
2. It may be difficult to remove the rear alternator bracket because the snap ring used to retain the rear bearing gets in the way.
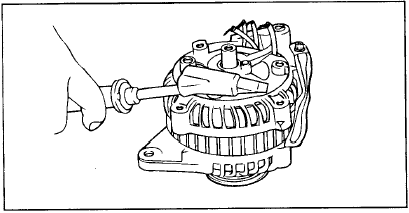
To make removal of the rear bracket easier, heat the bearing assembly with a 200 W soldering iron.
Do not use a heat gun for heating, as this may damage the rectifier diodes.
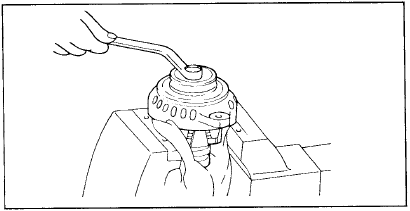
7. Secure the rotor in a vise with the pulley side facing up.
Make sure the vise jaws do not damage the rotor.
8. Remove the pulley nut, remove the spring washer, then remove the pulley and spacer.
9. Remove the generator front bracket and the O-rings.
10. Remove the rotor from the vise.
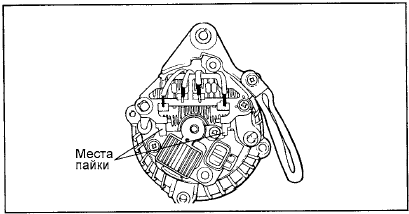
11. Before disconnecting the rectifier assembly from the brush holder, unsolder the two contacts (plates) soldered to the rectifier assembly.
Test yourself
A quick Hyundai Elantra CN7 quiz: every answer comes with an explanation and a link to the manual page.