Rear shock absorber
Components and Component Location
Components
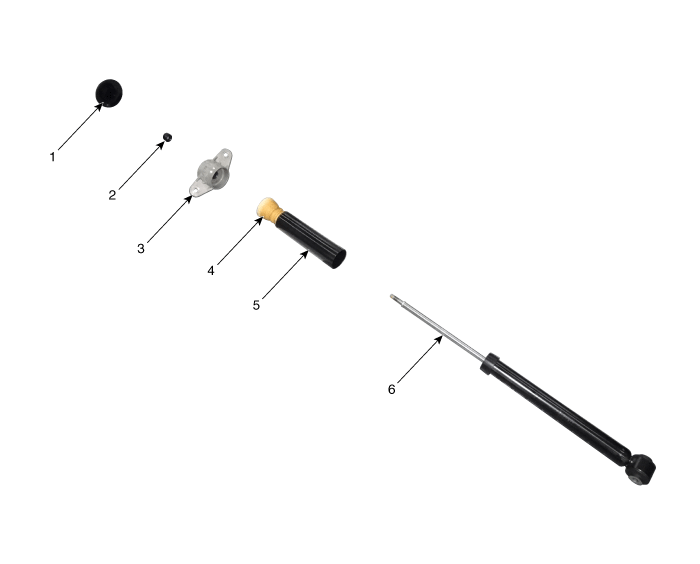
| 1. Shock Absorber Dust Cover 2. Lock Nut 3. Insulator Assembly |
4. Bumper Rubber 5. Dust Cover 6. Shock Absorber |
Repair Procedures
Removal and Installation
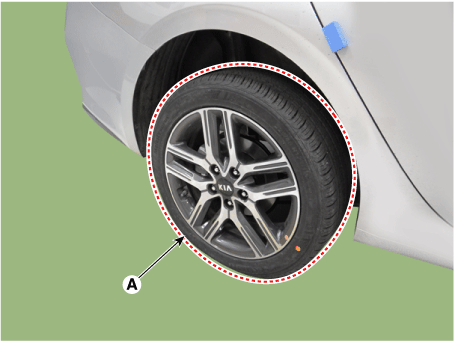
Remove the rear wheel and tire (A).
Tightening torque: 107.9–128 N·m
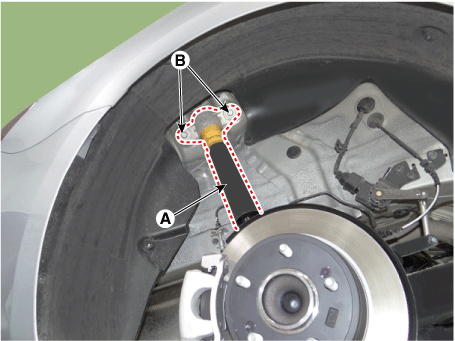
Loosen the bolts and remove the rear shock absorber (A).
Tightening torque:
Bolts (B): 49.0 – 64 N·m
Bolt (C): 98.0 – 118 N·m
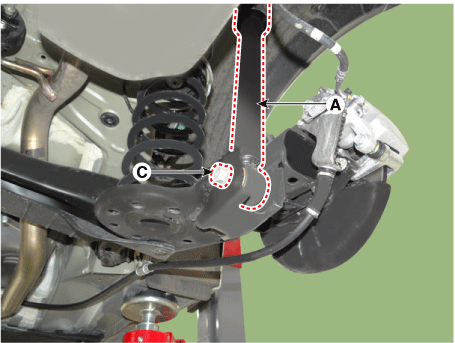
Install in the reverse order of removal.
Disassembly and Assembly
Remove the insulator cover (A).
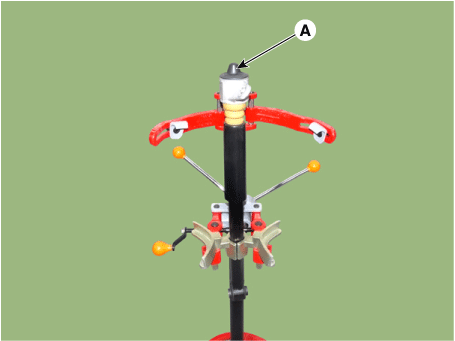
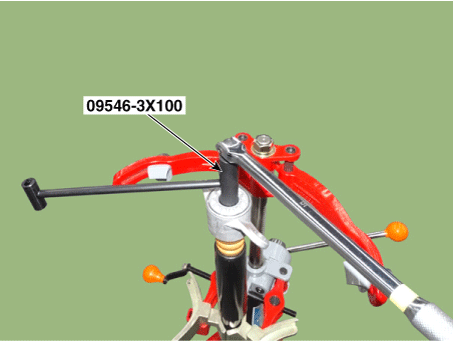
Using SST (09546-3X100), loosen the self-locking nut.
Tightening torque: 29 N·m
Remove the insulator (A), rubber bumper (B) and dust cover (C) from the shock absorber (D).
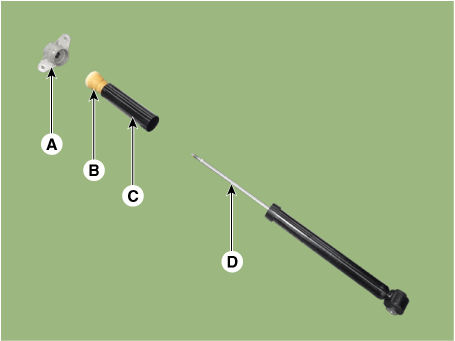
Assembly is the reverse of disassembly.
Inspection
Inspect the rubber components for wear and deterioration.
Compress and extend the piston rod (A) and check for abnormal resistance or unusual noise during operation.
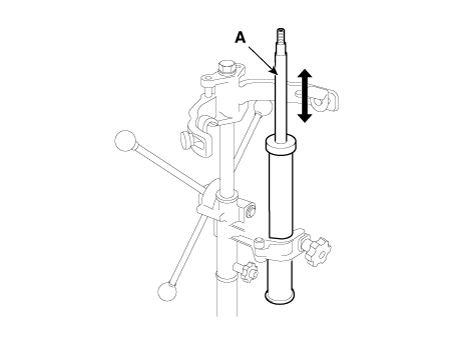
When installing the rear shock absorber, be sure to hold the upper rod so that the piston rod does not rotate.
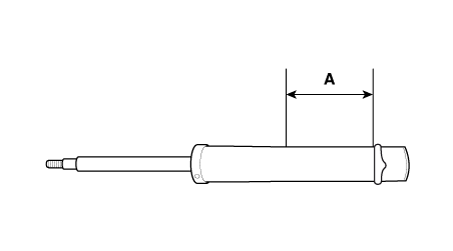
Disposal
Fully extend the piston rod.
Drill a hole in the section (A) to release the gas from the cylinder.
Test yourself
A quick Kia Forte BD quiz: every answer comes with an explanation and a link to the manual page.