Hood Crossmember Assembly
Components and Component Location
Component Location
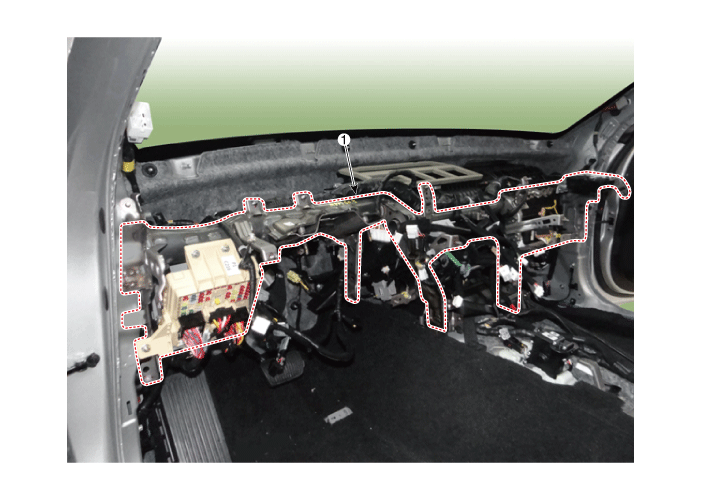
| 1. Hood Crossmember Assembly |
Repair Procedures
Replacement
Remove the driver airbag module assembly.
(Refer to Airbag - "Main Airbag Assembly")
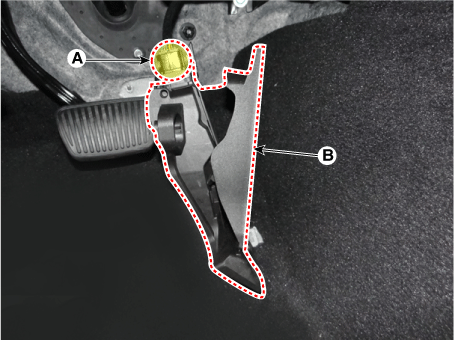
Remove the accelerator pedal mounting bolt caps (A).

Separate the accelerator pedal (A) after loosening the mounting bolts.

Remove the accelerator pedal (B) after disconnecting the connector (A).
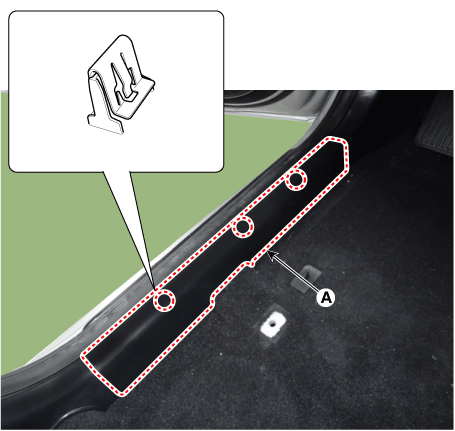
Using a trim removal tool, remove the front door sill trim (A).
Remove the hood latch release handle (A).
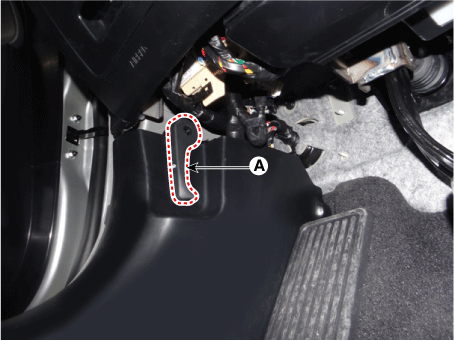
Using a trim removal tool, remove the hood side trim (A).

Disconnect the headliner connectors (A).
[Driver's Side]
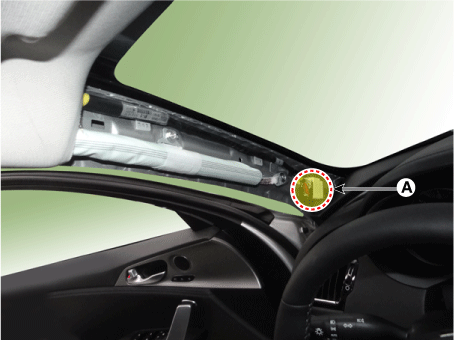
[Passenger Side]
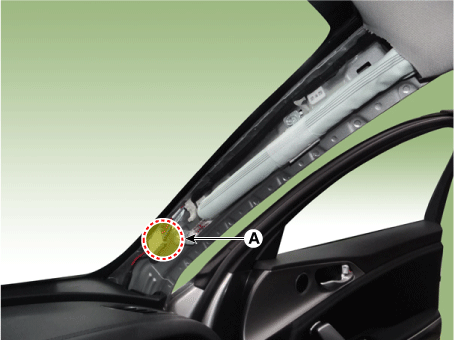
Disconnect the wiring harness clips (A) from the front pillar.
[Driver's Side]

[Passenger Side]

Disconnect the junction block connectors in the cabin (A).

Disconnect the multi-box connectors (A).
[Driver's Side]

[Passenger Side]

Disconnect the parking release actuator connector (A).
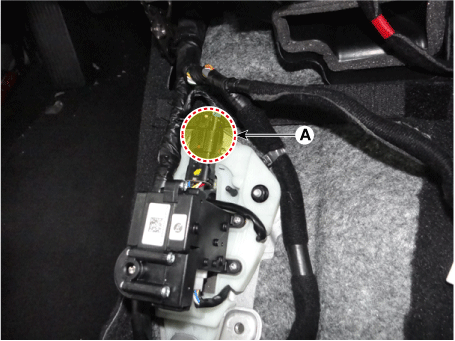
Disconnect the connector (A) of the airbag control module and the wiring harness clips.

Disconnect the console on/off actuator connector (A) and the console temperature sensor connector. Actuator connector (B).

Disconnect the driver side intake actuator connector (A).

Disconnect the mode actuator connector (A).

Disconnect the evaporator temperature sensor connector (A).

Disconnect the temperature sensor connector (A), the FET connector (B), and the heater control unit connector (C).
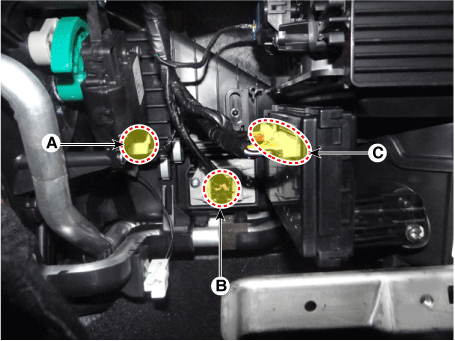
Disconnect the passenger side intake actuator connector (A).

Disconnect the PTC heater connector (A).

Disconnect the ADS actuator connector (A).
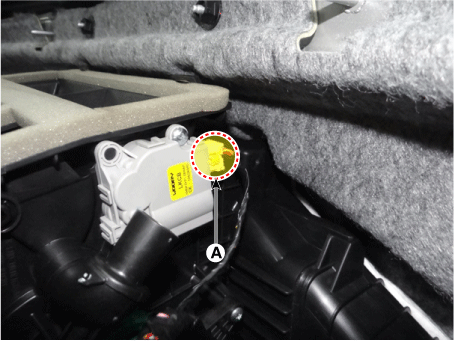
Disconnect the blower motor connector (A), then disconnect the wiring harness clips.

Disconnect the IBU connector (A).

Remove the reservoir cover (A) after removing the mounting clips.

Remove the cover (A) and loosen the nuts (B).
Tightening torque: 22.6–26 N·m

Remove the wiper arms on both sides (A).
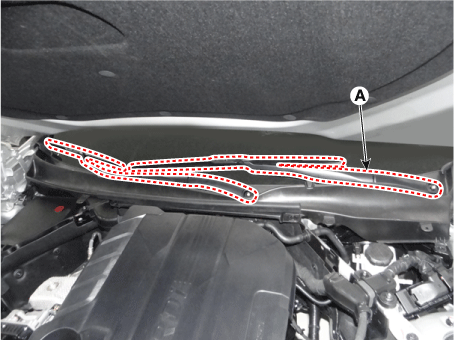
Disconnect the washer hose (A).

Remove the cowl top cover (A) after removing the retaining clips.

Disconnect the windshield wiper motor connector (A).
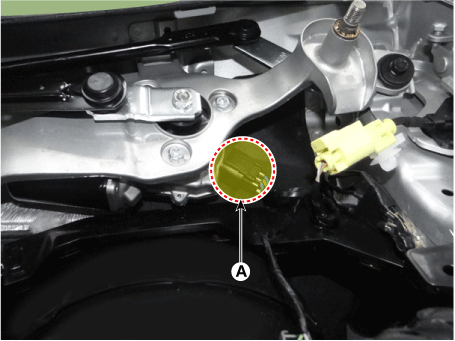
Remove the wiper motor (A) after loosening the mounting bolts.

Loosen the hood cross member mounting bolts (A).
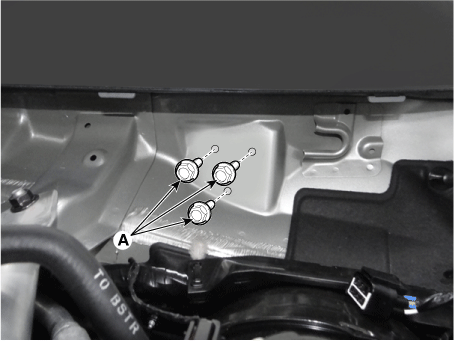
Loosen the mounting bolts (B) after removing the hood cross member bolt covers (A).

Loosen the lower hood cross member bolts (A).
[LH]

[RH]

Remove the hood cross member assembly (A) after loosening the mounting bolts and nuts (A).
[Driver's Side]

[Passenger Side]

Remove the hood cross member assembly (A) after loosening the mounting bolts and nuts.

Install in the reverse order of removal.
Test yourself
A quick Kia Stinger CK quiz: every answer comes with an explanation and a link to the manual page.