Floor Console Assembly
Components and Component Location
Component Location
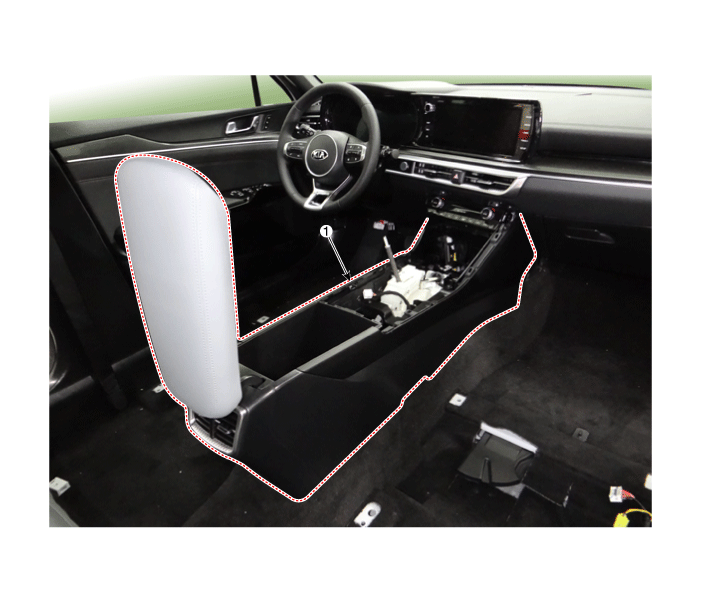
| 1. Front Console Assembly |
Repair Procedures
Replacement
[SBC Console]
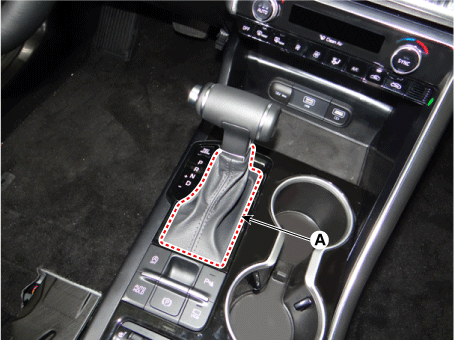
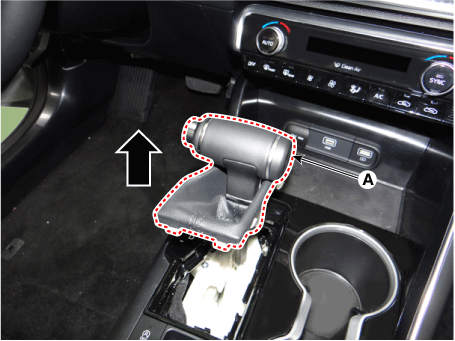
Remove the shift lever knob and boot (A) by pulling them upward.
Using a screwdriver or trim remover, remove the upper console trim panel (A).
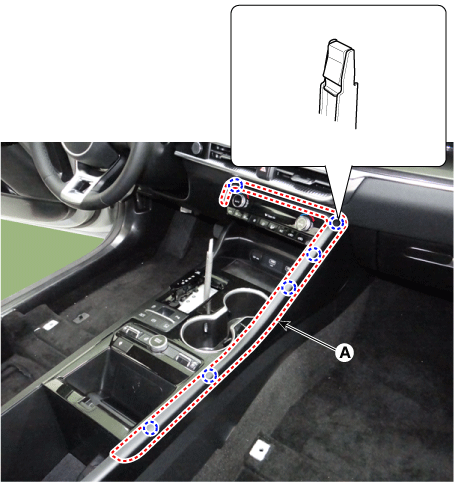
Using a screwdriver or remover, remove the console upper cover (A).
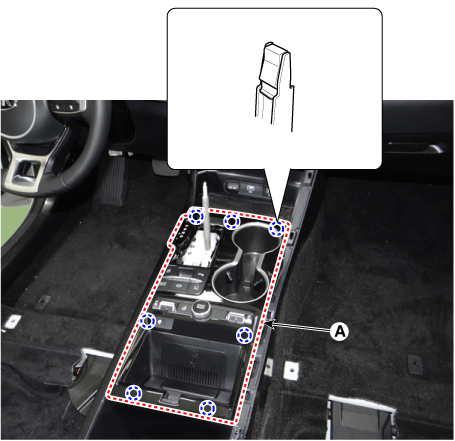
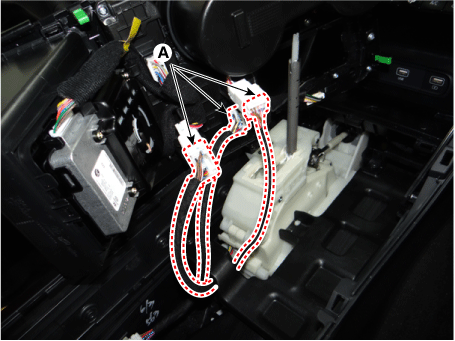
Disconnect the connectors (A).
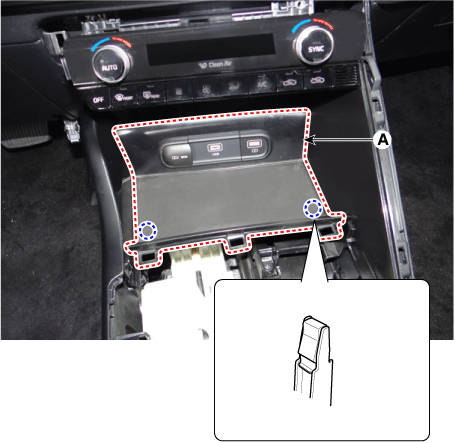
Using a screwdriver or trim remover, remove the console tray (A).
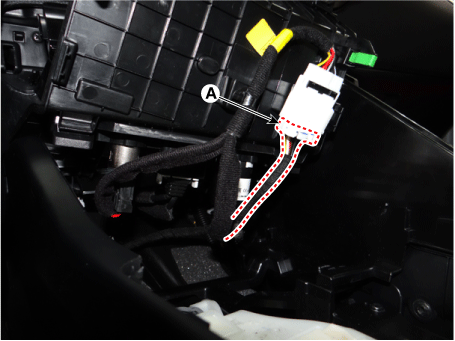
Disconnect the connector (A).
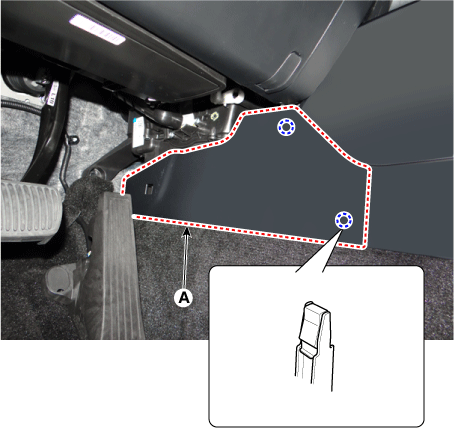
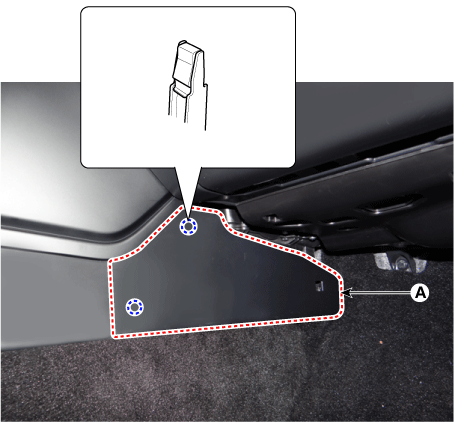
Remove the side cover of the console (A).
[LH]
[RH]
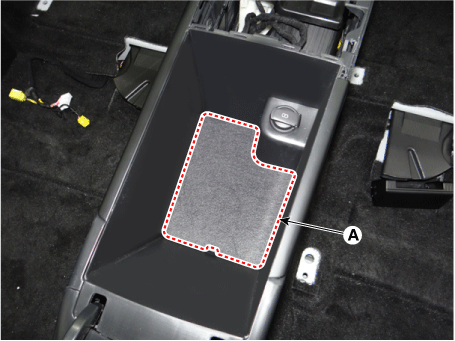
Remove the storage box garnish (A).
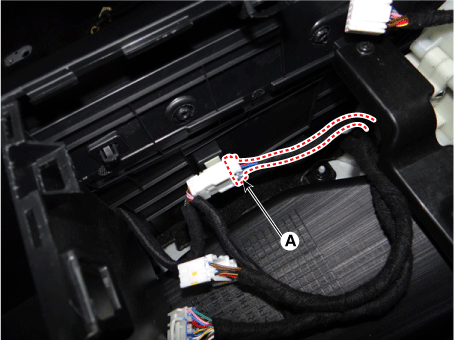
Disconnect the console main connector (A).
After loosening the mounting screws and bolts, remove the floor console assembly (A).
Tightening torque:
6.9–9.8 N·m N·m (0.7–1.0 kgf·m, 5.0–7.2 lbf·ft, 60.8–86.8 lbf·in)
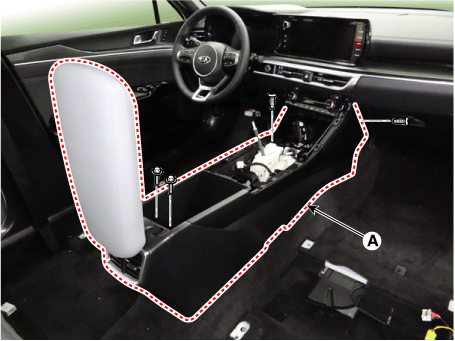
To install, reverse the removal procedure.
[SBW Console]
Using a screwdriver or trim remover, remove the upper console trim panel (A).
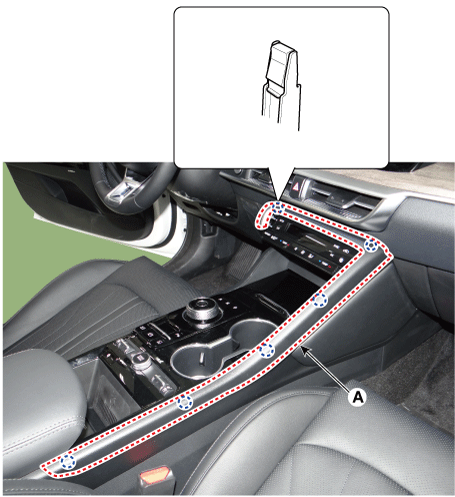
Using a screwdriver or remover, remove the console upper cover (A).
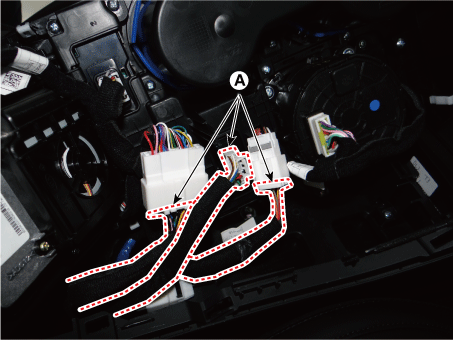
Disconnect the connectors (A).
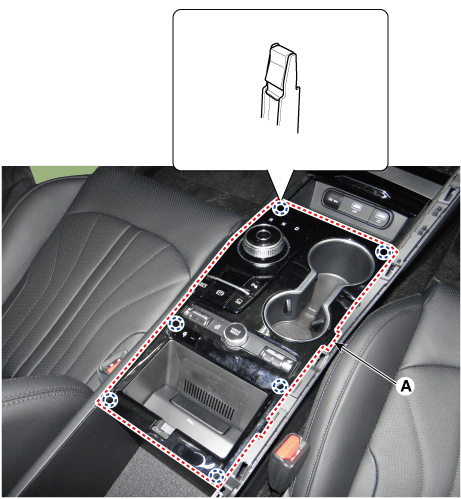
Using a screwdriver or trim remover, remove the console tray (A).
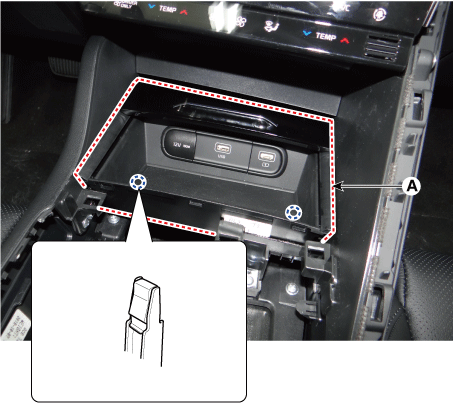
Disconnect the connectors (A).
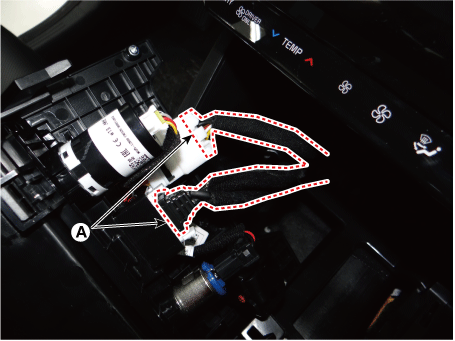
Remove the side cover of the console (A).
[LH]
[RH]
Remove the storage box garnish (A).
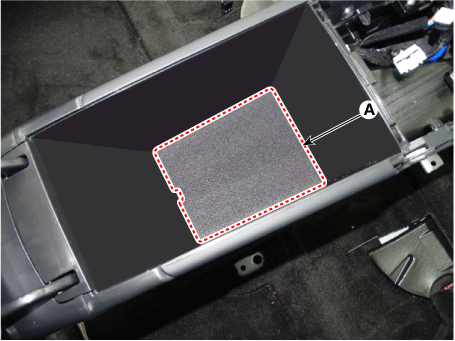
Disconnect the console main connector (A).
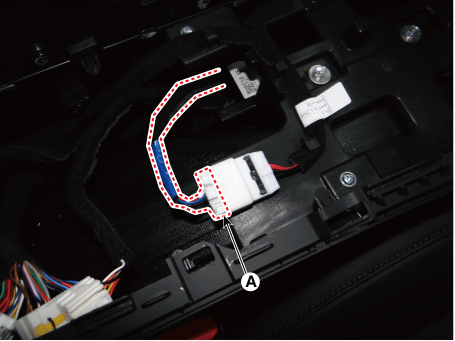
After loosening the mounting screws and bolts, remove the floor console assembly (A).
Tightening torque:
6.9–9.8 N·m N·m (0.7–1.0 kgf·m, 5.0–7.2 lbf·ft, 60.8–86.8 lbf·in)
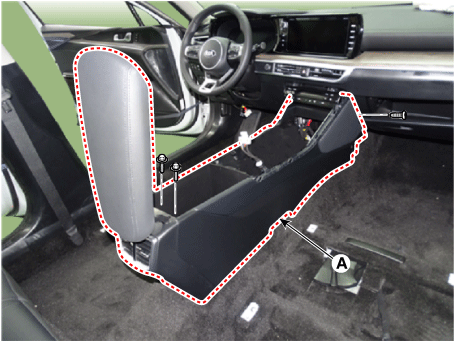
To install, reverse the removal procedure.
Test yourself
A quick Kia Optima DL3 quiz: every answer comes with an explanation and a link to the manual page.